Windows Client Installation
The xSpace client Windows version is released in .exe installation package format, supporting mainstream operating systems such as Windows 7/10/11 and Windows Server 2019/2022.
1. Installation Package Naming Rules
The released installation package name usually contains key information such as architecture and version number, for example:
at-xspace_windows_x86_64_6.16.12.common.exe
- x86_64: Indicates that the current installation package is compiled for the x86_64 (64-bit) processor architecture.
- 6.16.12: Indicates the software version number of the installation package.
2. Installation Steps
After downloading the installation package locally, double-click to launch the installation wizard and follow these steps to complete the installation:
2.1 Launch Wizard
Click "Next" on the welcome screen.

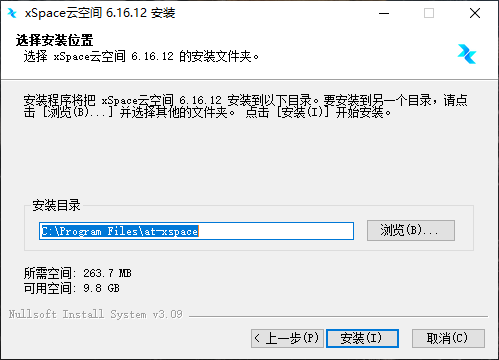
2.2 Prepare Installation
After confirming the installation path, click "Install".
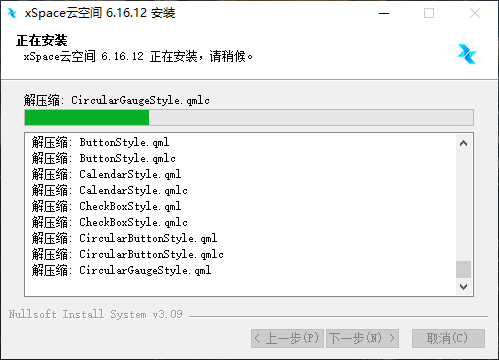
2.3 Installation Process
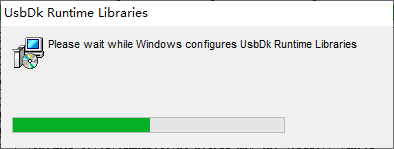
Wait for the program to extract and configure system drivers.
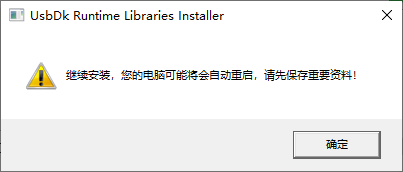
2.4 Restart Confirmation
If this is the first installation, the system will prompt for a restart. Please save any currently edited documents and close relevant software, then click "OK".
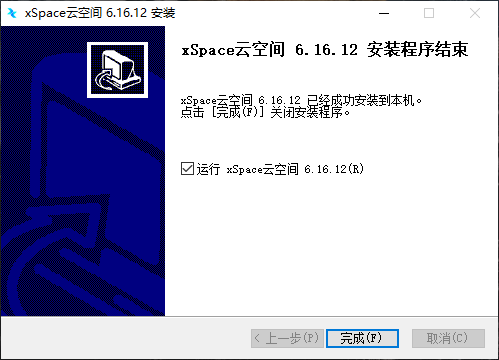
2.5 Complete Installation
Click "Finish", and the computer will automatically restart.
3. Configure Cloud Platform Address
After restarting, launch the xSpace Client from the desktop icon or Start Menu. The first run requires server address configuration:
3.1 Open Settings
Click the "Settings" (gear icon) in the upper right corner of the login interface.
3.2 Fill in Information
- Server Address: Fill in the actual xSpace management component IP or domain name (internal or public network address).
- Port Number: Default is 44301. If no special changes are made, please keep the default value.
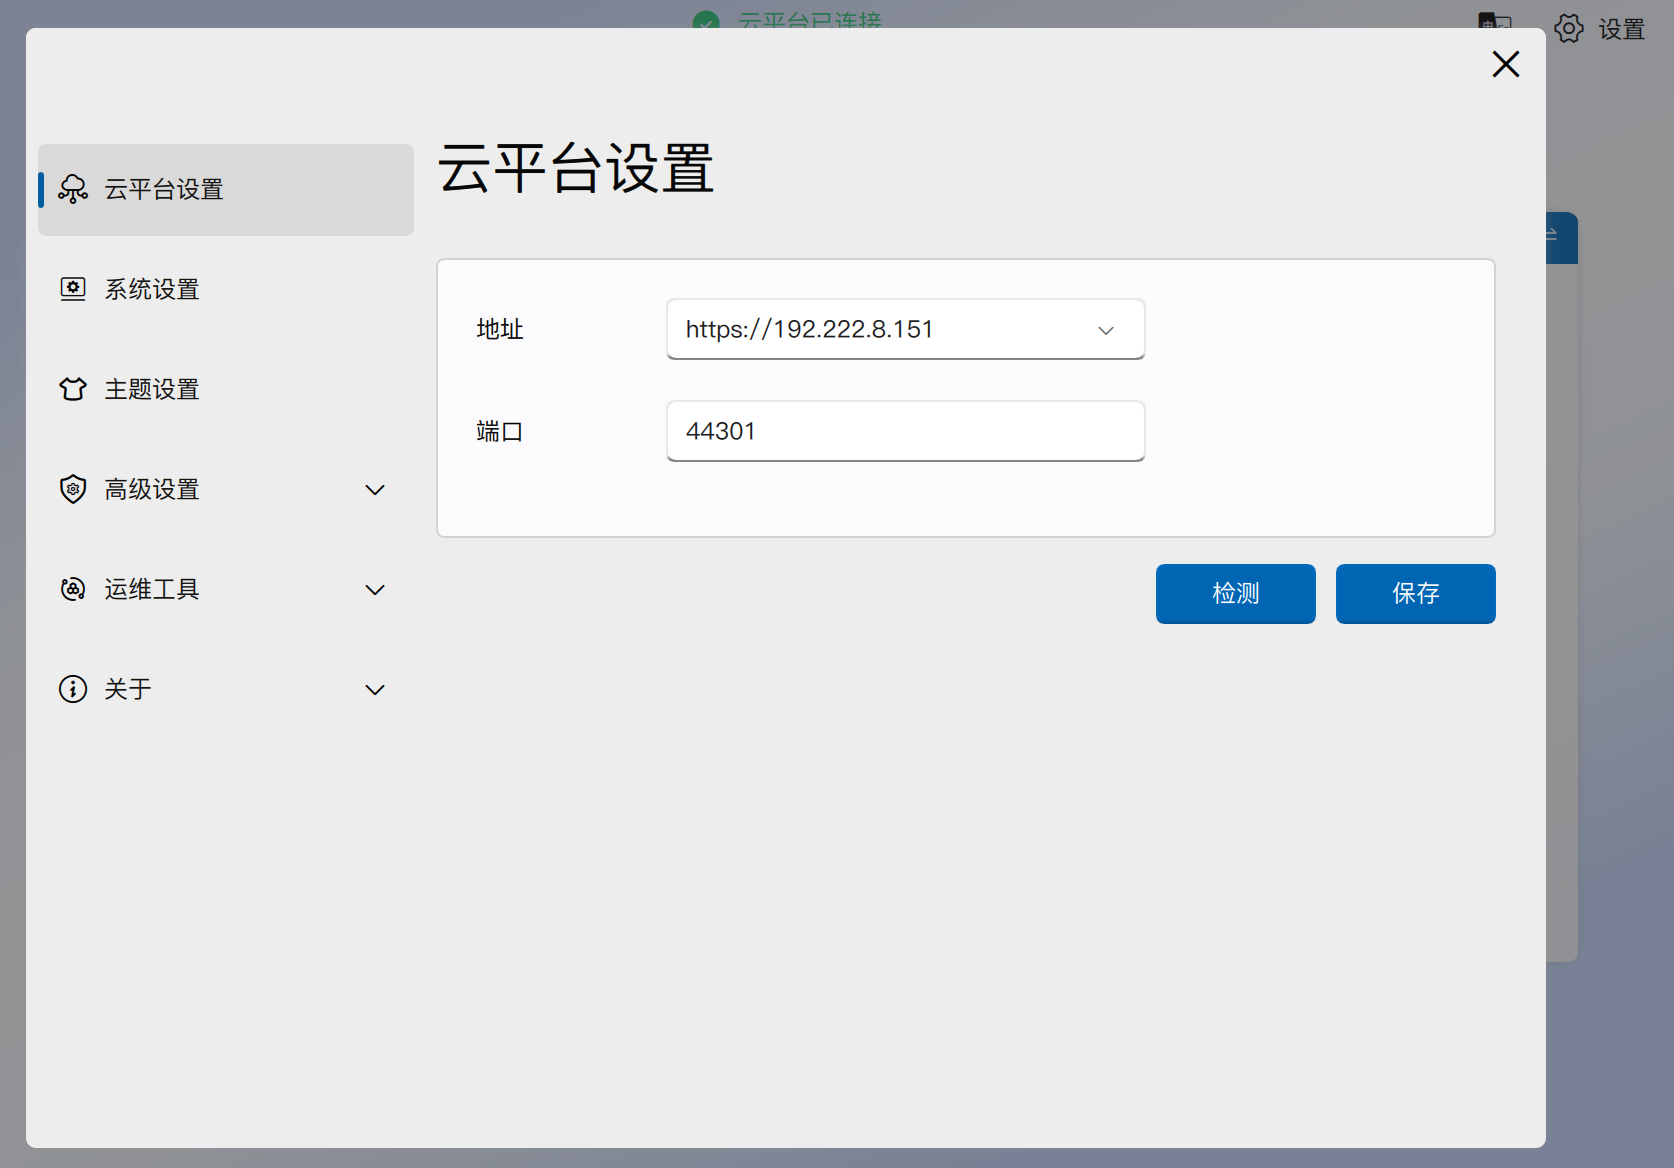
3.3 Connection Detection
After configuration is complete, click the "Detect" button.
* Detection Successful: You can then return to the login interface to log in.
* Detection Failed: Please use the ping command in the local Command Prompt (CMD) to test the server address's connectivity, or check if the network firewall is blocking port 44301.
4. Common Troubleshooting
4.1 Connection Black Screen or Display Anomaly
If you experience a desktop connection black screen, stuttering, or display anomaly when using older computer hardware, please perform the following checks:
- Graphics Driver DDI Version:
- Press
Win + R, typedxdiag, and press Enter. - In the "Display" tab, check the "Driver" section.
- It is recommended that the DDI version is not lower than 11. If the version is too low, try updating the graphics driver or replacing the graphics card with one that supports a higher hardware acceleration version.
- Press