Intel/AMD x64 Thin Client Flashing Guide
Note: For factory-original thin client devices, end-users do not need to perform installation operations. This guide is only applicable to re-flashing and installation scenarios. For basic environment preparation and general tool descriptions, please refer to the "Thin Client Flashing and Installation Guide".
This document specifically introduces the unique operating system installation and configuration process for x64 architecture thin clients with Intel or AMD processors (not applicable to Zhaoxin terminals).
1. Resource Preparation
Please prepare the following dedicated resources for this model according to the "Software Resource Mapping Table" in the "Thin Client Flashing and Installation Guide":
- Operating System Image:
xubuntu-24.04.2-minimal-amd64.iso - Offline Dependency Package:
ubuntu24.04_x86_64_depends-1.x.bin - Deployment Script:
atos-installer-1.0.x.bin - Client Software Package:
astute-xspace_linux_x86_64_6.x.x.common.deb
2. Install Xubuntu Operating System
2.1 Boot Startup
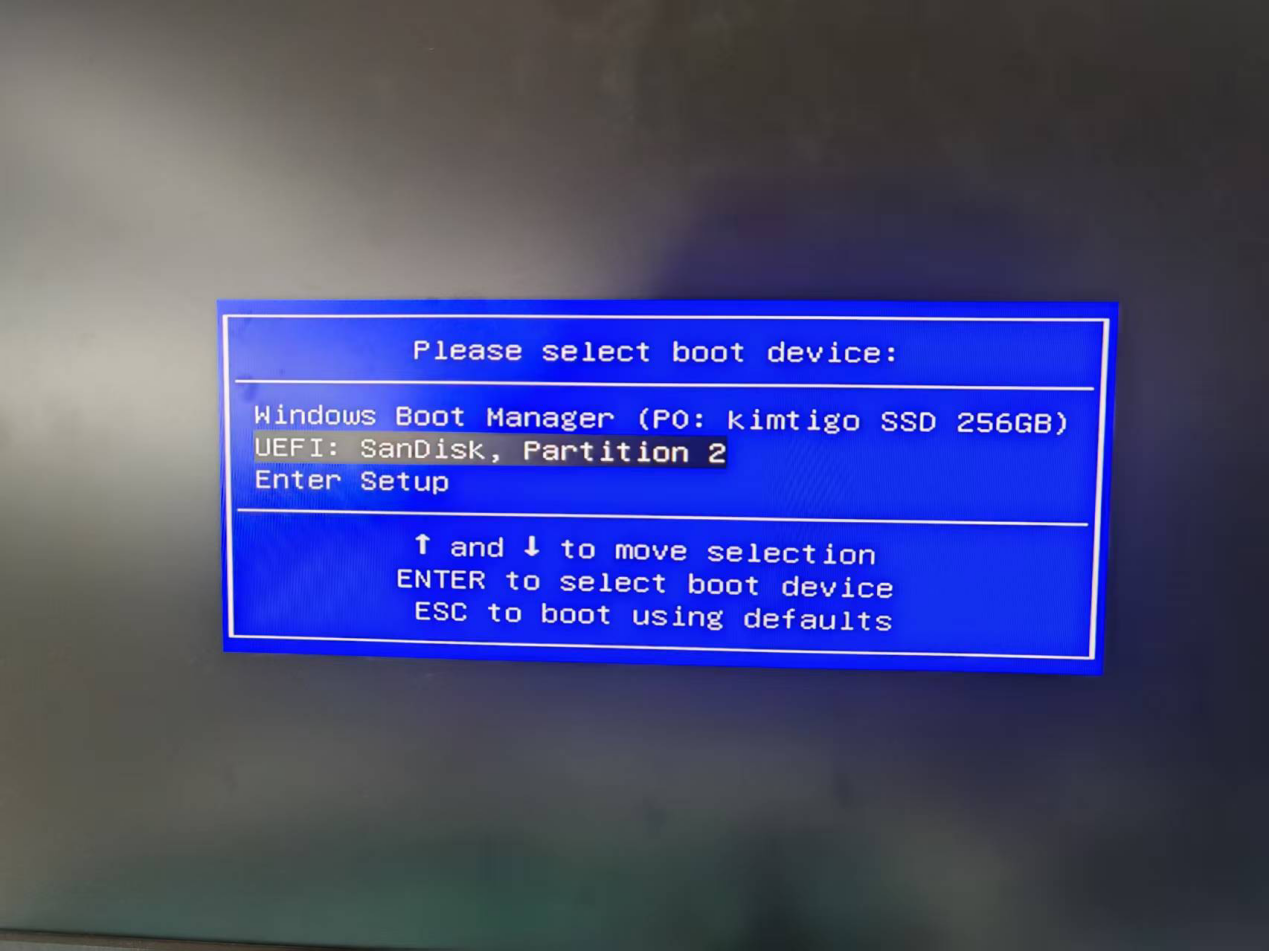
- After preparing the bootable USB drive, insert it into the blue USB 3.0 port on the front panel of the thin client.
-
Press the F12 key repeatedly after power-on (some models may use ESC or F11) during the BIOS boot phase to select booting from the USB drive.
-
Select
Try or Install Xubuntufrom the boot options.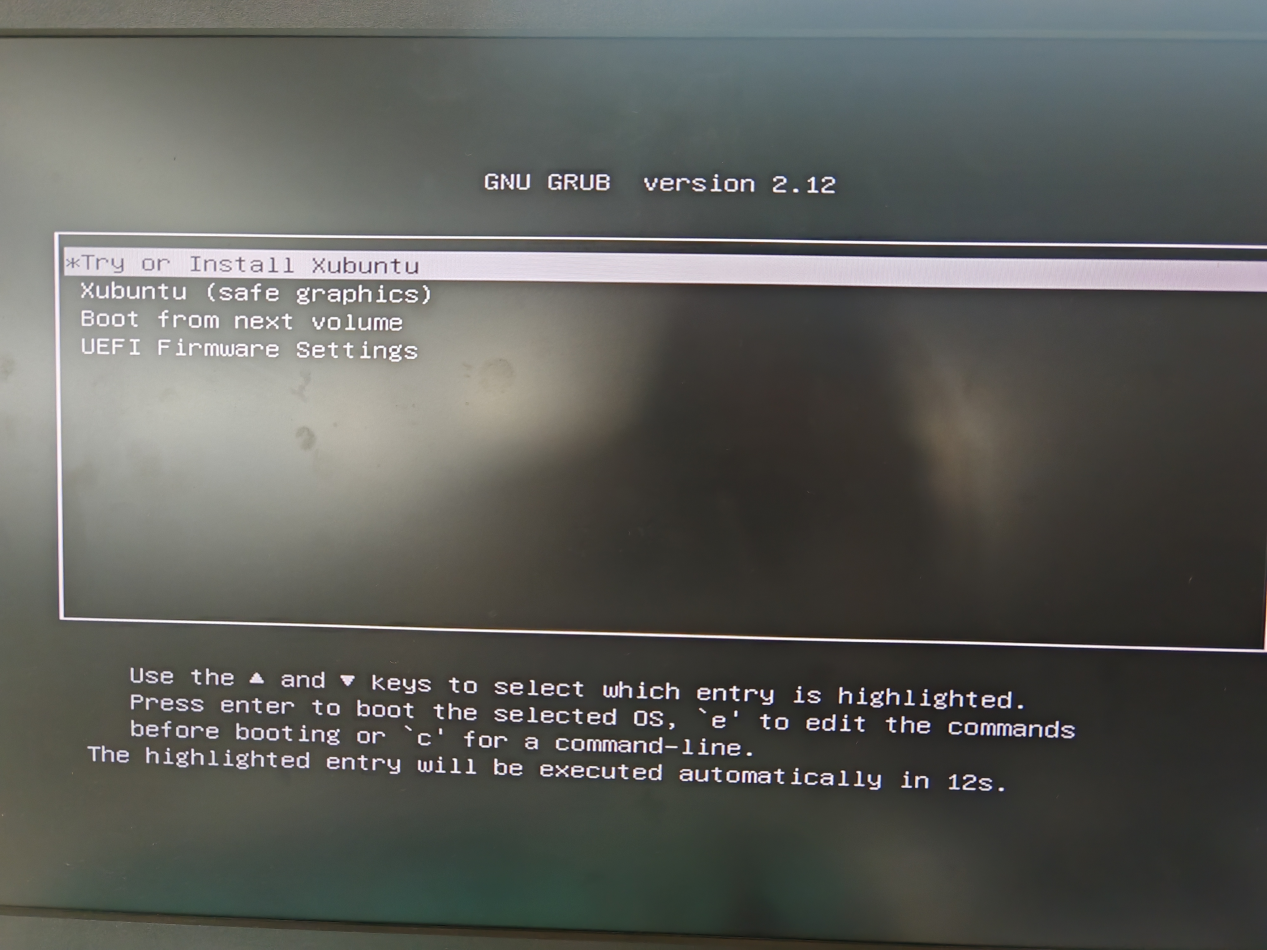
2.2 Execute Installation Wizard
-
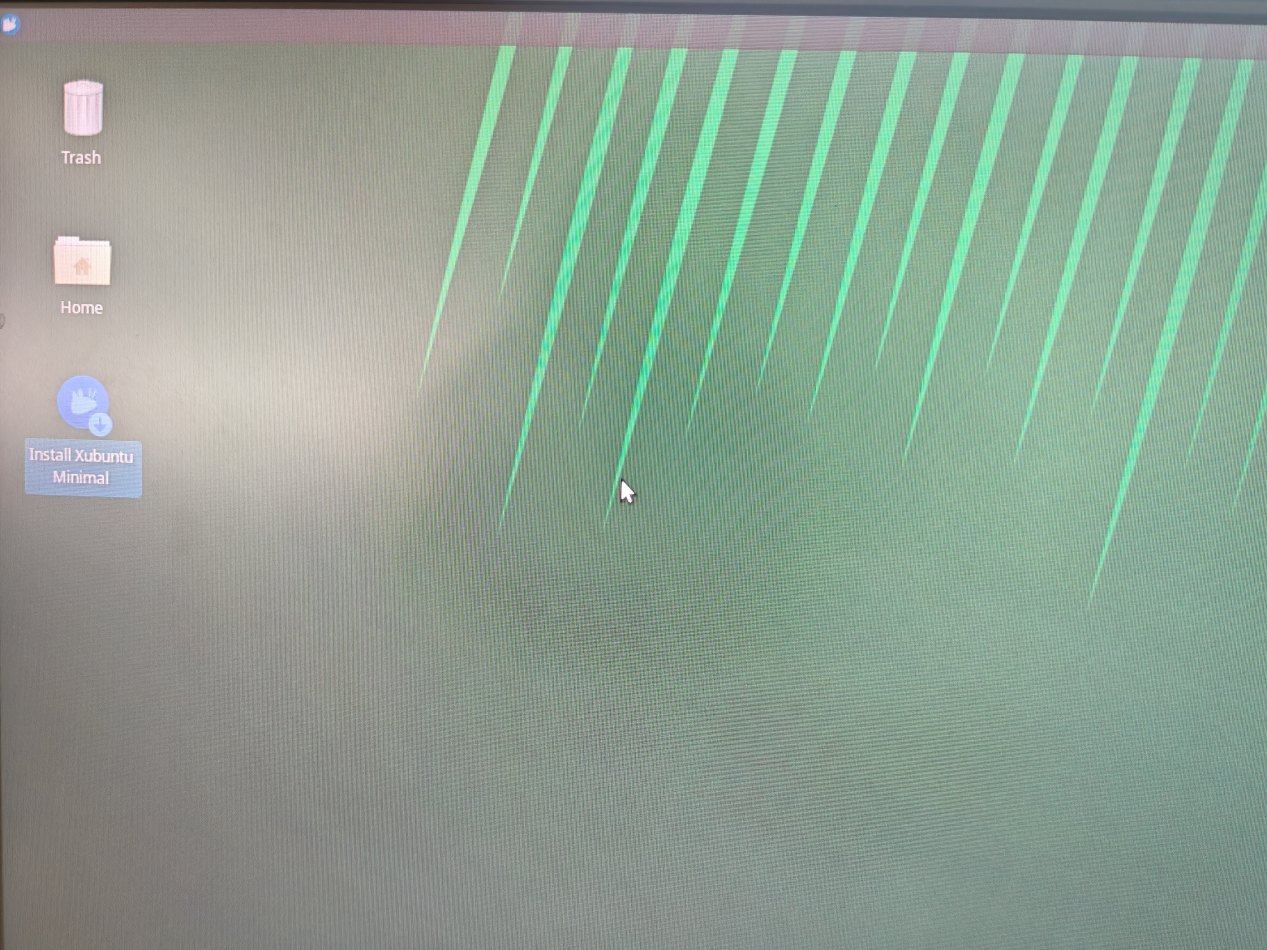
After entering the desktop, double-click the Install Xubuntu Minimal icon on the desktop.
-
Configure Key Items:
- Language: Select
Chinese (Simplified). You can choose freely according to your needs.
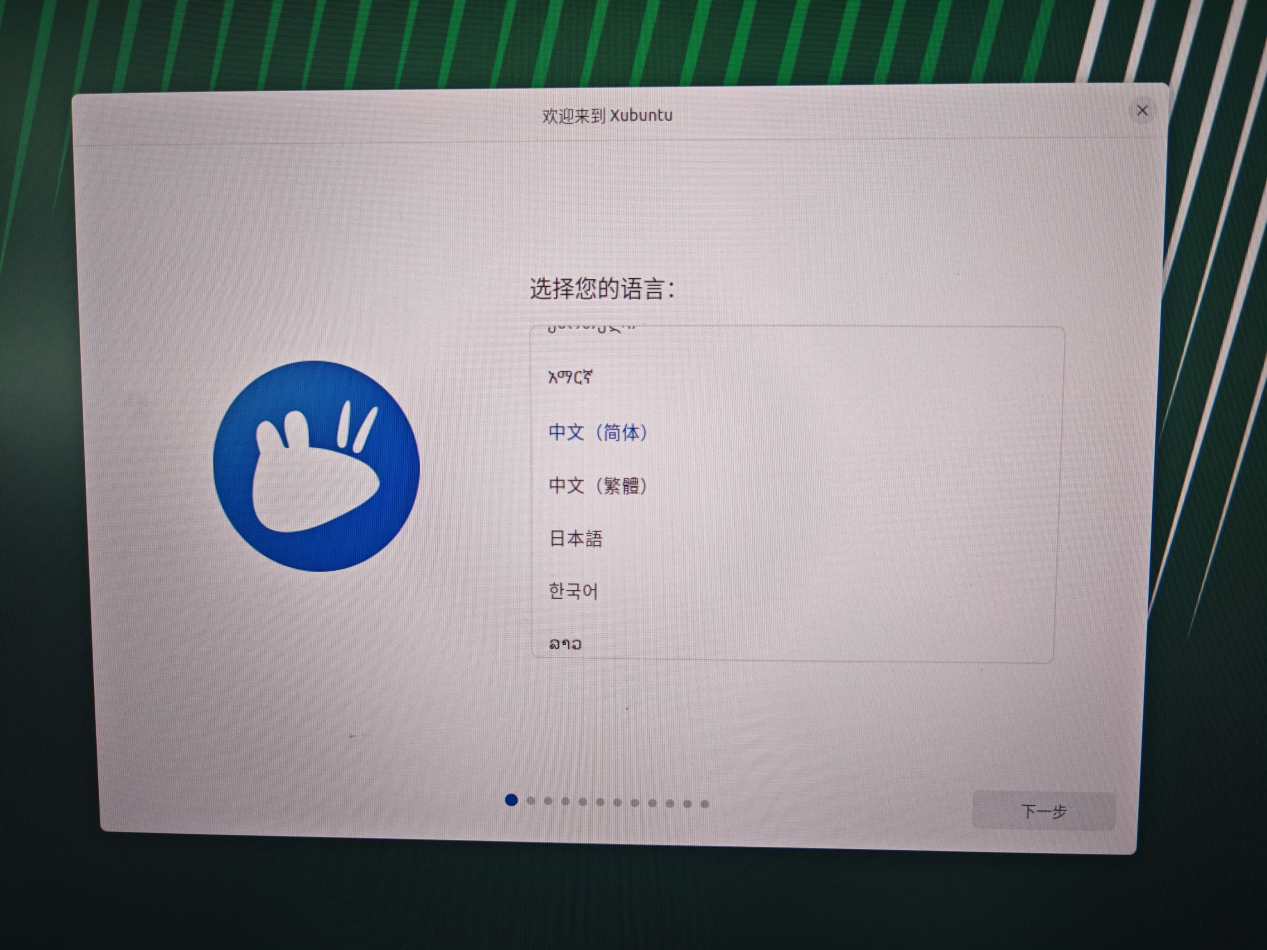
Note: Language settings will affect the display language of the control panel, menu bar, and other interfaces after system installation is complete.
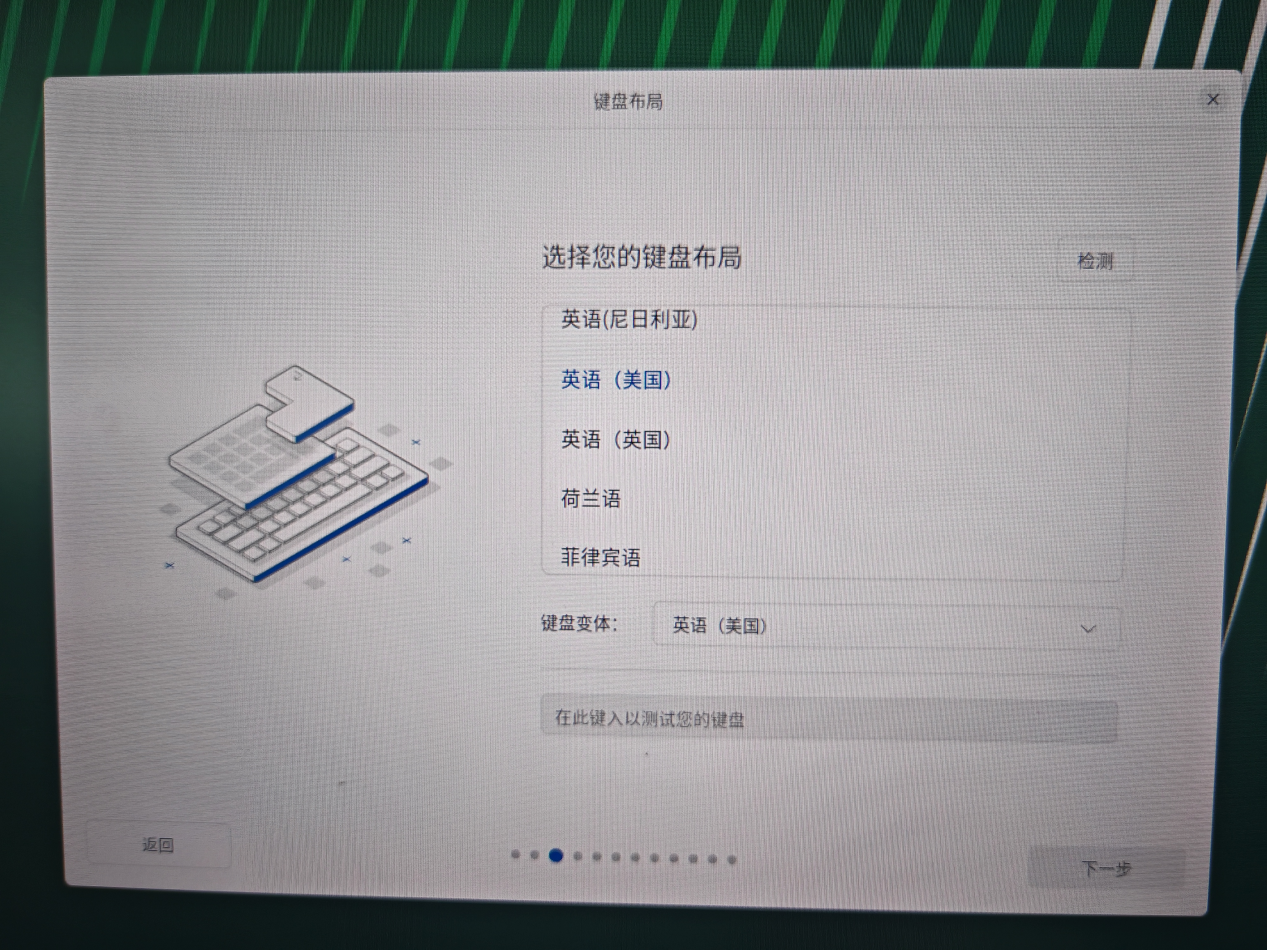
- Keyboard Layout: Click the Detect button and follow the prompts. The result will be
English (US).
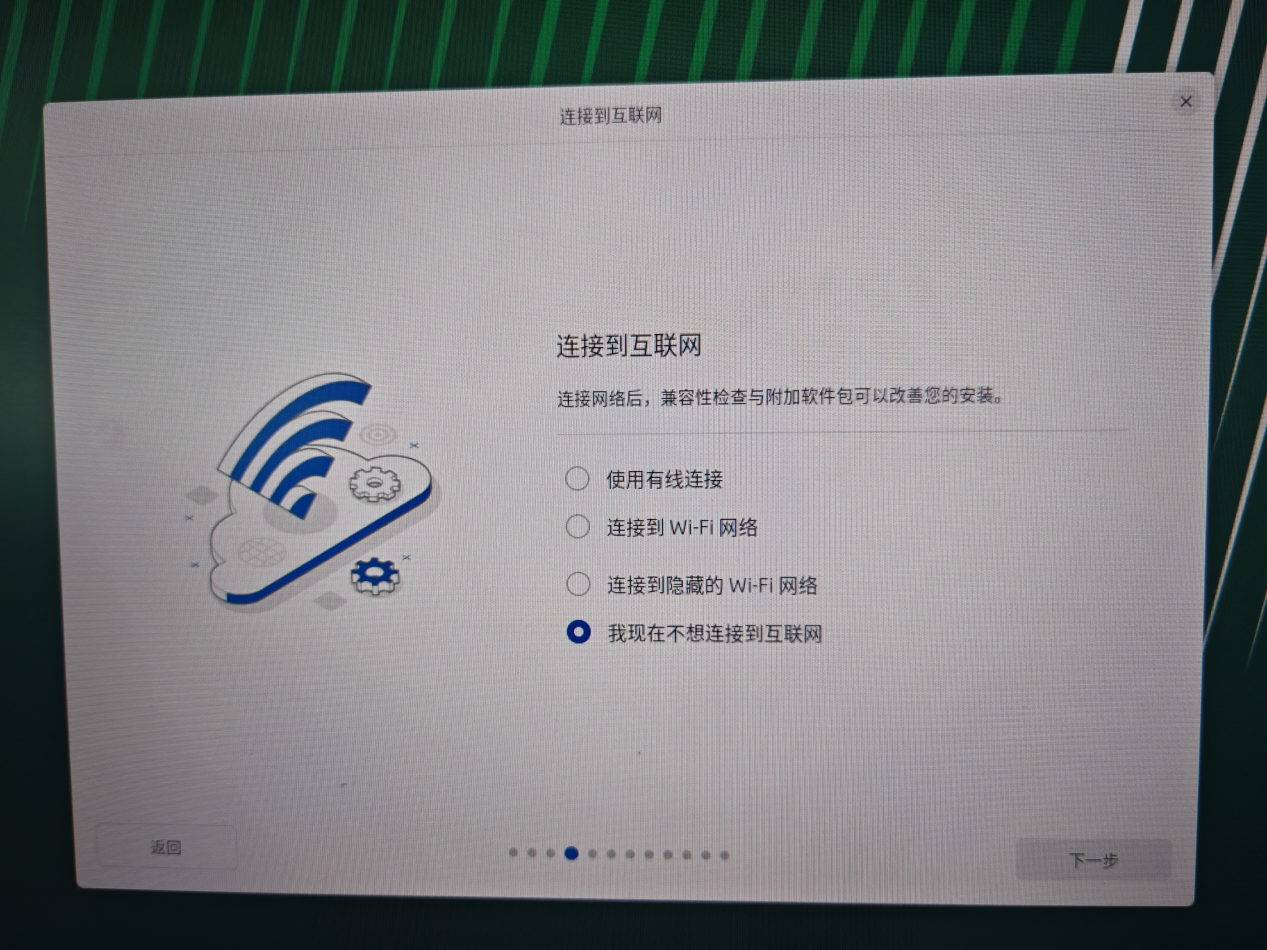
- Network: Select
I don't want to connect to the Internet right nowfor offline installation.
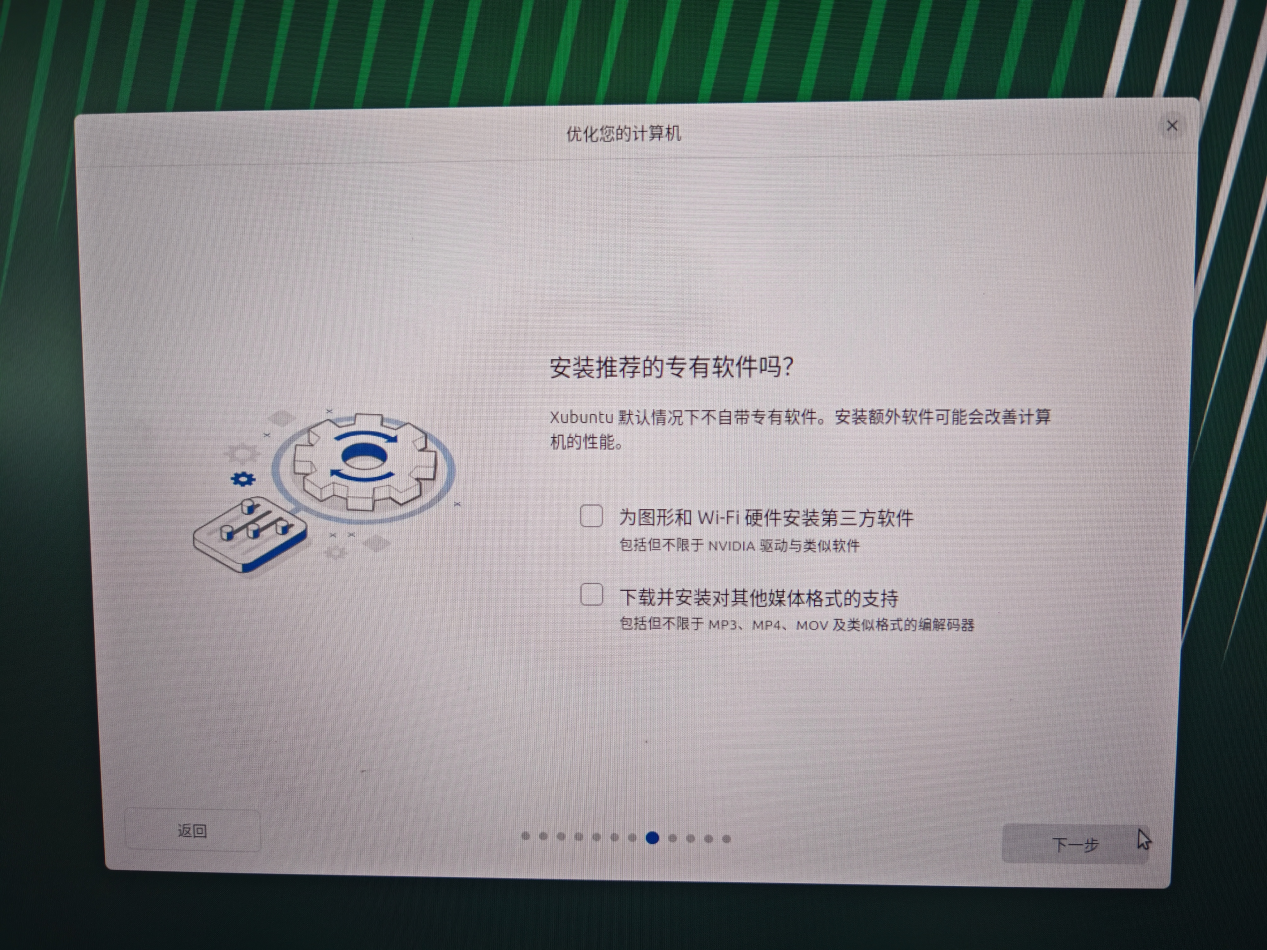
- Update: Select
Skipthe update.

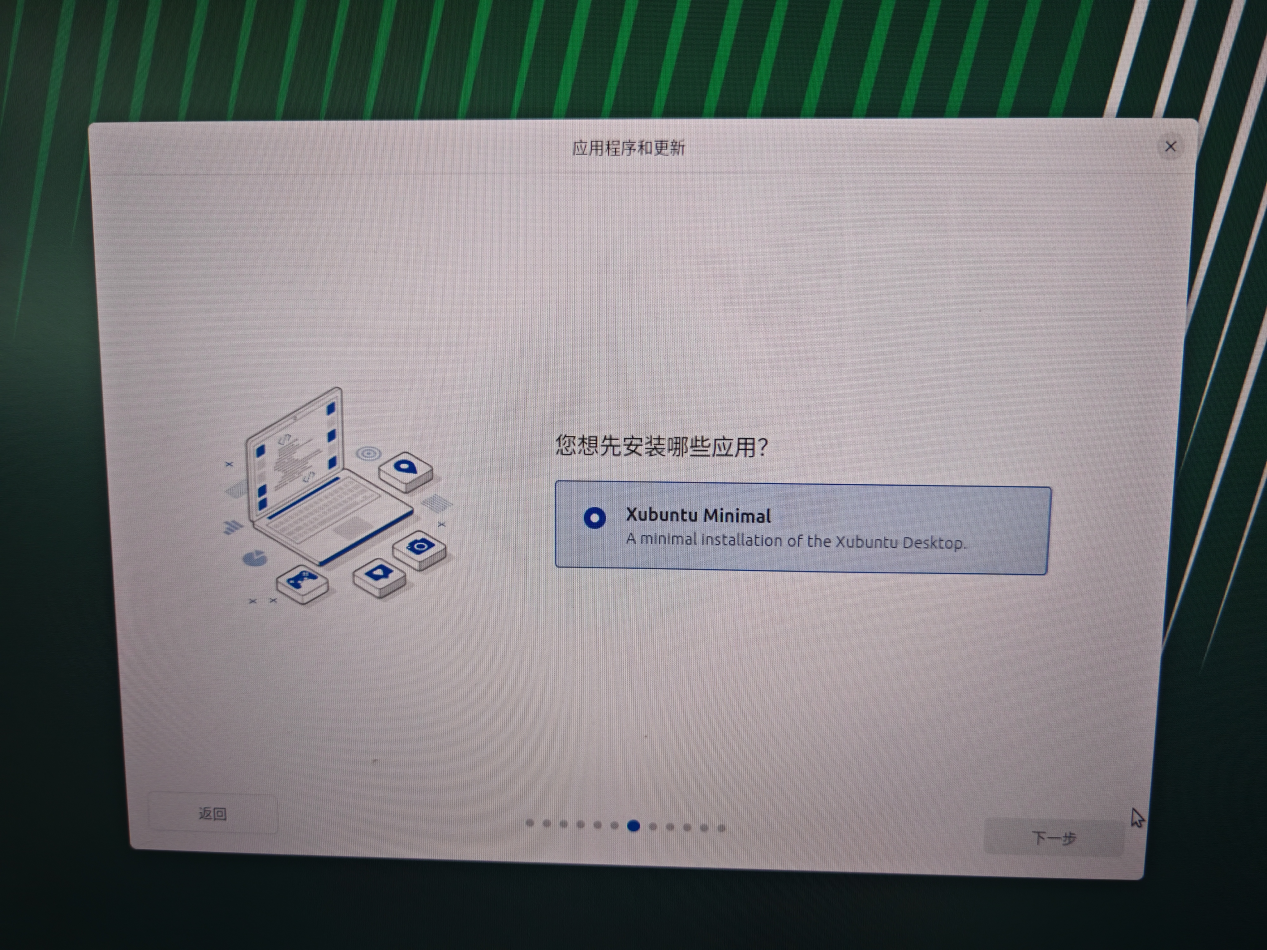
- Installation Type: Select
Interactive install, and keep the default selections for subsequent steps.

- Language: Select
-
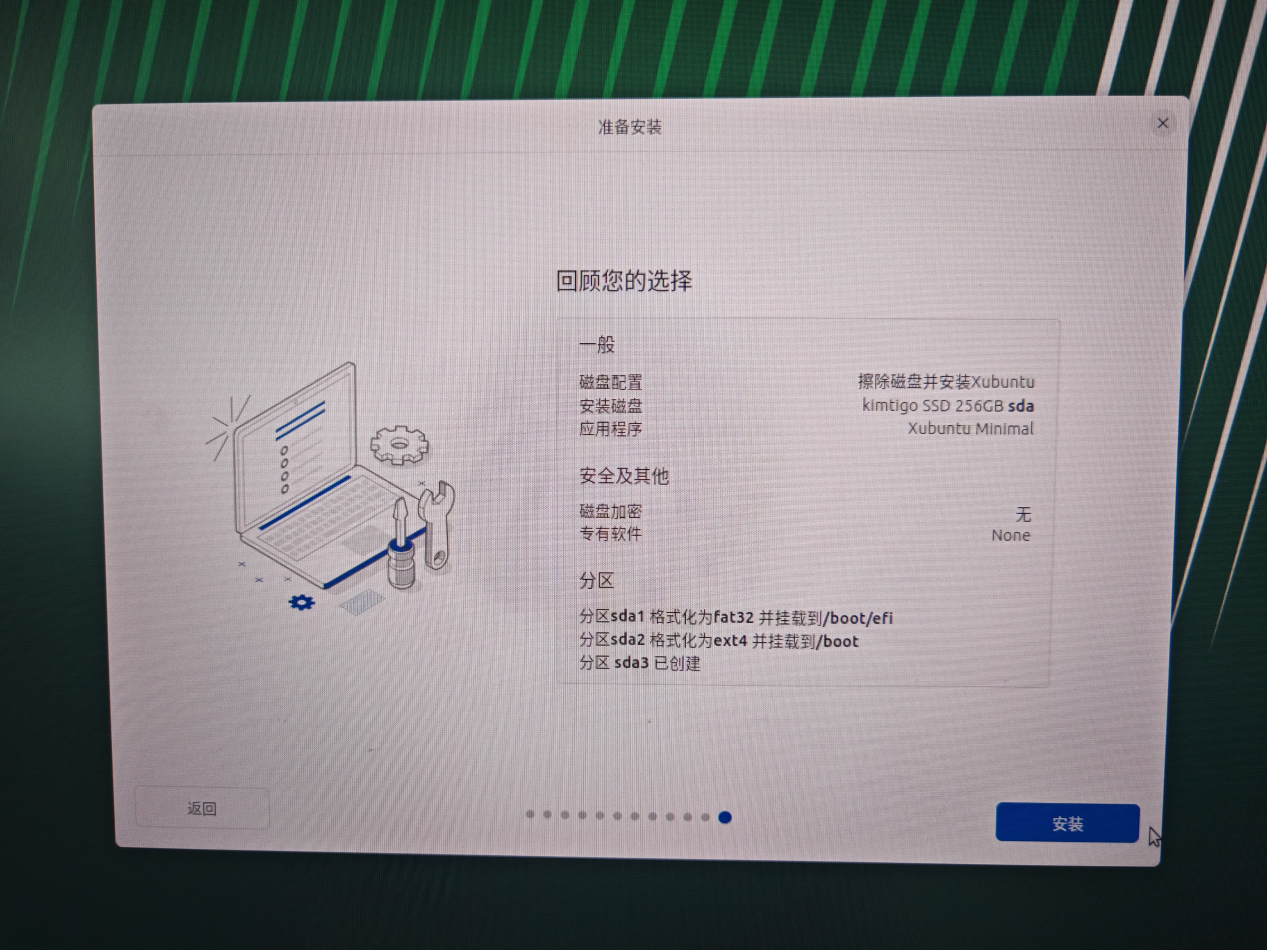
2.2.3 Disk Management: Select Erase disk and install Xubuntu.
Tip: This operation will clear all data in the terminal. Please ensure that you have backed up important data as required by the "Thin Client Flashing and Installation Guide".

-
2.2.4 Account Information (Must be strictly set according to the table below):
Field Setting Value Name / Username desktopclientPassword Please contact vendor technical personnelLogin Options Uncheck: Require password for login 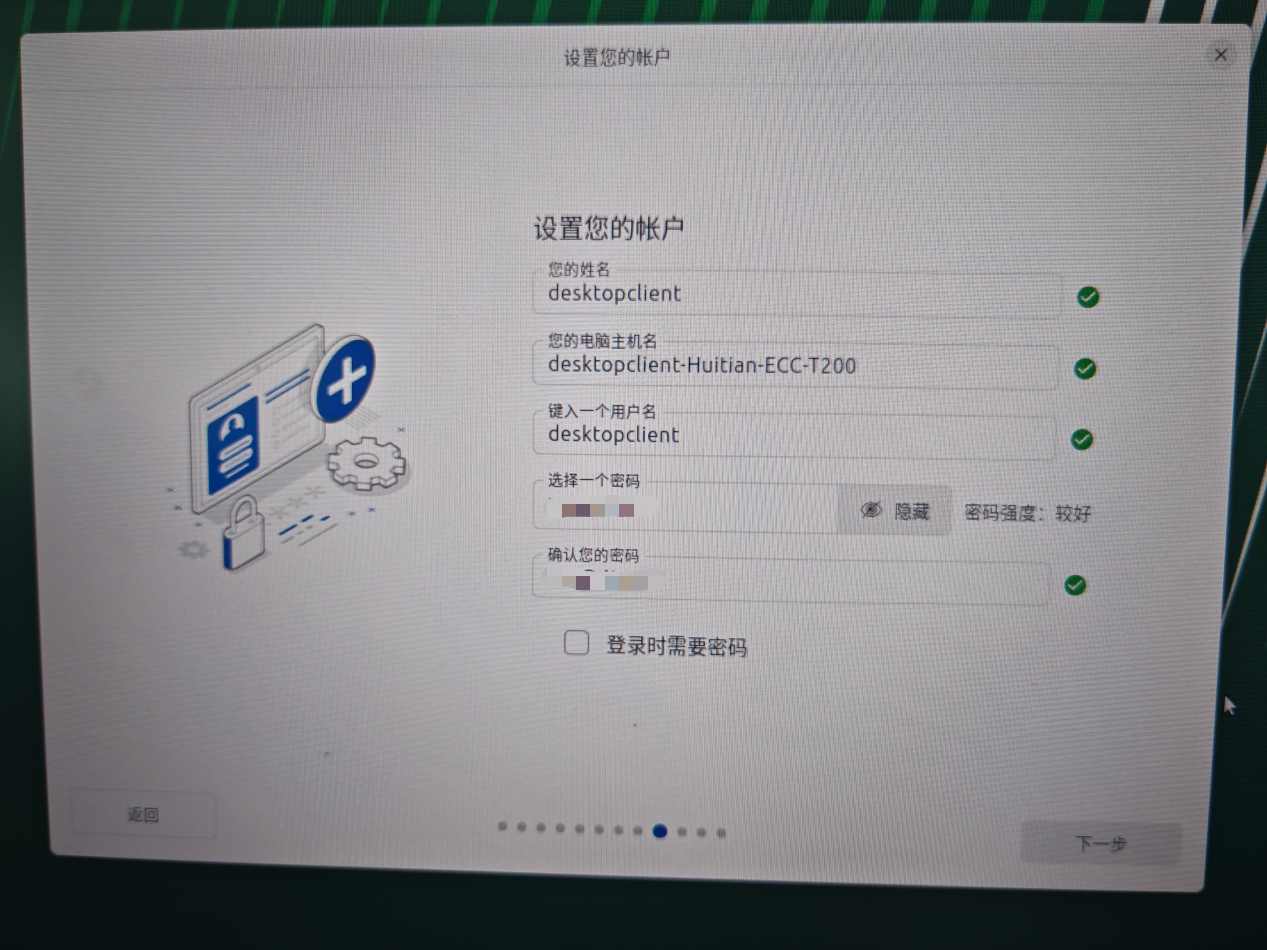
-
2.2.5 Time Zone: You can select it according to your actual region (usually
Asia/Shanghaiin China).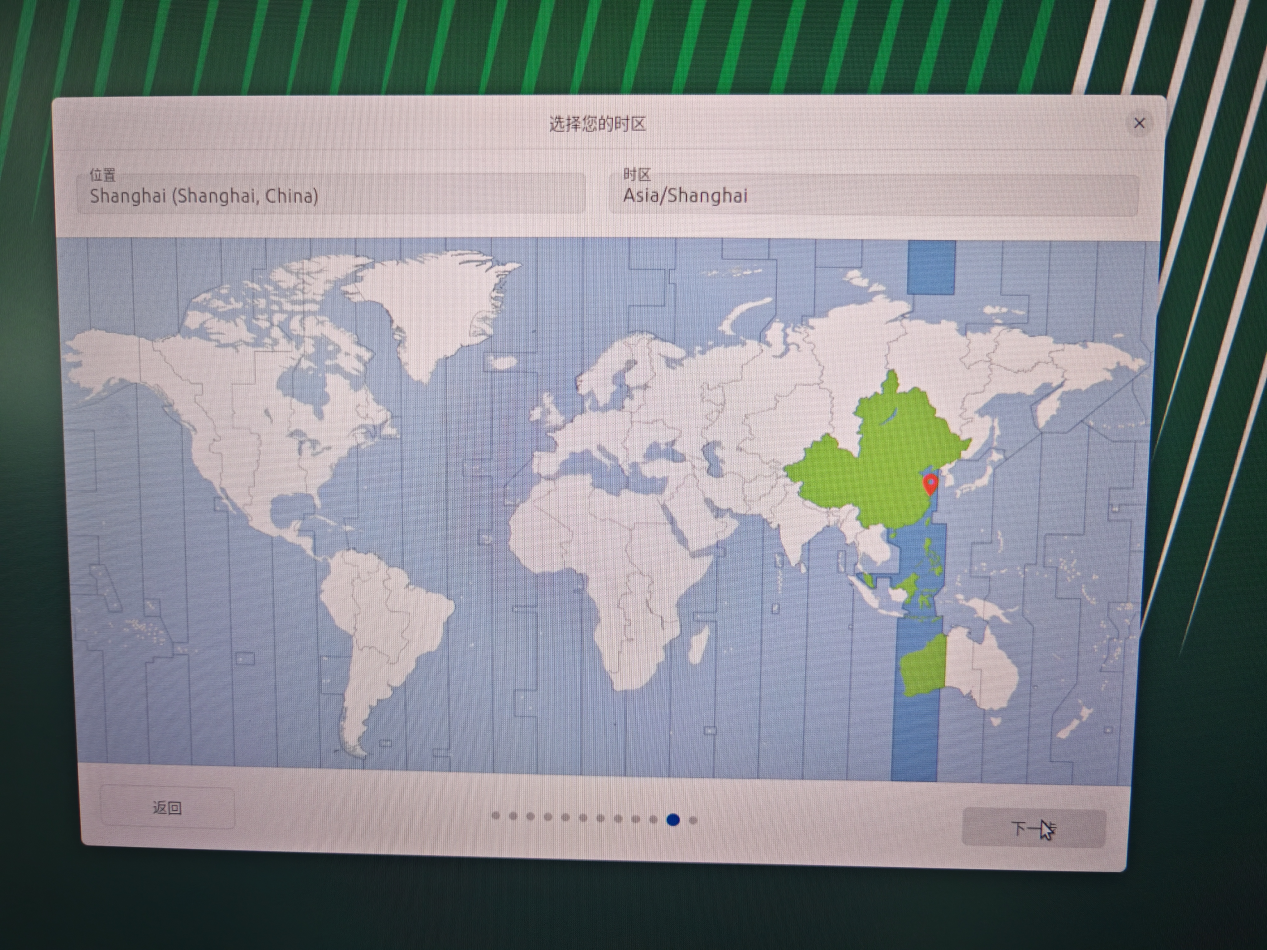
-
2.2.6 Start Installation:
-
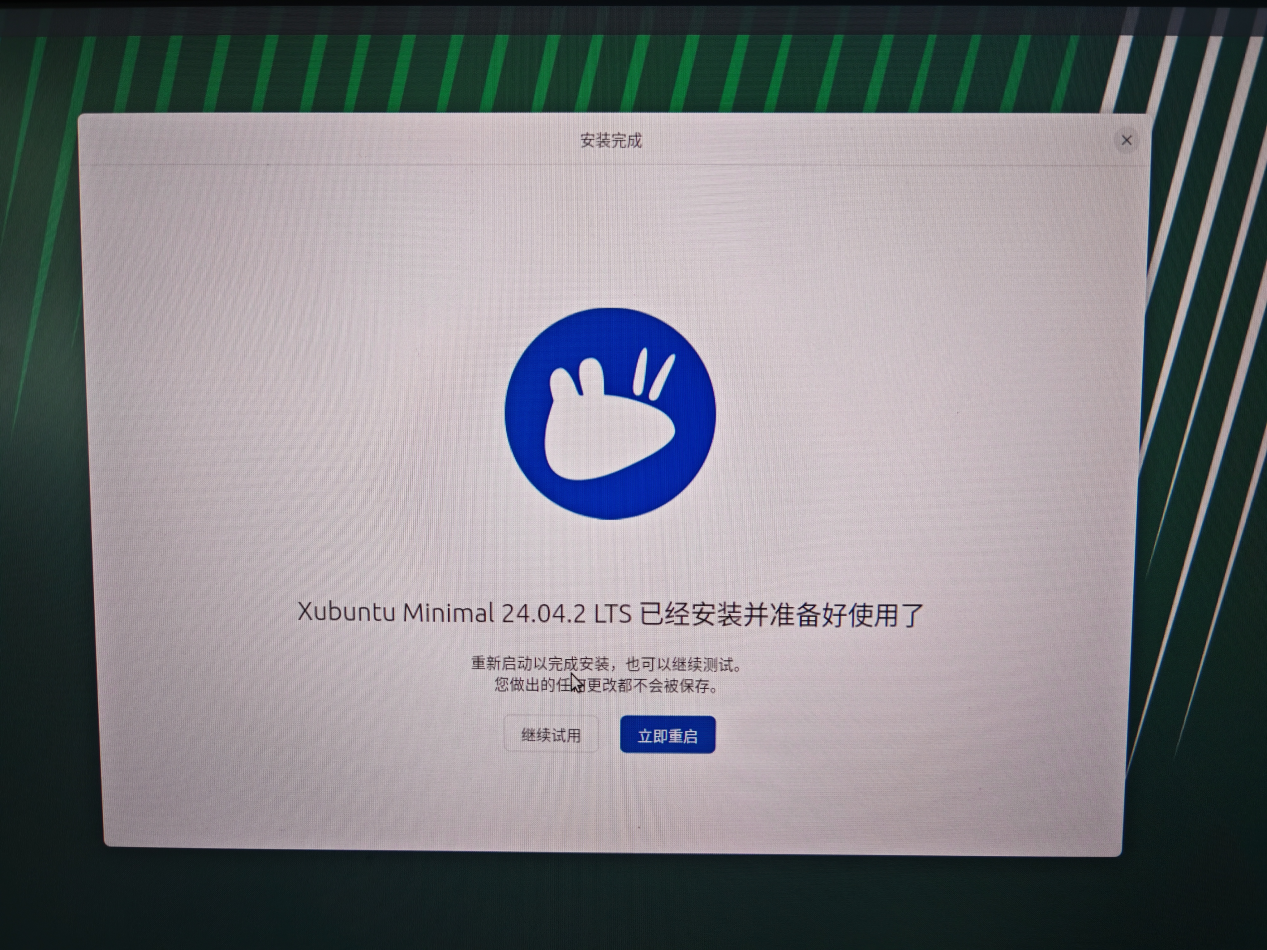
2.2.7 Wait for Installation to Complete: The installation process takes approximately 10 minutes.

-
2.2.8 Confirm Restart: After the installation is complete, click "Restart Now" and remove the USB drive. If the character interface is stuck, press Enter to speed up the restart. If it still does not restart, you can press the power button to restart.
3. Environment Customization and Client Deployment
After the Xubuntu system installation is complete and restarted into the desktop, right-click on the desktop's blank space, select Open Terminal Here, and proceed with subsequent deployment:
3.1 Enable SSH Service (Optional, for Remote Deployment)
sudo apt update
sudo apt install openssh-server
sudo systemctl enable ssh
sudo systemctl start ssh
Execute the following command to view the thin client's IP address:
ip a
Tip: In the output, look for addresses starting with
192.168.x.xor10.x.x.x(usually under network card items starting witheth0orenp). Please record this address for subsequent remote deployment on the O&M computer.
3.2 Execute Automated Deployment
Upload the installation package to the terminal via SSH or USB drive, and execute the following commands:
SSH Account: desktopclient
SSH Password: Please contact vendor technical personnel
SSH Port: 22. After
atos-installer-1.0.x.binis deployed, the SSH port will automatically adjust to 2222.
# 1. Install Offline Dependencies (Required when environment has no internet connection)
sudo bash ./ubuntu24.04_x86_64_depends-1.x.bin

# 2. Execute One-Click Installation Script (Version number based on actual release)
sudo bash atos-installer-1.0.x.bin -- -p astute-xspace_linux_x86_64_6.x.x.common.deb
Note: The script will automatically complete OS slimming and Kiosk mode configuration. After execution, the system will automatically restart and directly enter the xSpace login interface.
4. Special Notes (Compatibility and Adaptation)
Due to the wide range of x86 architecture terminals supported by this guide, the following special situations may exist:
- 4.1 Compatibility Commitment: Due to differences in underlying implementations of different hardware manufacturers, third-party dependency package omissions or device driver incompatibilities (such as special graphics card, network card drivers) may occur. Therefore, a 100% compatible commercial commitment is not provided.
- 4.2 Adaptation Support: For specific model adaptation issues found during installation, we can attempt to assist in resolving them, including but not limited to remote troubleshooting, supplementing third-party dependency packages, or specifically adjusting deployment scripts.
- 4.3 Technical Feedback: If you encounter driver or system-level anomalies during the flashing process, please contact technical support personnel and provide the specific hardware model and error logs. ```