macOS Client Installation
The xSpace client macOS version is released in the standard .pkg format, supporting MacBook and iMac series devices.
1. Installation Package Naming Rules
The released installation package name contains key information such as architecture and version number, for example:
at-xspace_macos_x86_64_6.16.21.common.pkg
- x86_64: Indicates that this installation package is compiled for the x86_64 processor architecture.
- 6.16.21: Indicates the software version number of the installation package.
Architecture Compatibility Note:
Mac devices with Apple Silicon (M1/M2/M3, etc.) chips use ARM architecture. Thanks to the system's built-in Rosetta translation technology, the above x86_64 version installation package can be perfectly compatible and run on all Apple Silicon-based hardware.
2. Installation Steps
After downloading the installation package locally, double-click to launch the installation wizard and follow these steps to complete the installation:
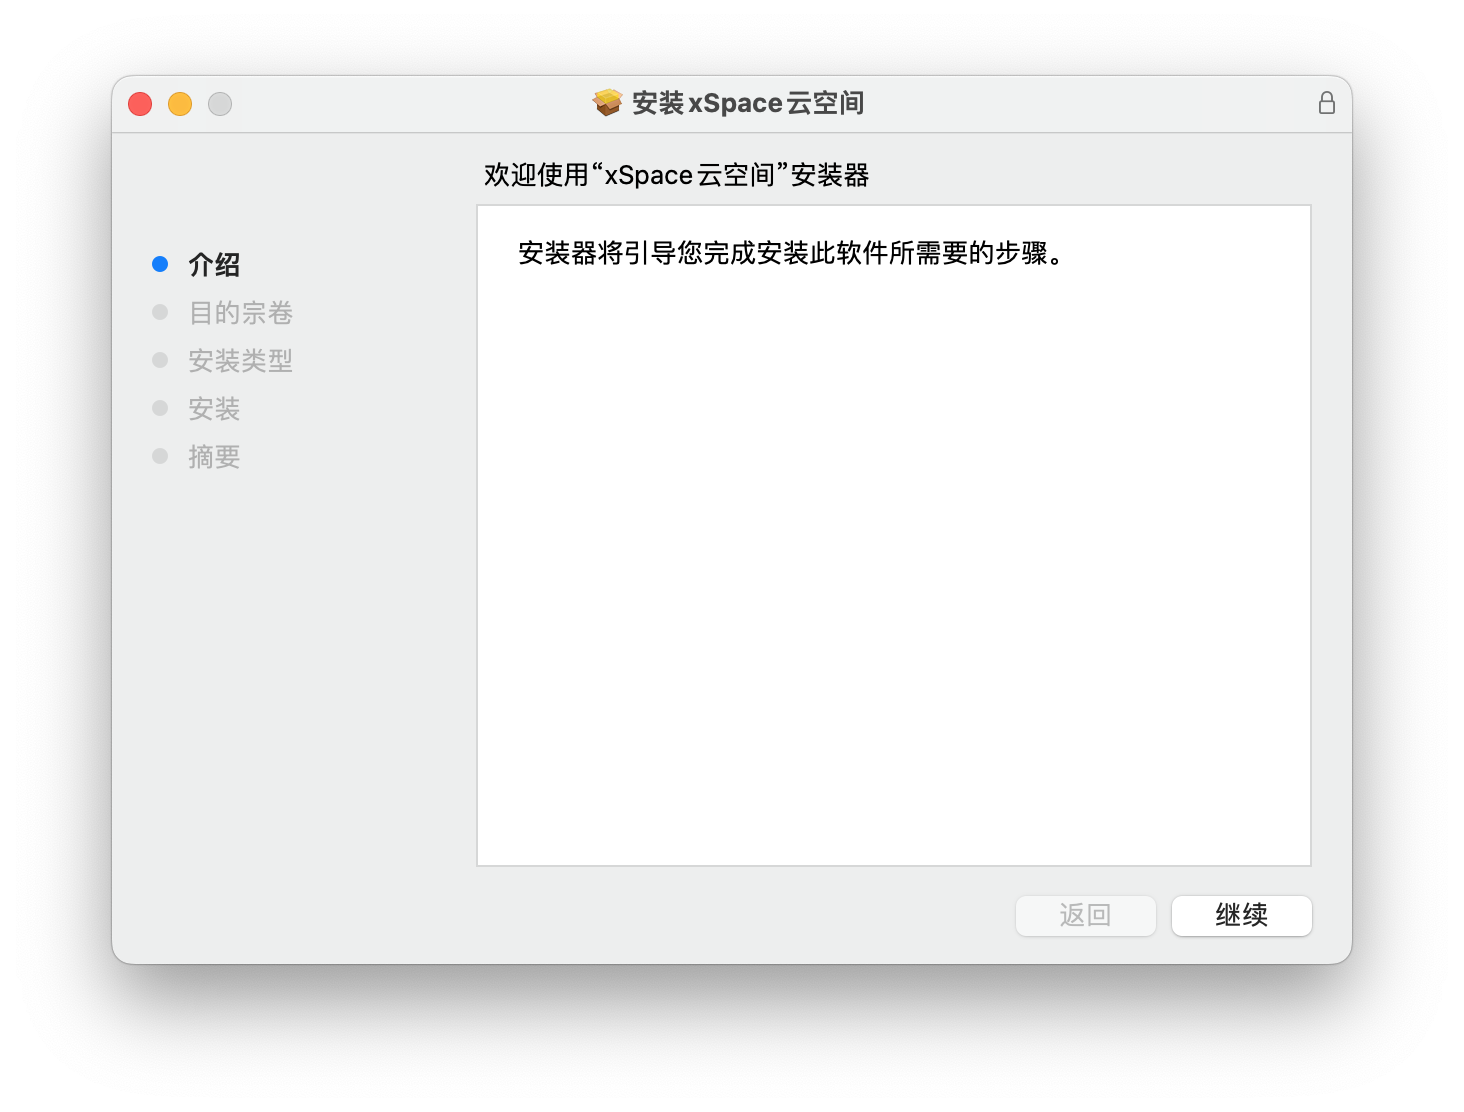
2.1 Launch Wizard
Enter the welcome interface and click "Continue".
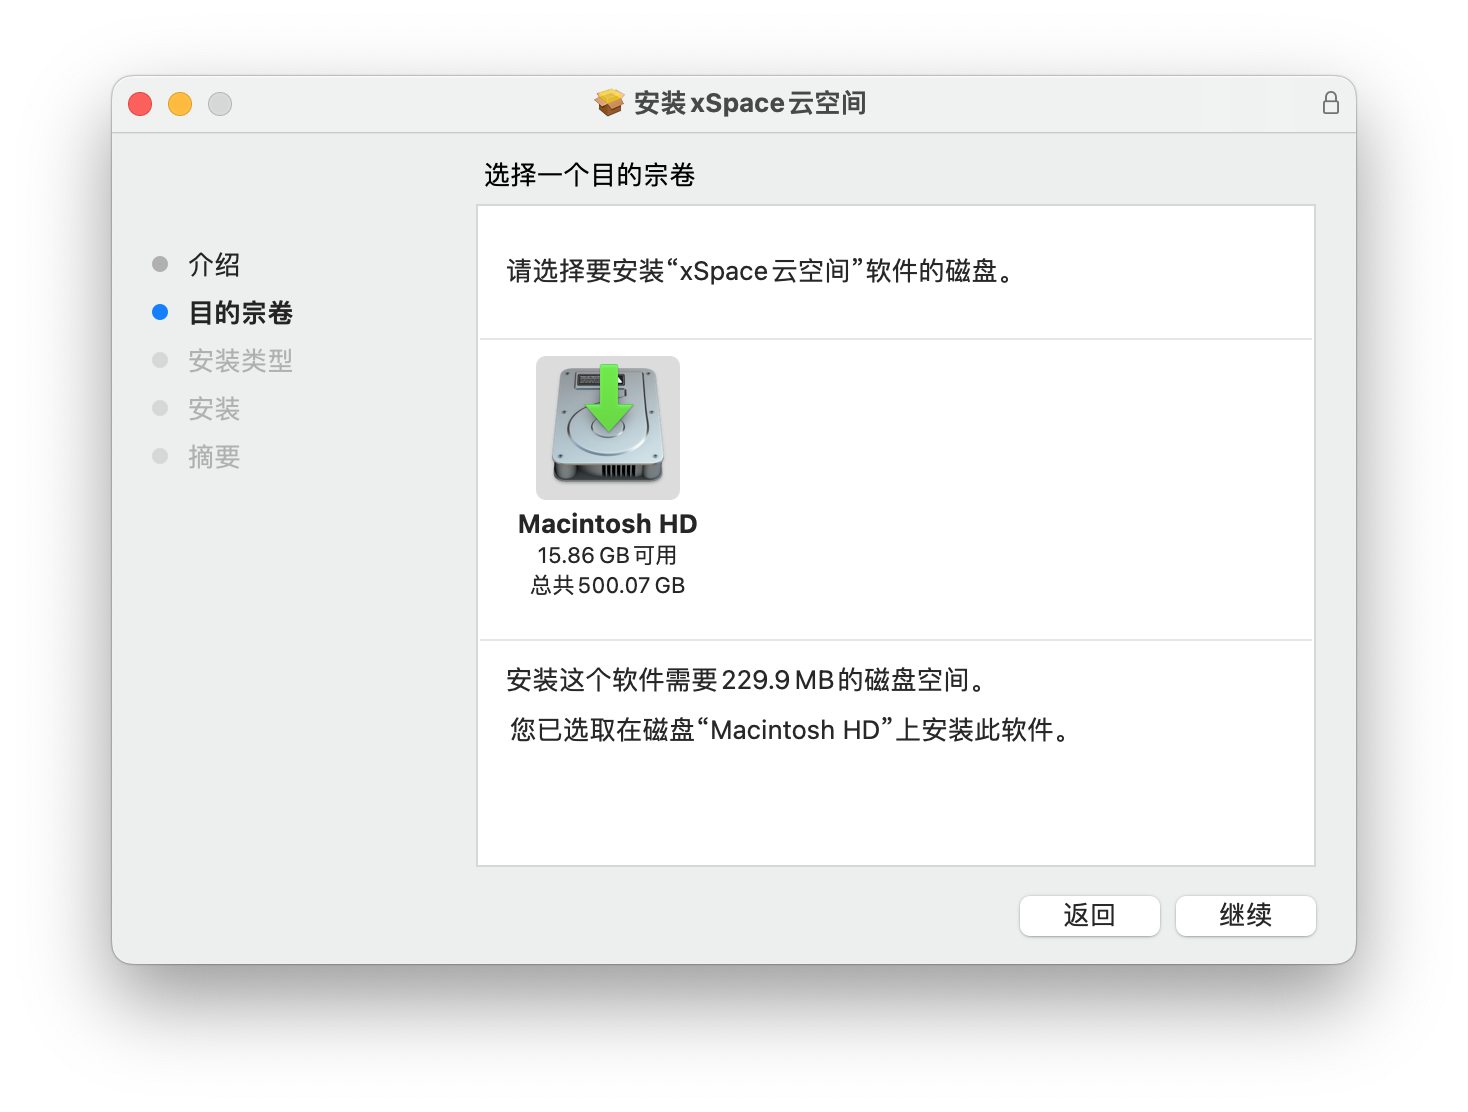
2.2 Destination Volume
After confirming the relevant information, click "Continue".
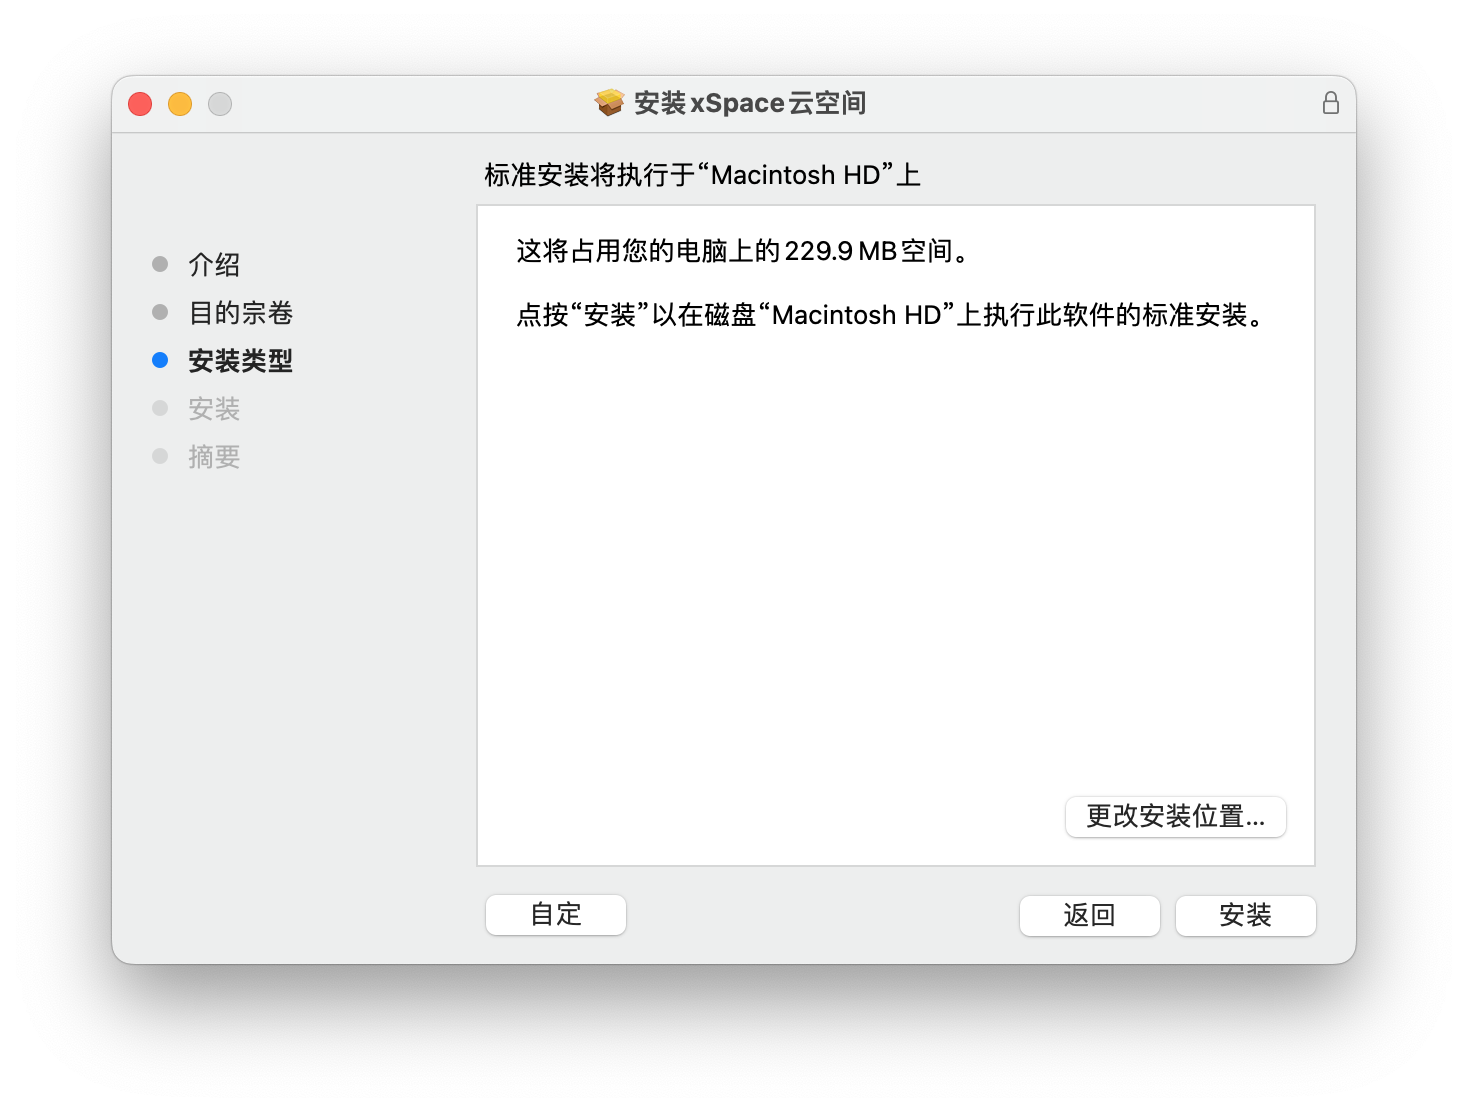
2.3 Installation Type
Confirm the required disk space and click "Install".
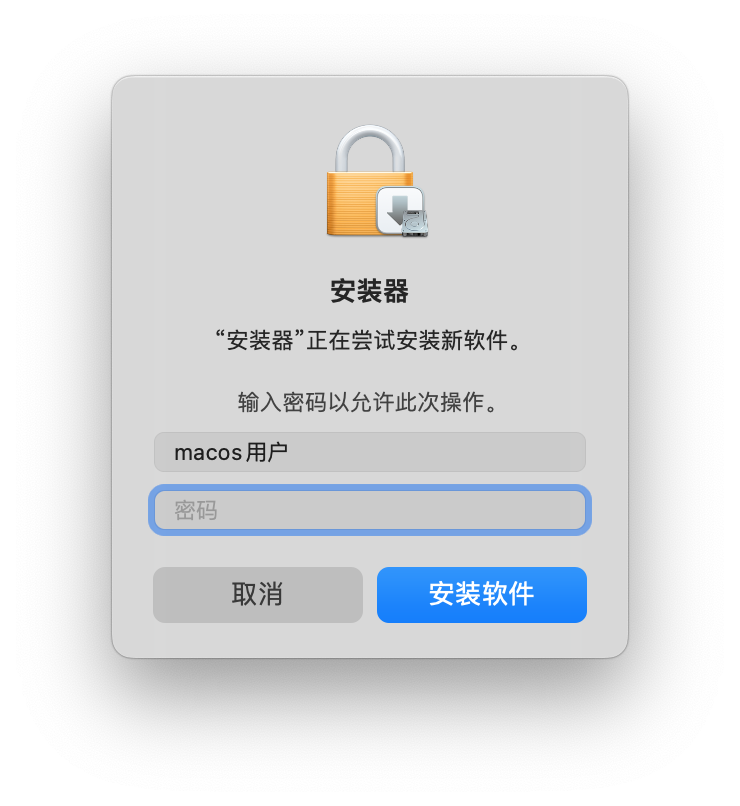
2.4 Authentication
Enter the user password of the current macOS system to authorize the installer to write system permissions, then click "Install Software".
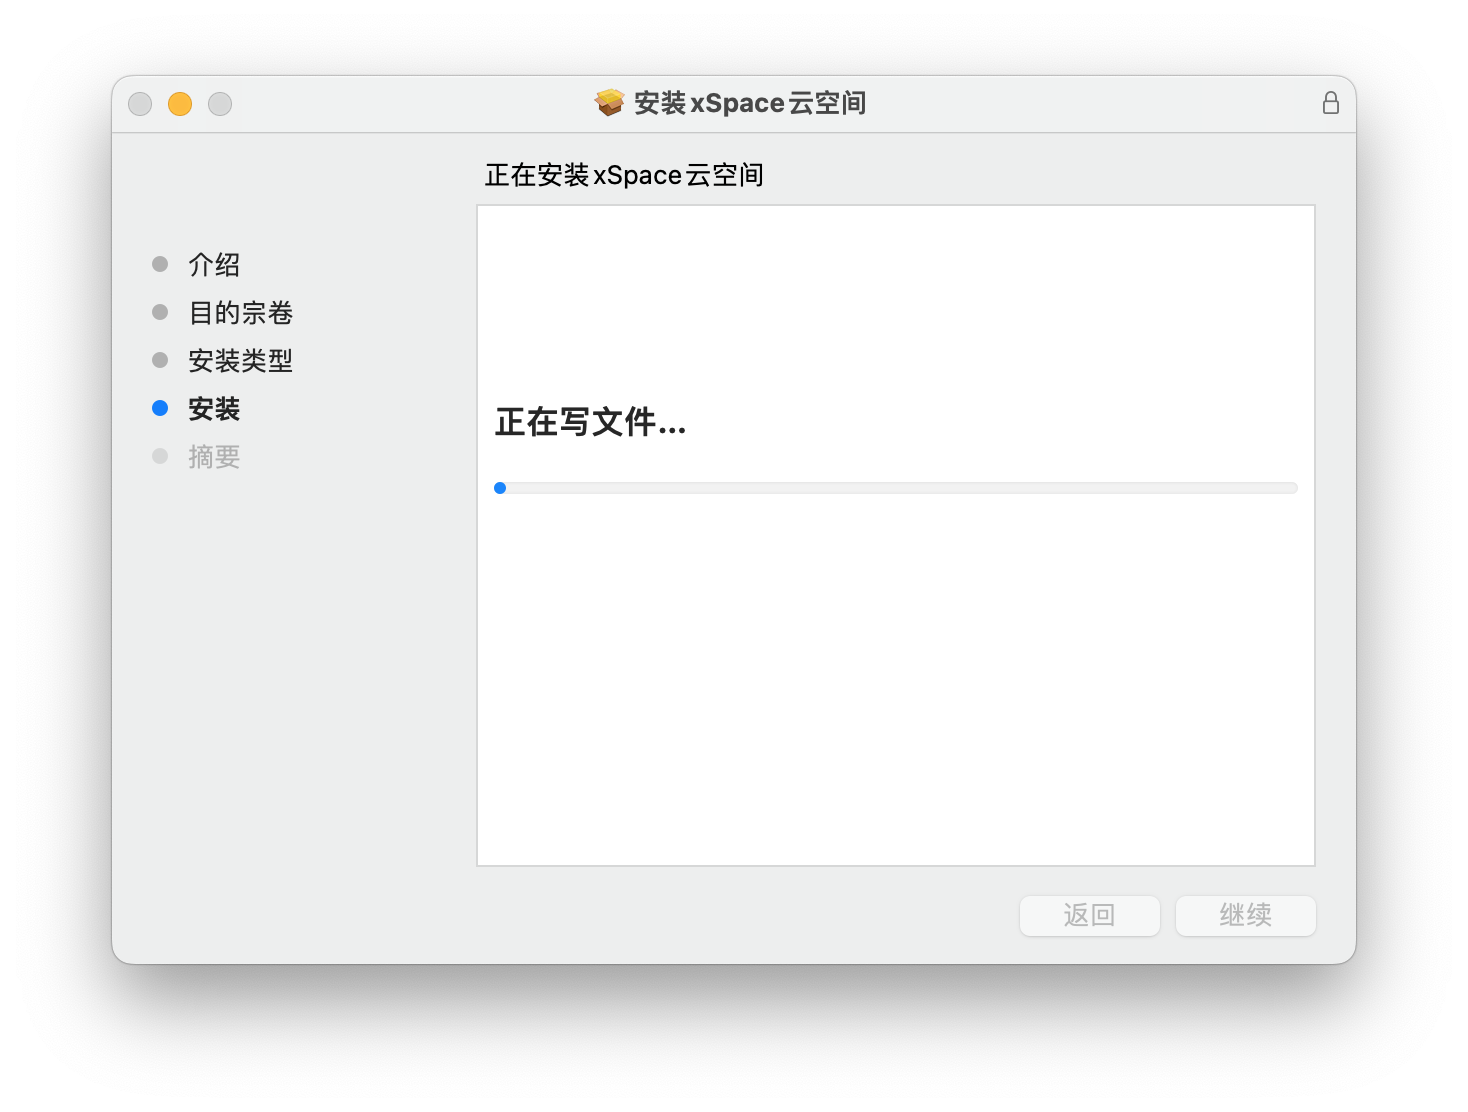
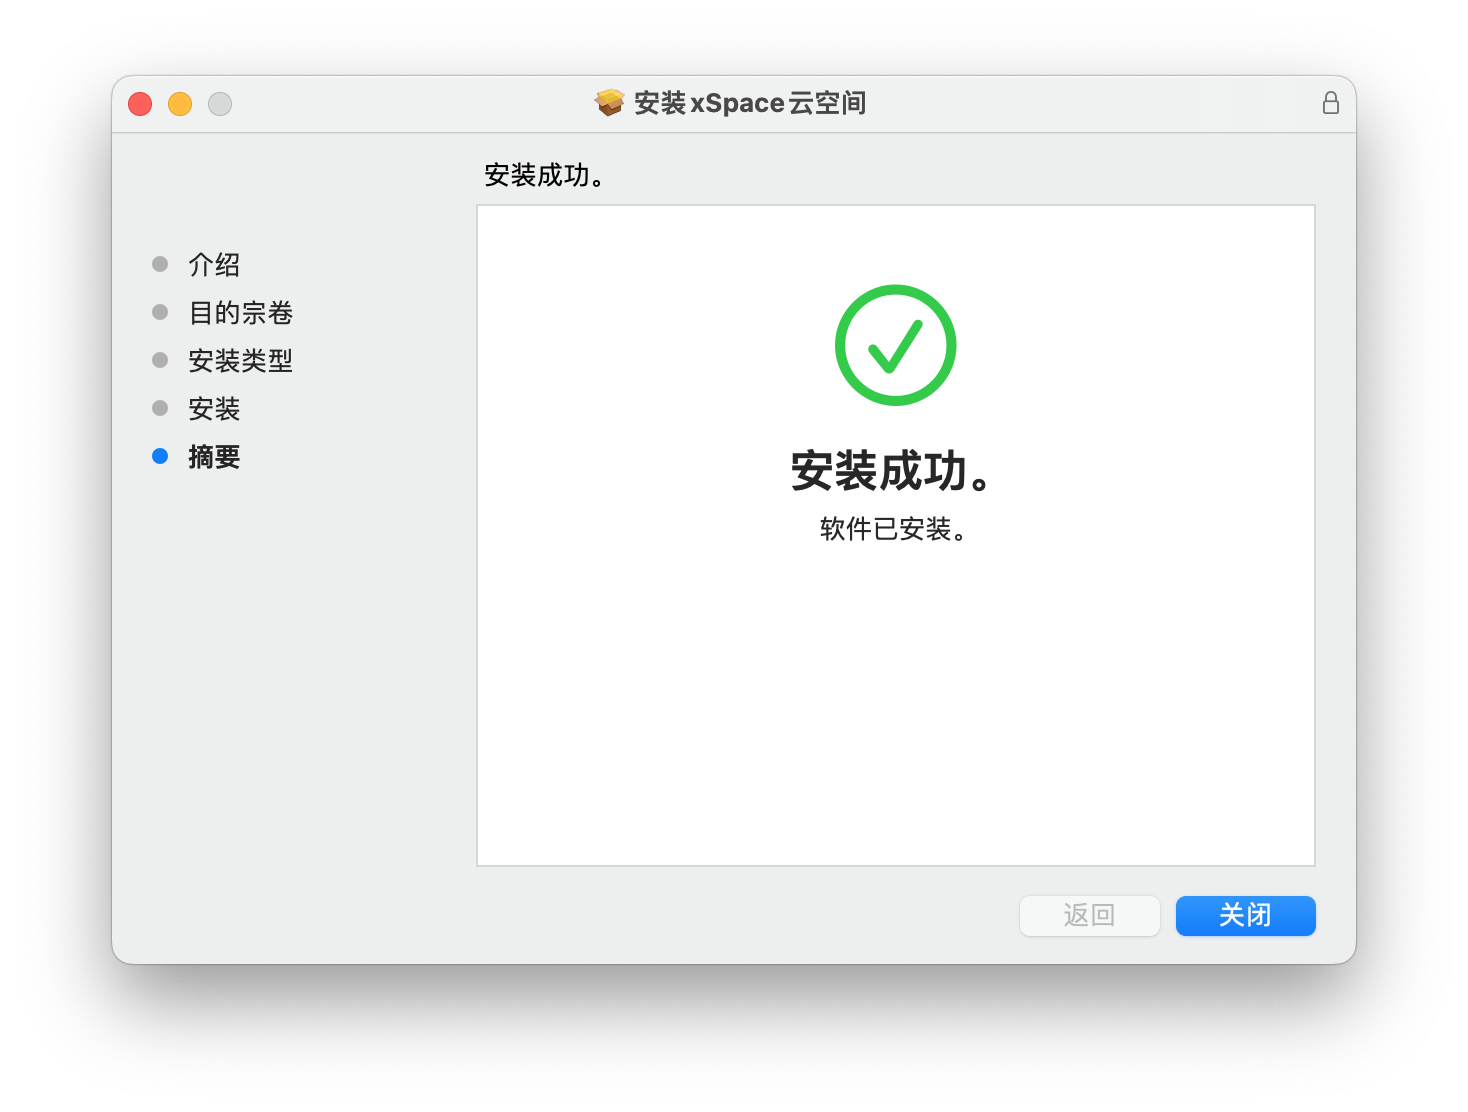
2.5 Complete Installation
Wait for the progress bar to complete. After "Installation Successful" is displayed, click "Close".
After installation is complete, find the xSpace client icon in the macOS "Applications" list and double-click to launch it.
3. Configure Cloud Platform Address
When running the client for the first time, the management component access address needs to be configured:
3.1 Enter Settings
Click the "Settings" (gear icon) in the upper right corner of the login interface.
3.2 Fill in Information
- Server Address: Fill in the actual xSpace management component IP or domain name (internal or public network address).
- Port Number: Default is 44301. If no special changes are made, please keep the default value.

3.3 Connection Detection
Click the "Detect" button.
* Detection Successful: The interface prompts normally, and you can return to the login interface.
* Detection Failed: Please open "Terminal" and try to ping the server address to check network connectivity and whether the port is blocked by the local firewall.