Linux Client Installation
The xSpace client Linux version is released in the standard .deb format, primarily adapted for domestic innovated operating systems based on Debian/Ubuntu systems and general Linux distributions.
1. Installation Package Naming Rules
The released installation package name contains key information such as architecture and version number, for example:
at-xspace_linux_x86_64_6.16.12.common.deb
- x86_64: Indicates that the current installation package is compiled for the x86_64 processor architecture.
- 6.16.12: Indicates the software version number of the installation package.
2. Terminal Hardware and Architecture Support
The xSpace client is currently deeply adapted to the following hardware platforms and architectures:
- x86 Architecture: Supports 64-bit processors from Intel, AMD, Zhaoxin, Hygon, etc.
- ARM Architecture: Supports 64-bit processors from Kunpeng, Phytium, etc.
- LoongArch Architecture: Supports Loongson's new generation 64-bit instruction set architecture.
Note: Currently, only .deb format installation packages are released. Therefore, non-Debian-based Linux distributions such as RedHat series (using .rpm packages, like CentOS, Rocky Linux), ArchLinux, etc., are not officially supported yet.
3. Install Using Command Line (Recommended)
For the first installation, it is recommended to use the command-line method. This method can automatically parse and complete system dependencies through the package manager.
3.1 Online Installation
Open a terminal in the directory where the installation package is located and execute:
sudo apt install -y ./at-xspace_linux_x86_64_6.16.12.common.deb
When executing this command, the system will automatically download and install missing library files (e.g., libgles2, etc.) from the configured software sources.
3.2 Offline Installation
If the target machine cannot access the external network, first download the dependency packages in a network environment of the same version (e.g., sudo apt download libgles2), then place all dependency packages and the client installation package in the same folder and execute:
sudo apt install -y ./*.deb
4. Install Using Graphical Interface
On systems such as UnionTech OS (UOS), Kylin (Kylin), NfsDesktop (NfsDesktop), and Deepin (Deepin), after confirming that system dependencies are complete, installation can be completed via a graphical wizard:
4.1 Launch Installation Wizard
Double-click the downloaded .deb software package. The system will pop up an installation window, displaying the current version information. Click "One-click Install" (or "Install").

4.2 Security Authentication
Since the installation involves underlying system driver configuration, the system will pop up an authentication dialog box, prompting for authentication.
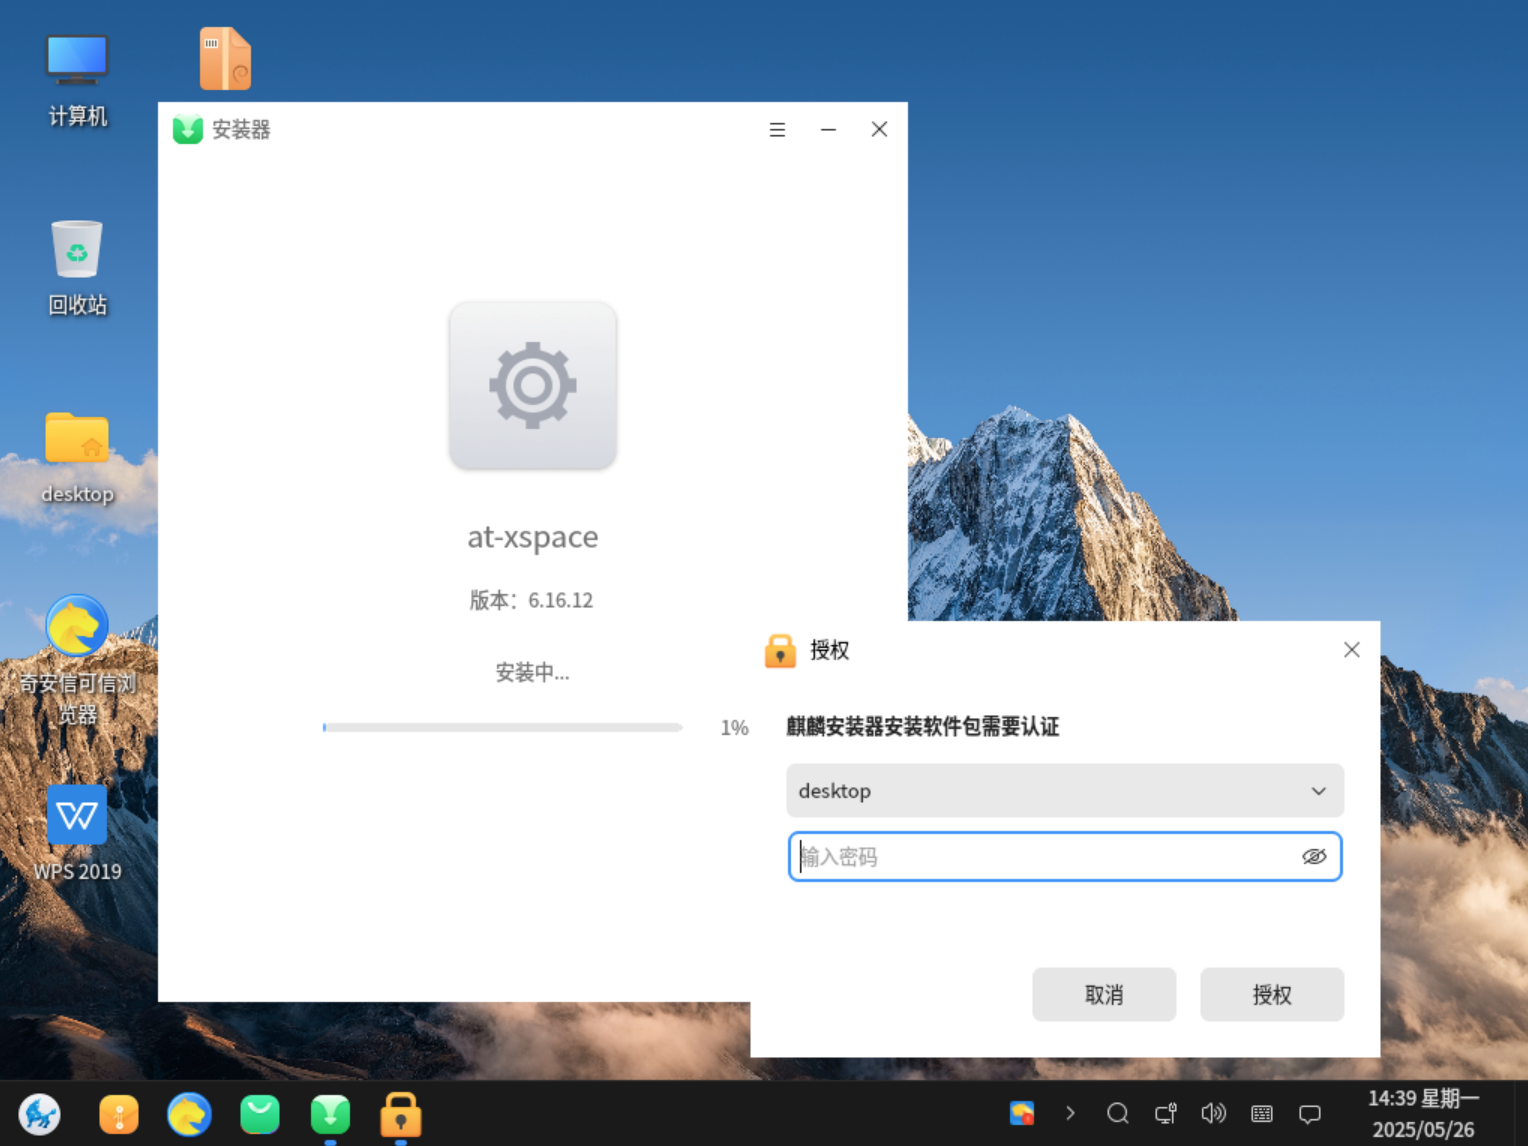
4.3 Enter User Password
Please enter the login password of the current local Linux user to authorize the installation.

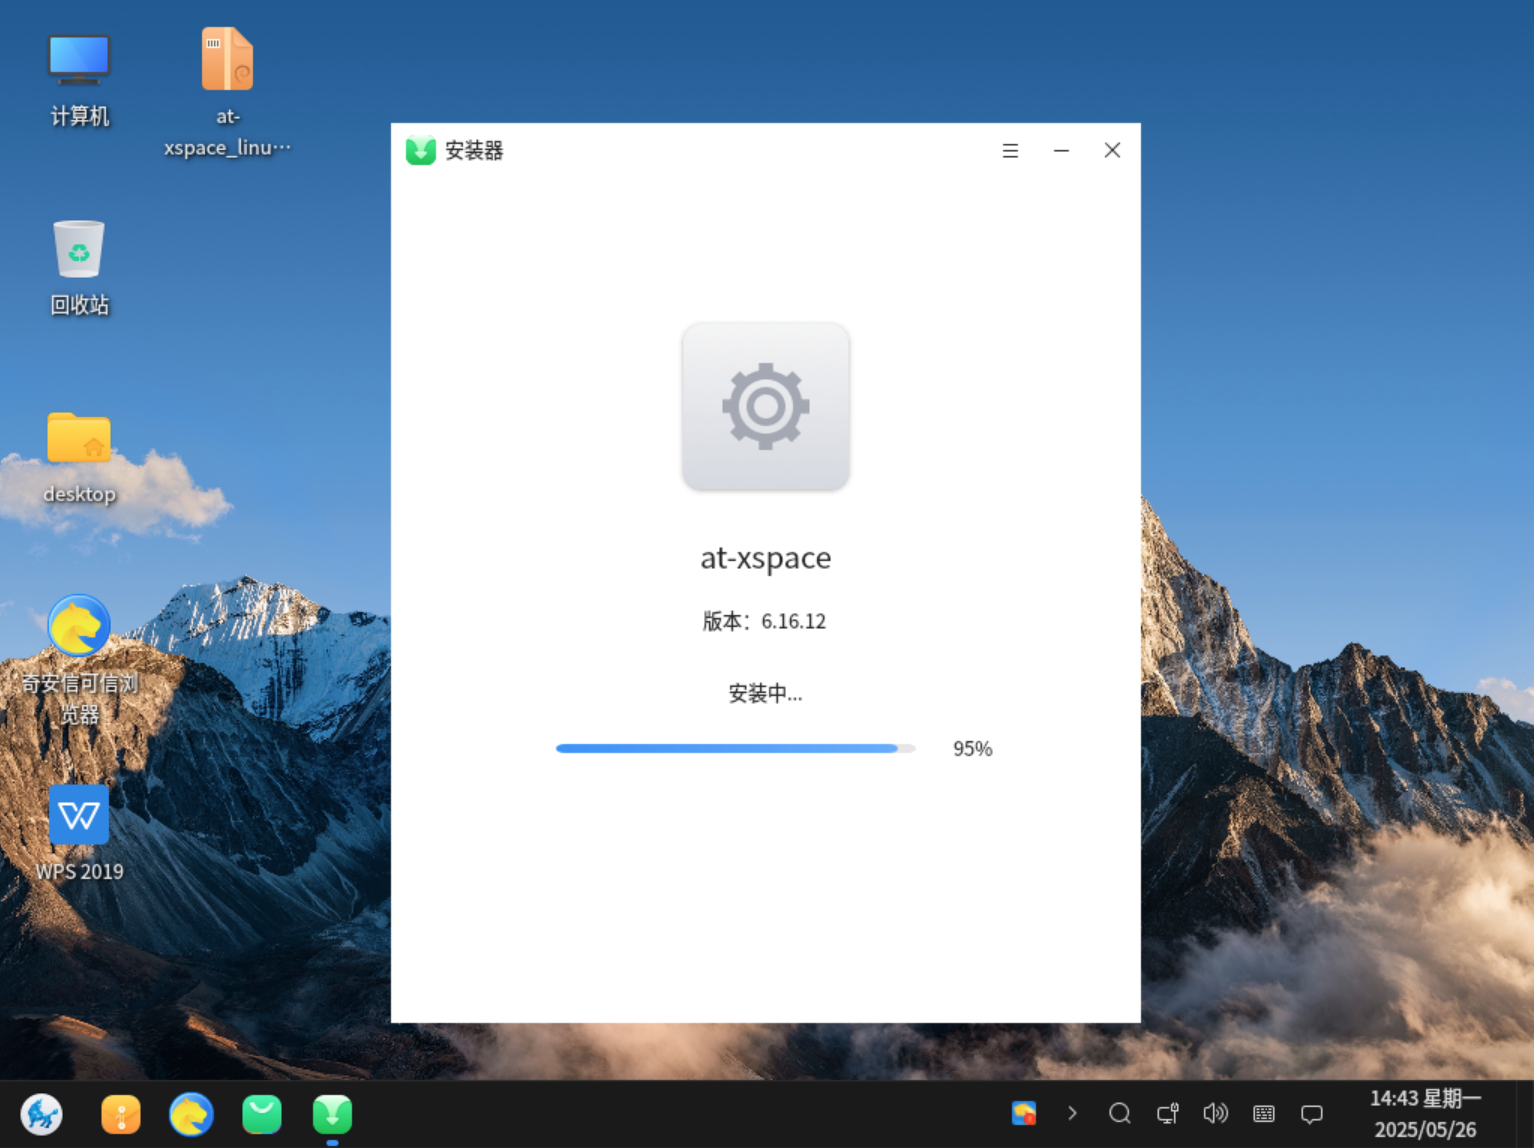
4.4 Execute Installation Progress
The system officially begins the installation process. Please wait patiently for the progress bar to complete.
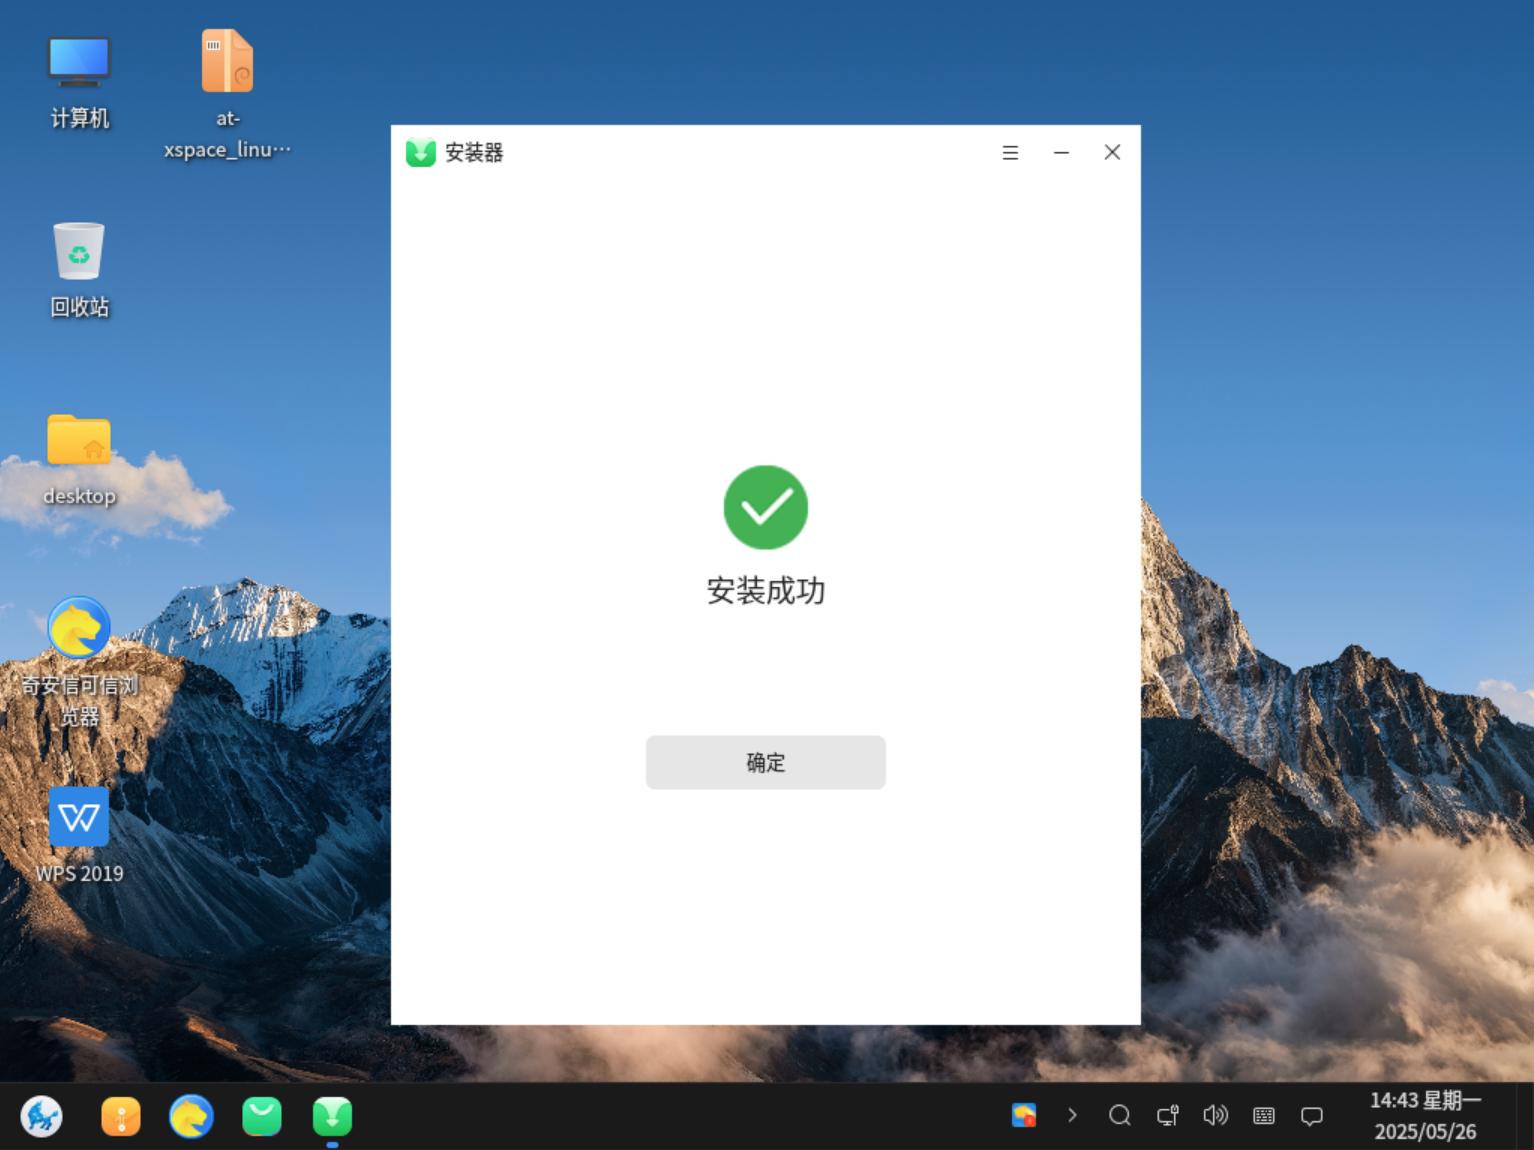
4.5 Installation Complete
After the installation successful prompt, you can launch the xSpace Client by clicking the desktop icon or from the "Start Menu".
5. Configure Cloud Platform Address
When running the client for the first time, it needs to point to the correct management server.
5.1 Enter Settings Interface
Click the "Gear" icon in the upper right corner of the client login window.
5.2 Configure Access Information
- Server Address: Enter the xSpace management component's public IP, internal IP, or domain name.
- Port Number: Default is 44301.
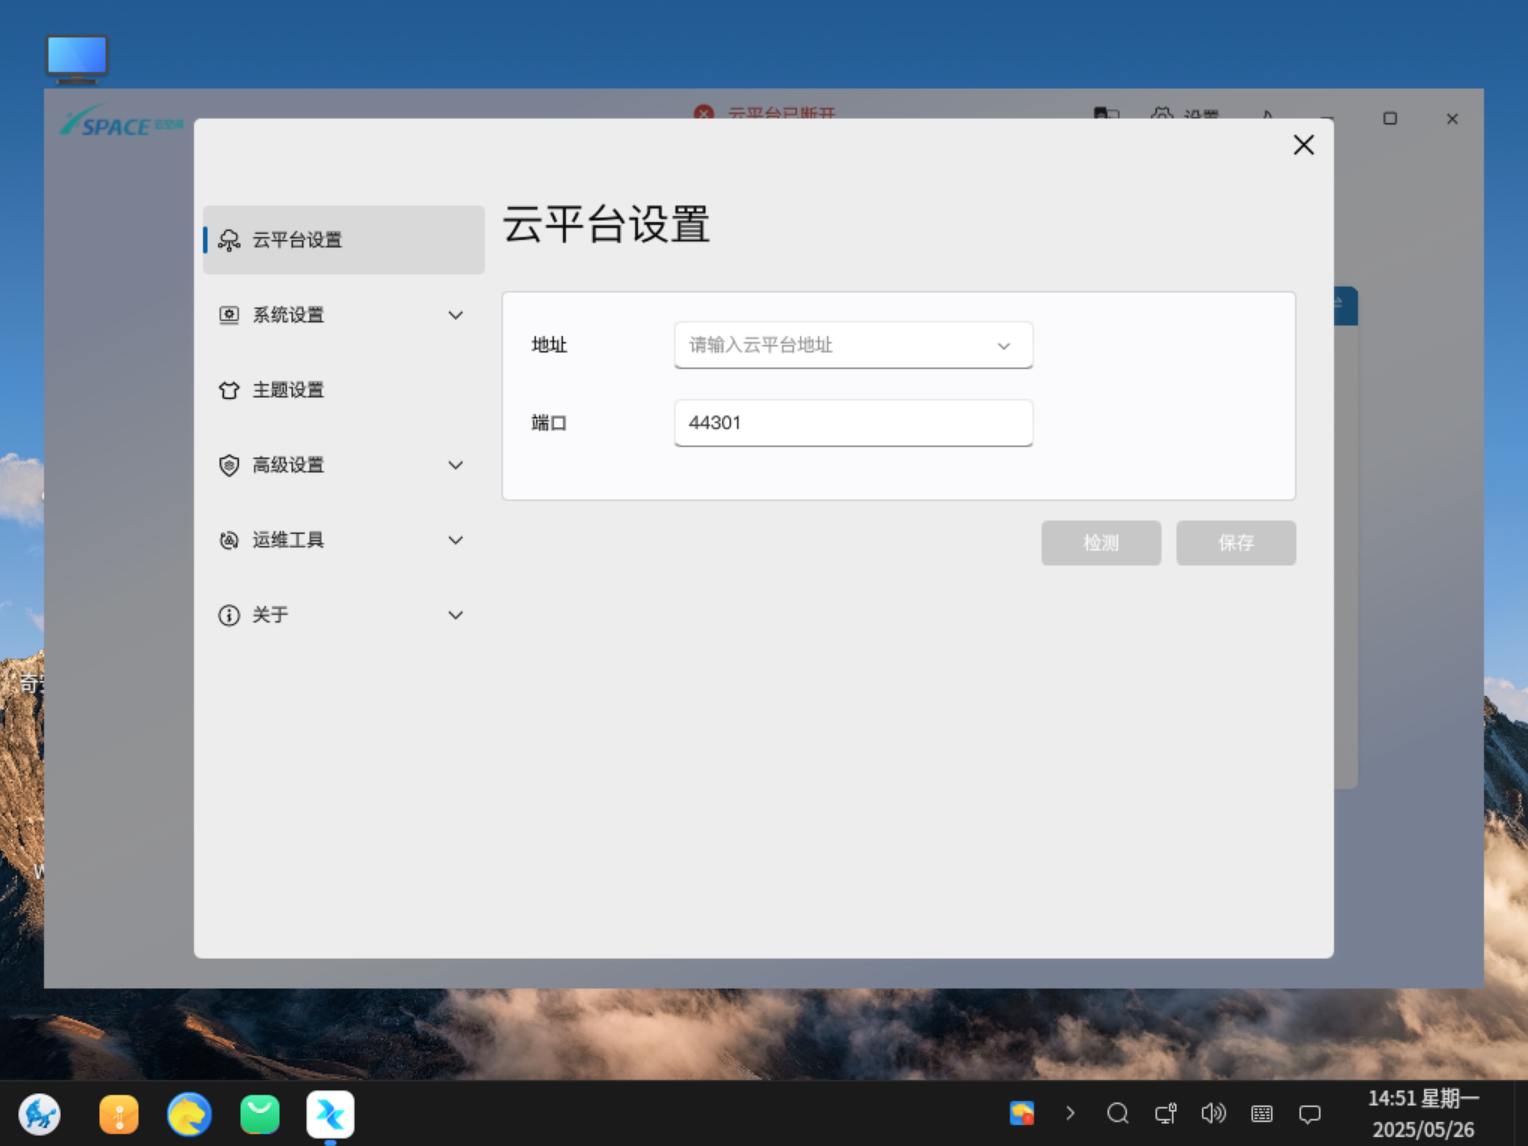
5.3 Connectivity Detection
After configuration is complete, click the "Detect" button.
* Detection Successful: The interface prompts normally, and you can return to login.
* Detection Failed: Please check if the local network is clear, and use the ping command in the terminal to confirm if the server address is reachable.