Add SmartX Cloud Platform
The xSpace management component integrates with SmartX's API interfaces to manage underlying computing resources. Due to the resource organization characteristics of the SmartX platform, basic VM group preparation needs to be completed on the cloud platform side before integration.
1. Pre-requisite: Create VM Groups
Since the management component currently does not support dynamic creation of SmartX VM groups via API calls, administrators need to pre-create VM groups in the SmartX console for storing cloud desktops.
1.1 Create VM Groups
In the SmartX console, click the top-right menu and select "Create VM Group".
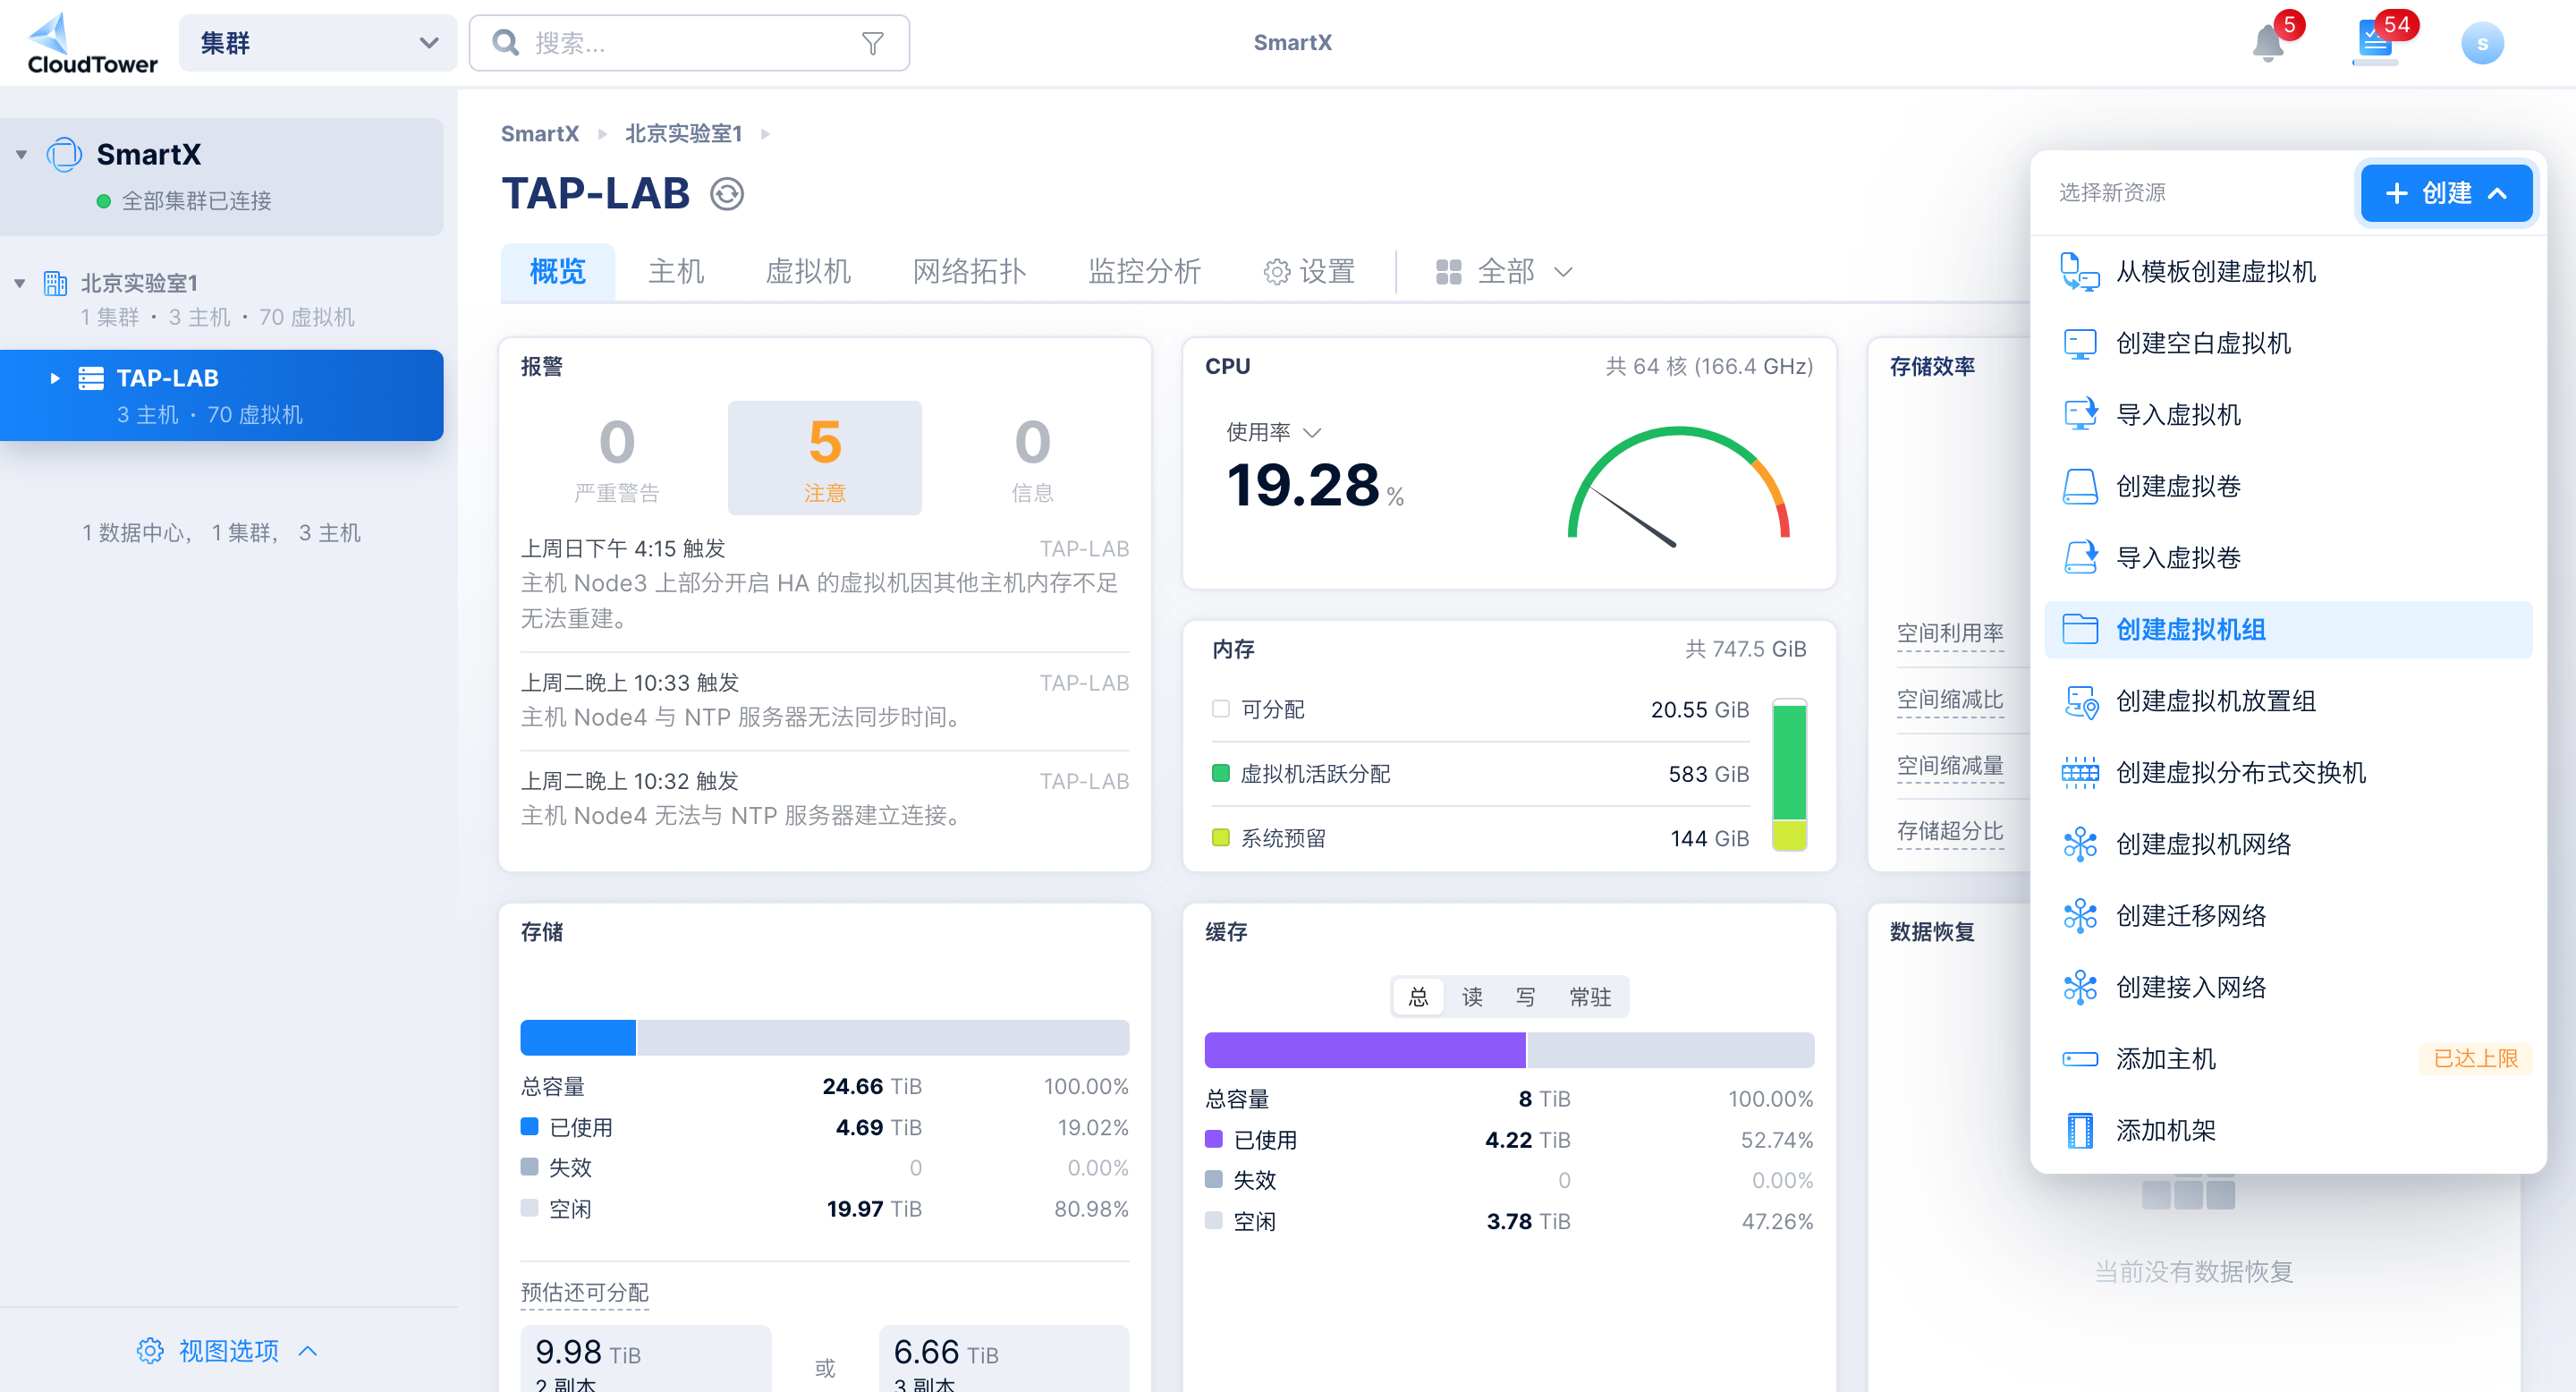
1.2 Naming Convention and Filtering Mechanism
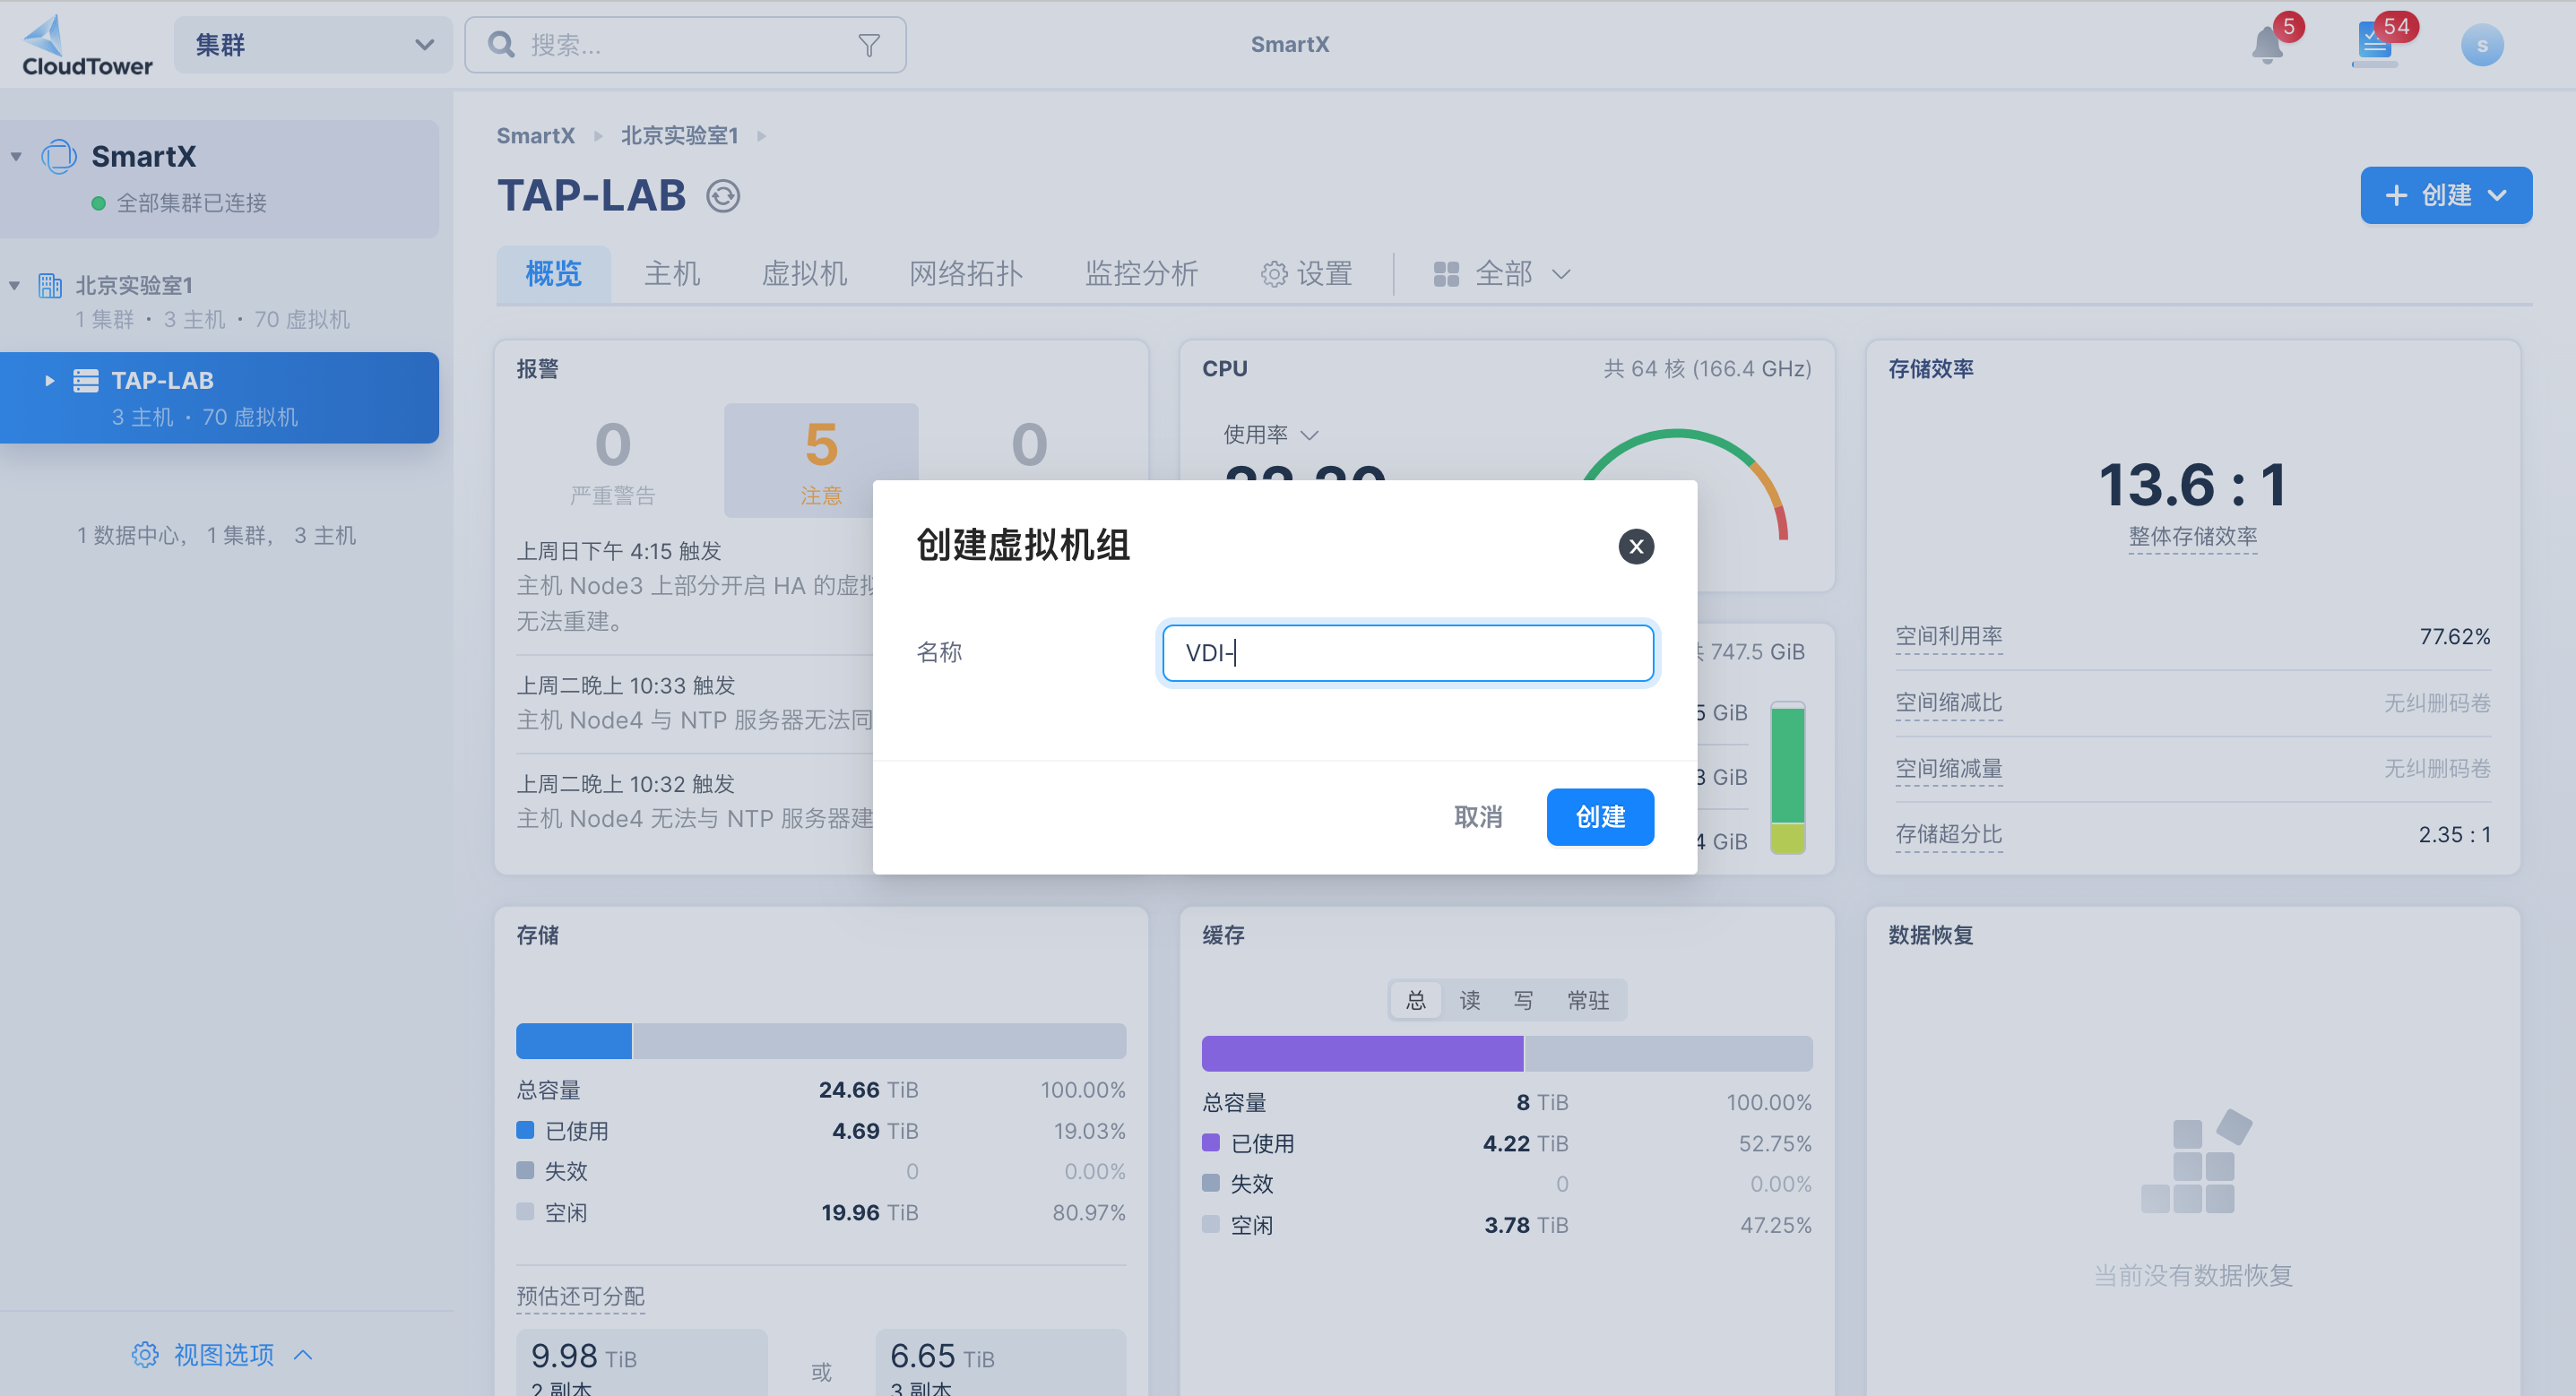 Enter the VM group name. The core logic is as follows:
- Logical Mapping: SmartX's VM Group corresponds to xSpace's Project.
- Security Filtering: To avoid the risk of accidentally deleting non-desktop VMs (such as management components, access gateways, or other business cloud hosts) by synchronizing them into xSpace, the system uses a "group prefix" matching mechanism.
- Naming Suggestion: By default, it is agreed to use "VDI-" as a prefix (e.g.,
VDI-DesignDept). Only VM groups matching this prefix will be synchronized as "projects".
1.3 Verify VM Group View
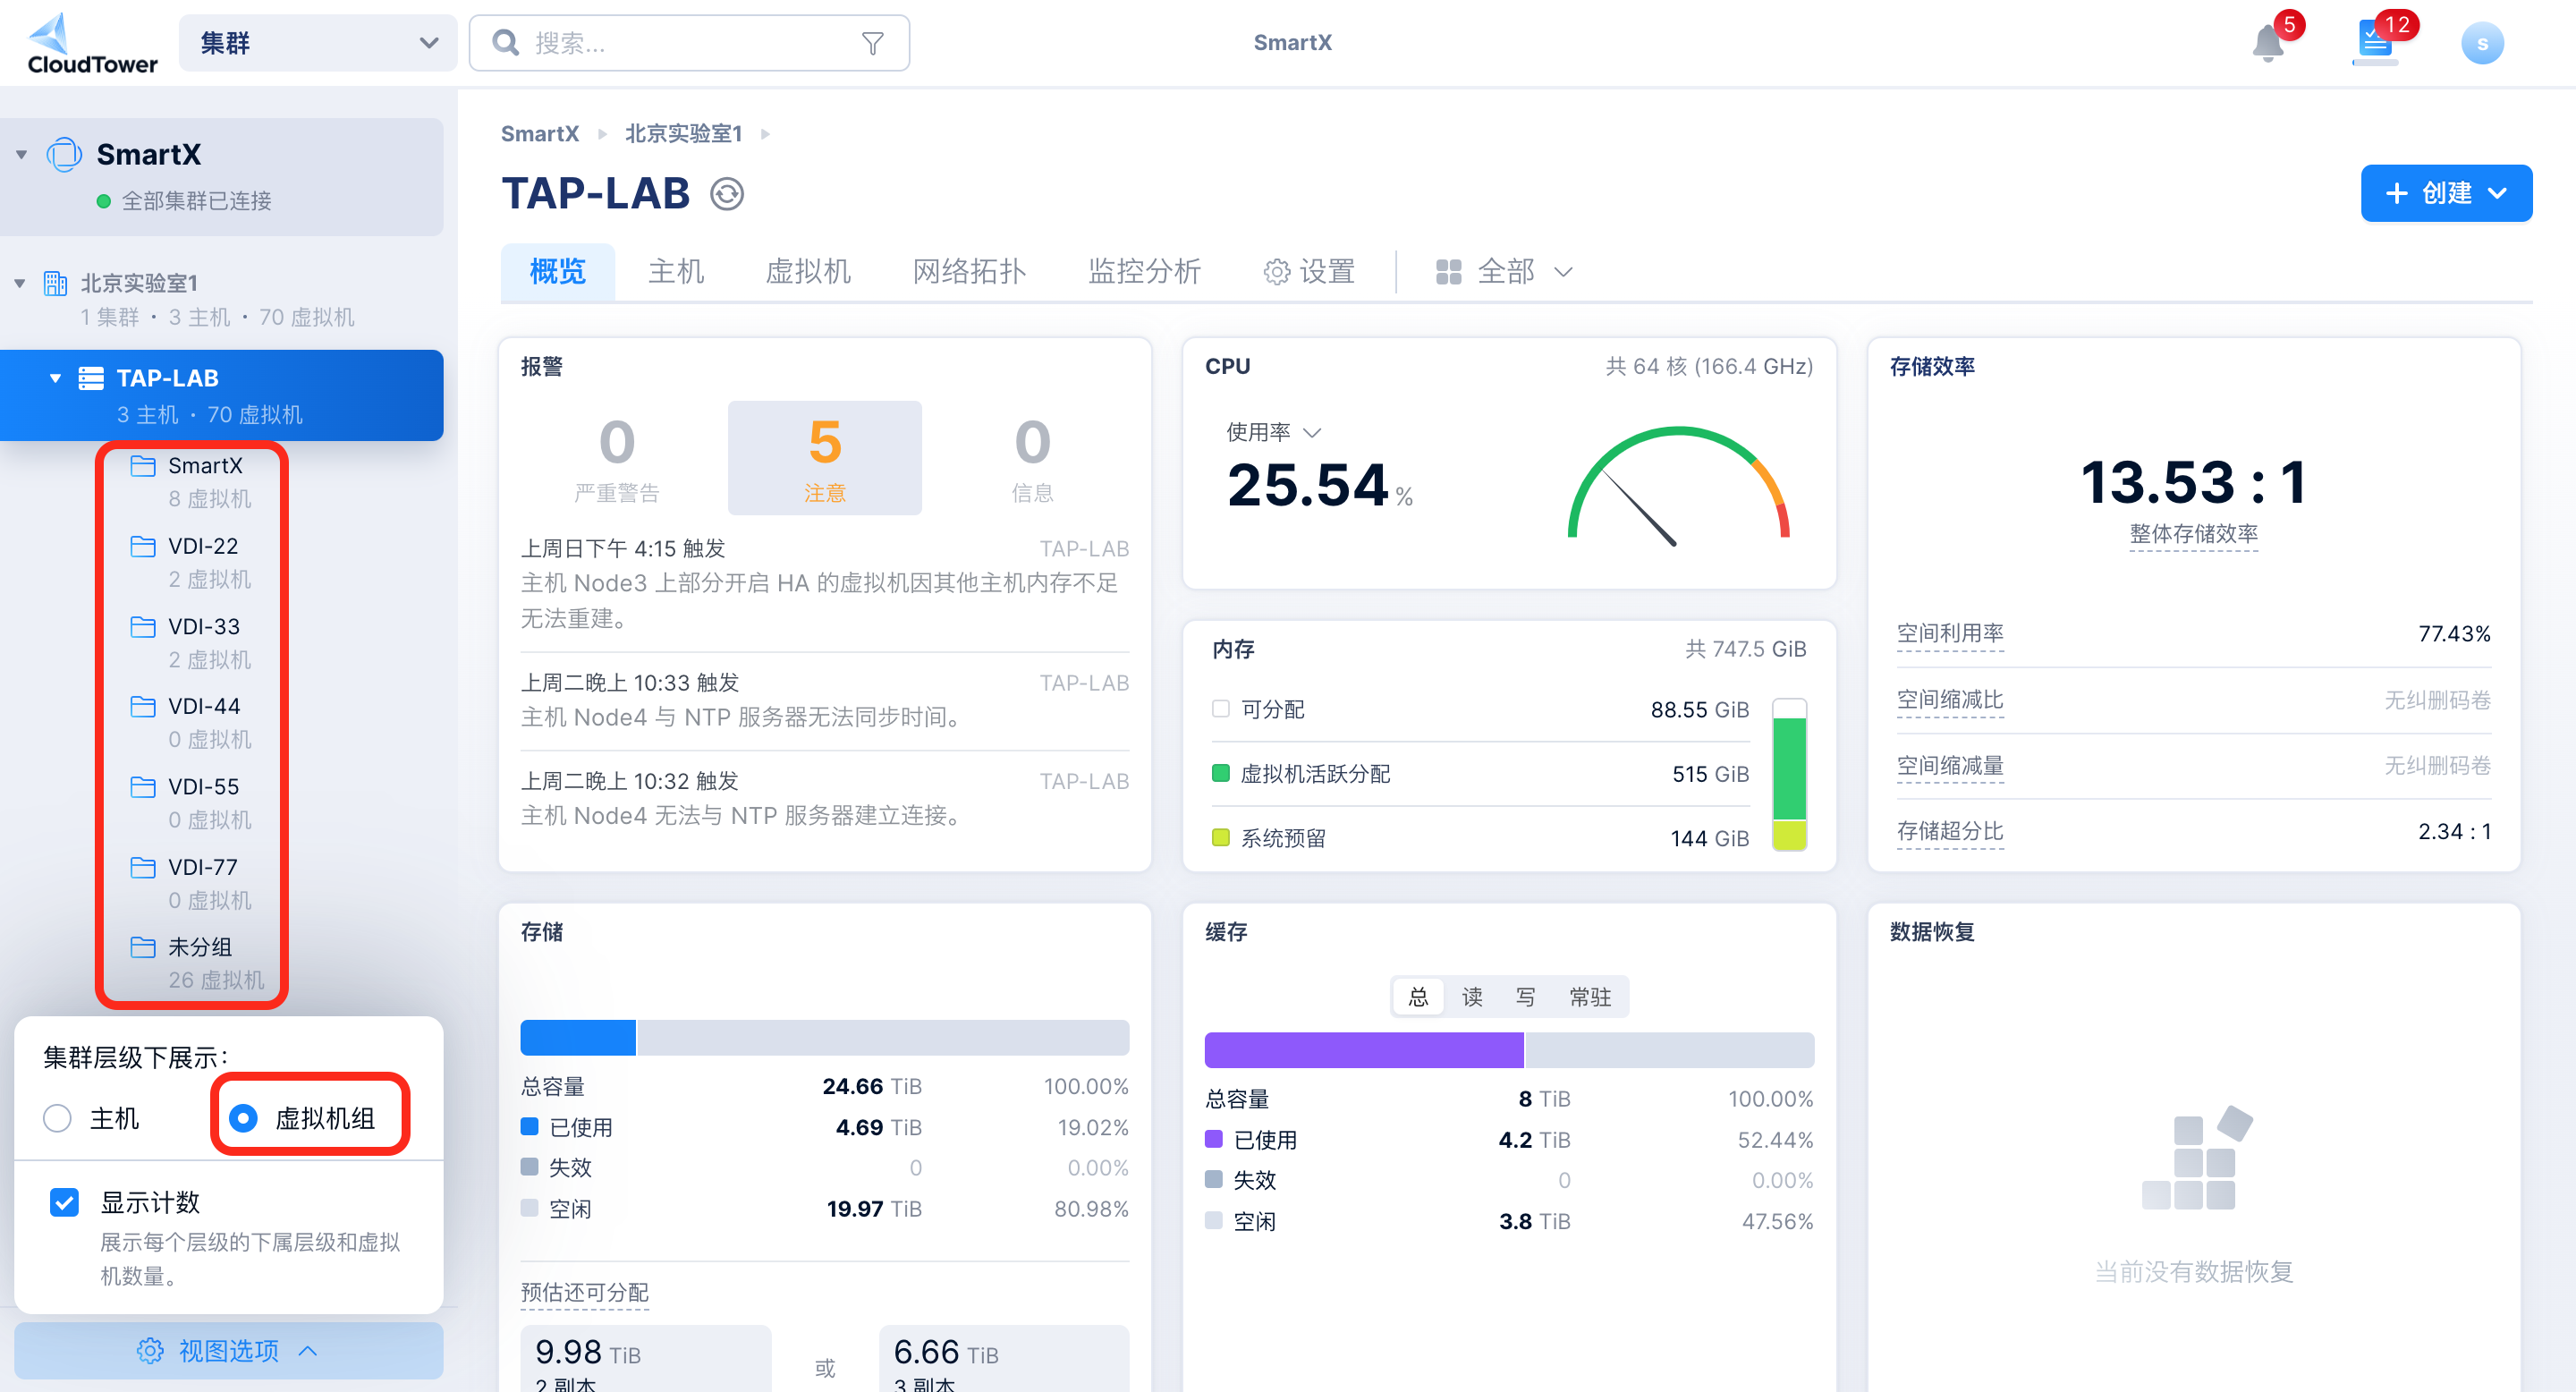
In the lower left corner of SmartX, switch "Show under cluster hierarchy" to "VM Group" to view the list of prepared VM groups in the directory tree.
1.4 VM Preparation (Optional)
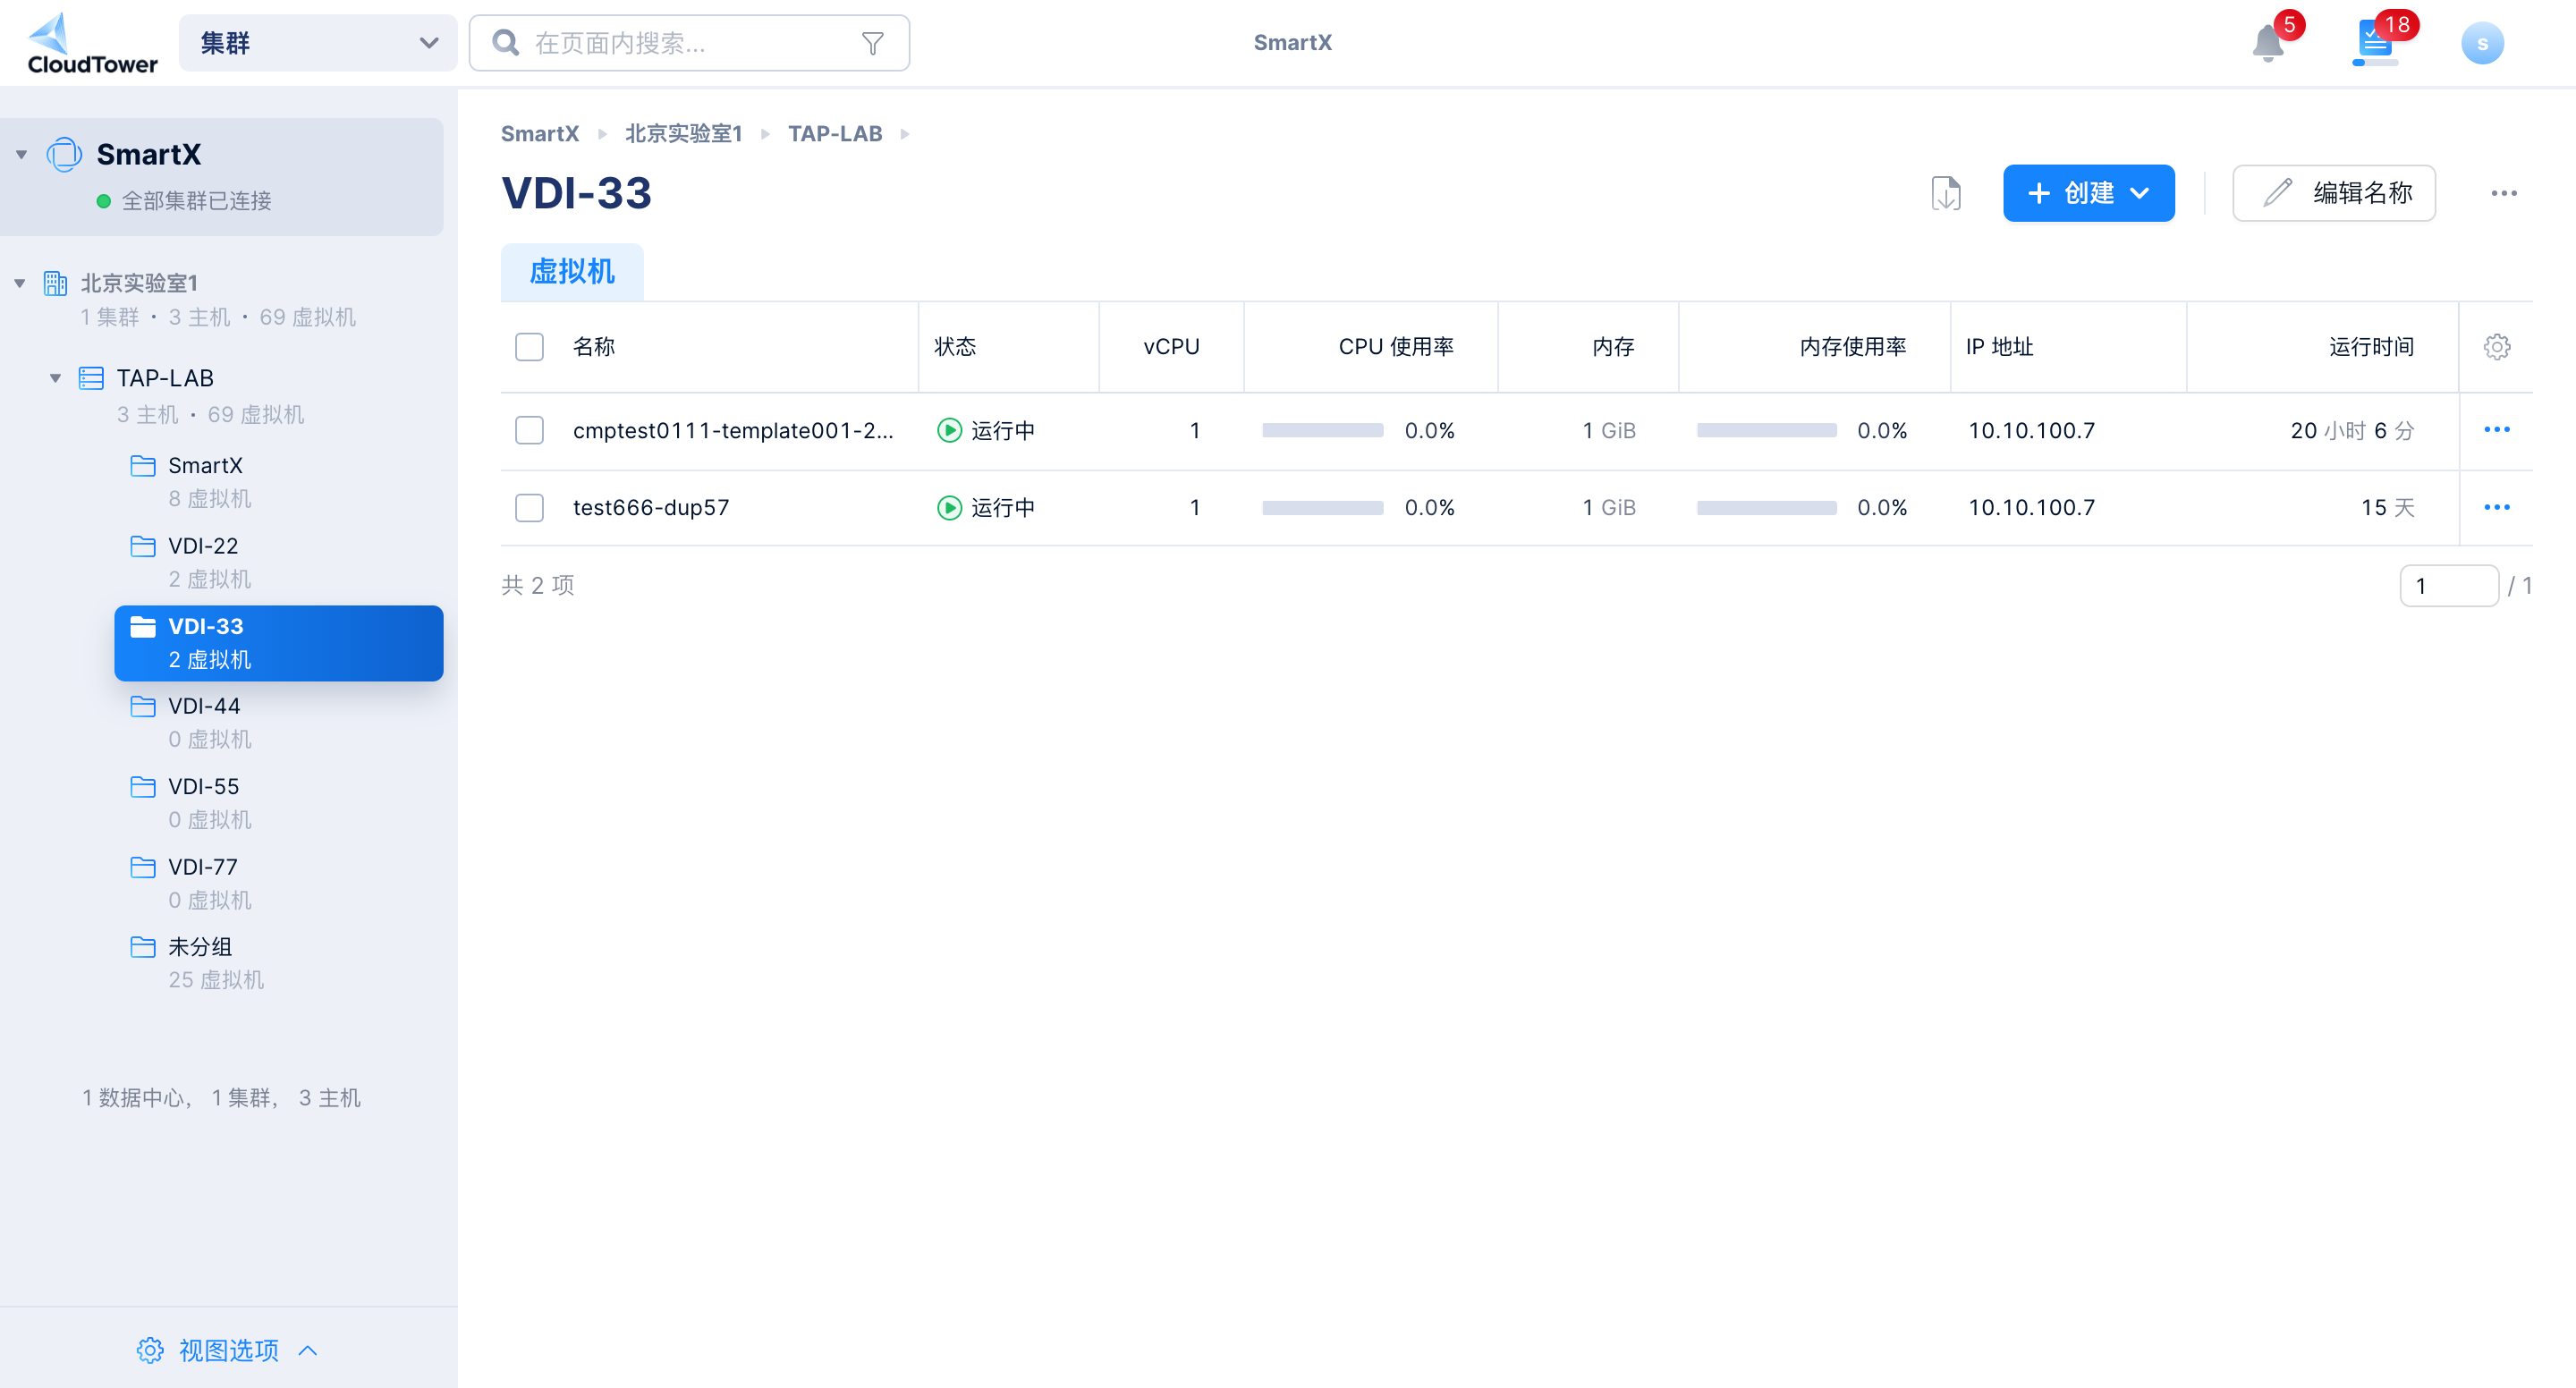
You can pre-create virtual machines within these groups, which will be directly used as desktop resources after synchronization; or you can create desktops in xSpace desktop pools after project synchronization is complete (recommended method).
2. Operation Process
2.1 Access Interface
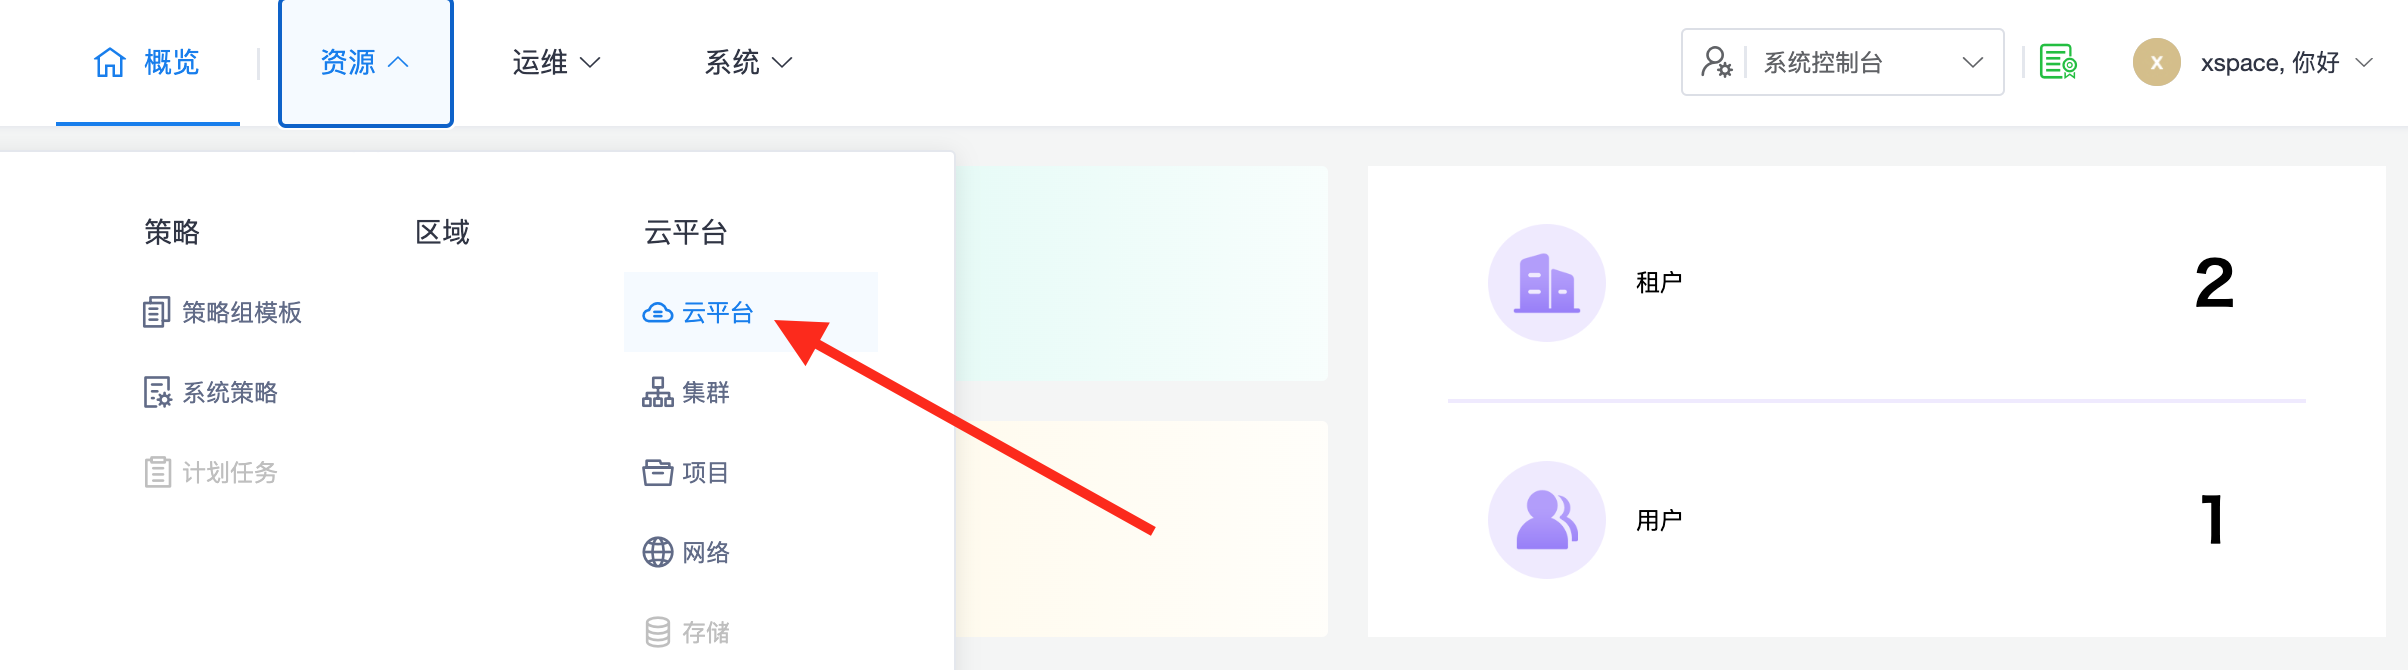
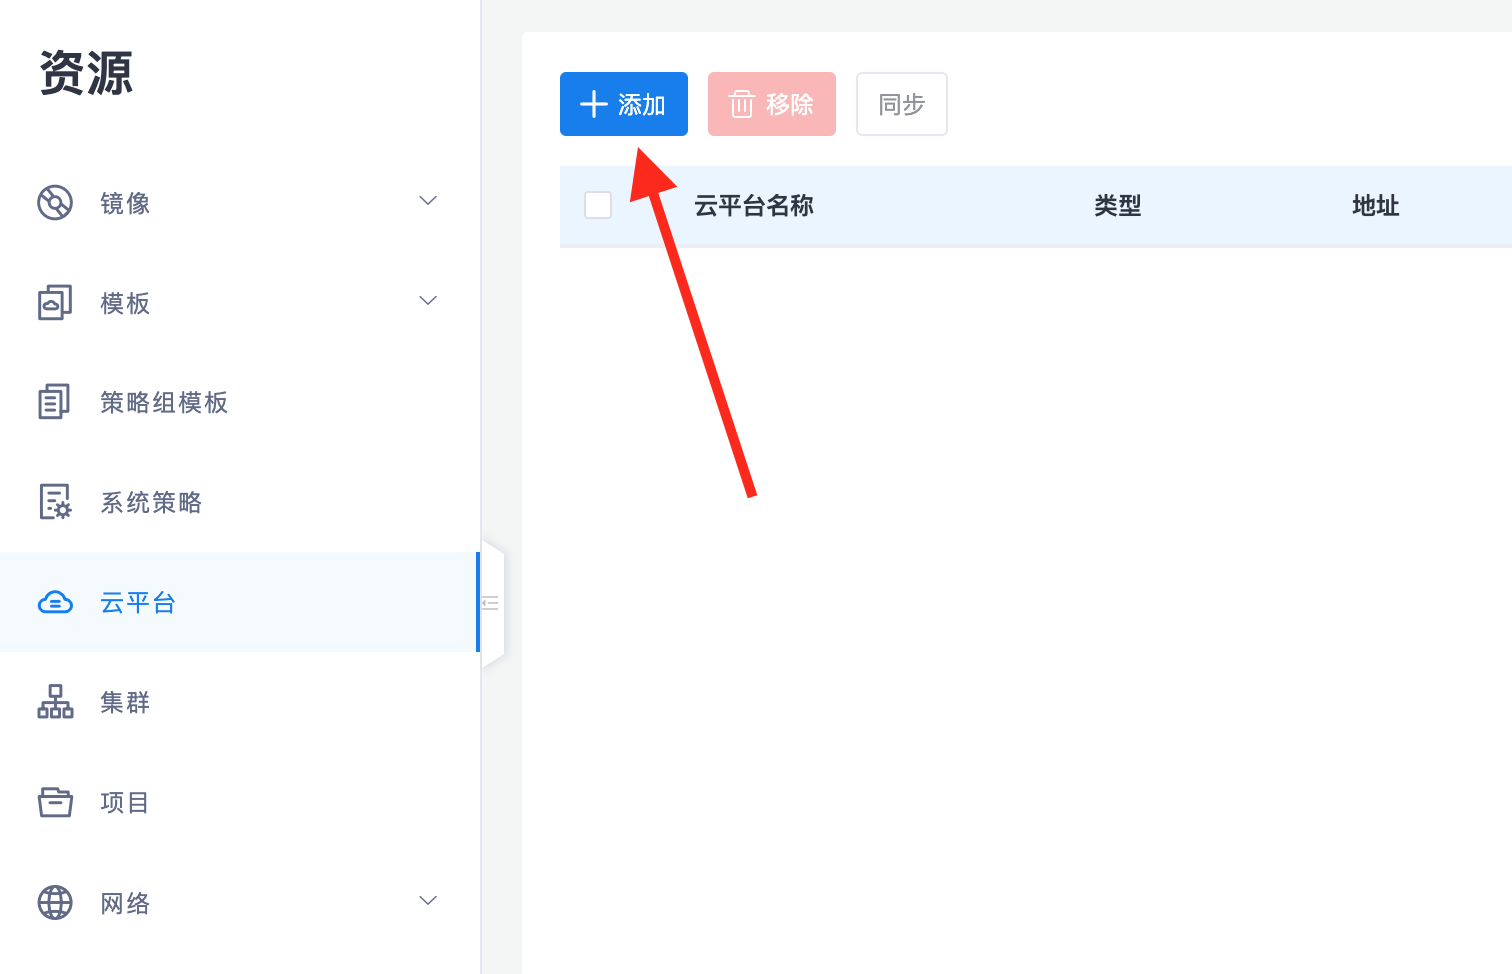
Log in to the system console and access "Resources -> Cloud Platforms".
2.2 Initiate Addition
Click the "Add" button in the upper left corner of the page.
2.3 Configure SmartX Attributes
Enter the following parameters according to the interface prompts, then click "OK".
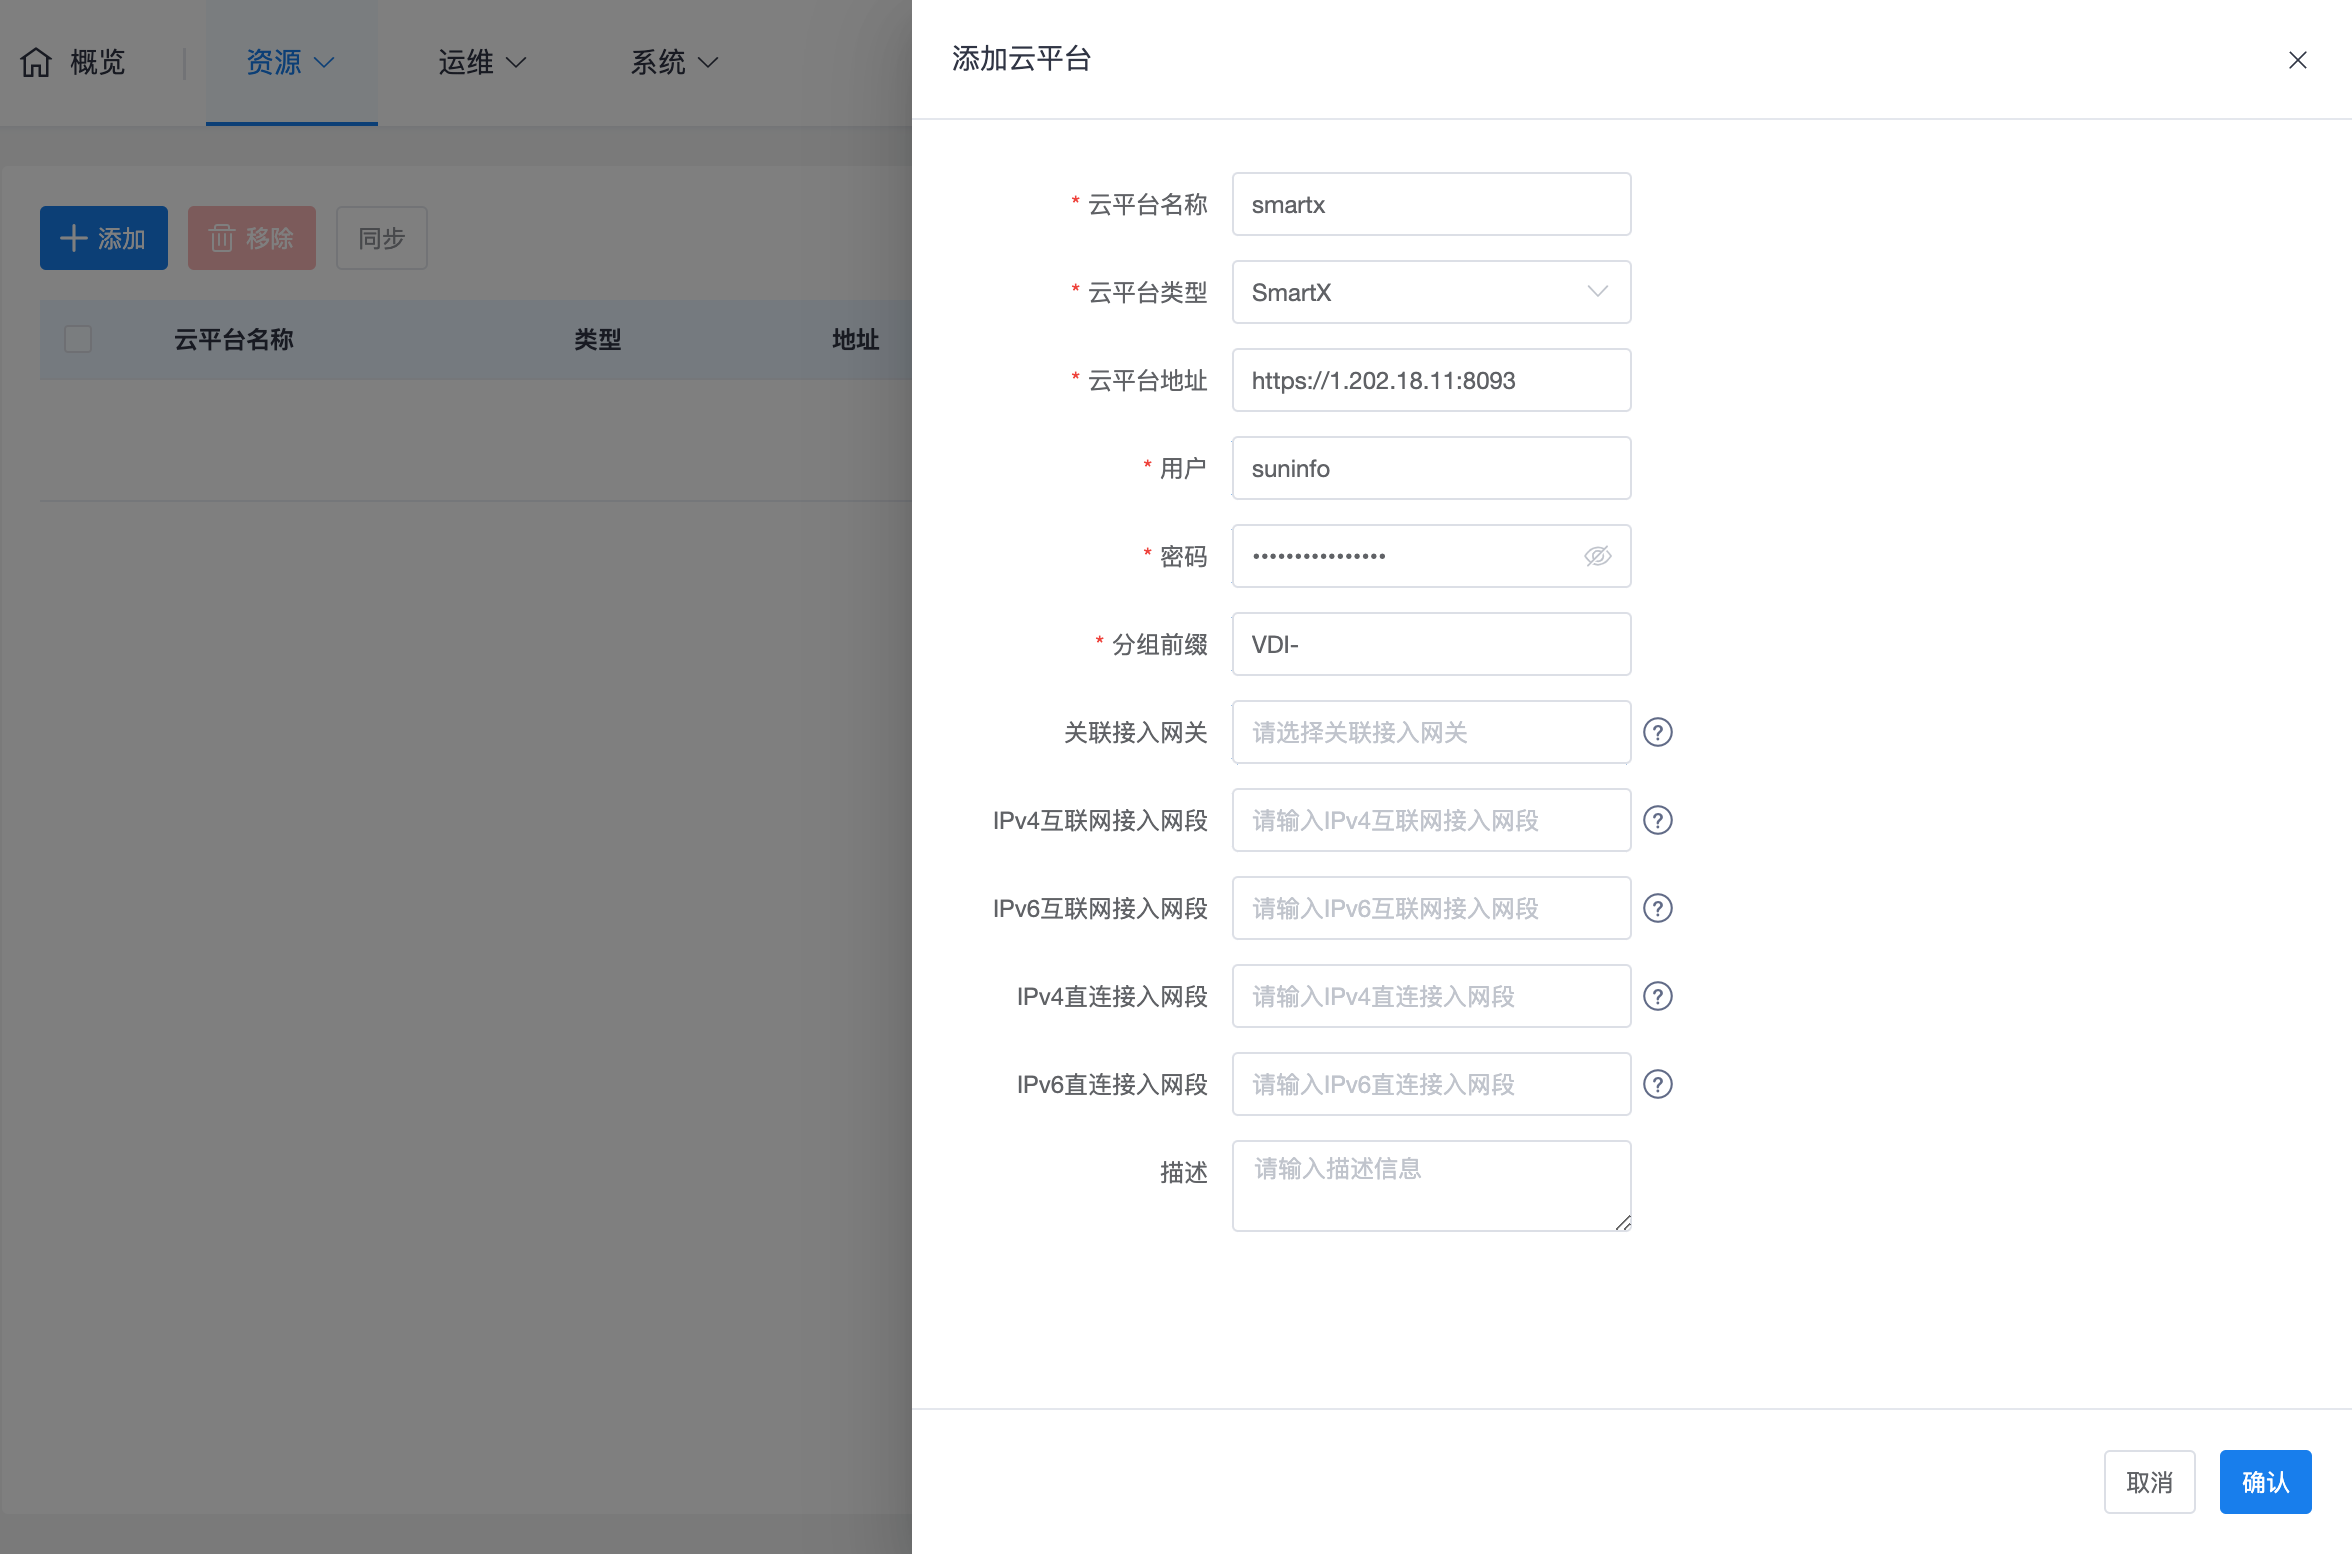
- Cloud Platform Address: The API access address of the SmartX management node.
- User/Password: Account information with management privileges.
- Group Prefix: Fill in the preset group prefix characteristic you used in SmartX (default value is
VDI). The system will only manage VM groups matching this characteristic.
3. Core O&M Logic
3.1 Resource Correspondence
- Correspondence: SmartX VM Group ↔ xSpace Project ↔ Desktop Pool. These three have a one-to-one correspondence.
- Instance Synchronization: Only VM instances within managed projects (groups matching the prefix) will be synchronized to xSpace and mapped as desktops.
3.2 Hierarchical Processing and Deletion Restrictions
- Tree Structure: The system will manage all "branches (groups)" matching the prefix in the tree structure as projects, but only synchronize "leaves (virtual machines)" directly contained within that hierarchy.
- Deletion Protection: If a VM group still contains sub-groups, the system will prohibit removing that project in xSpace. To simplify management, it is recommended to avoid multi-level grouping structures and flatten all groups used for VDI into the same level.
3.3 Security Isolation Recommendation
When deploying the management component and access gateway, ensure that these management virtual machines are placed in independent VM groups without the VDI prefix, to prevent accidental operations if synchronized into the xSpace system.
Note: The design logic of the "group prefix" mentioned above also applies to WxStack and ZStack cloud platforms.
Note: For automatic synchronization mechanisms, progress monitoring, and troubleshooting after adding a cloud platform, please refer to Cloud Platform Overview -> 3. Resource Synchronization and Management Mechanism section.