Installation and Configuration
After the virtual machine is created and network connectivity is ensured, please follow these steps to install and initialize the access gateway software.
1. Network Environment Preparation
Log in to the virtual machine and switch to the root user:
sudo su
1.1 Check Basic Network Tools
Check if the ifconfig command is installed on the system:
ifconfig
If the system prompts that the command is not found, please update the sources and install the network tools package:
apt-get update && apt-get install -y net-tools
1.2 Verify External Network Resolution and Connectivity
The access gateway needs to be able to resolve and access the SDWAN authentication server. Please perform the following verification:
ping mauth.netgrounder.com
Note: If
pingfails, please first check the DNS configuration in/etc/resolv.confand ensure that security groups and firewalls have allowed access.
2. Software Installation
2.1 Upload Software Package
Upload the aiwan-svpn-*.deb software package and config.json configuration file from the version release directory to the virtual machine's temporary directory (e.g., /tmp) using SSH, SFTP, or SCP.
2.2 Execute Installation
Install using the dpkg tool:
sudo dpkg -i aiwan-svpn-*.deb
3. Service Configuration
The core configuration file path for the aiwan-svpn service is: /opt/aiwan/svpn/config.json.
3.1 Backup Original Configuration
Before modifying, be sure to back up the original configuration file:
cp /opt/aiwan/svpn/config.json /opt/aiwan/svpn/config.json.bak
3.2 Replace Configuration File
Replace /opt/aiwan/svpn/config.json with the default config.json provided in the version release directory.
3.3 Modify NIC Configuration Item (OutItfName)
- Confirm NIC Name: Execute the
ip acommand to confirm the name of the network interface holding the correct internal IP address (commonlyeth0,enp1s0, etc.).
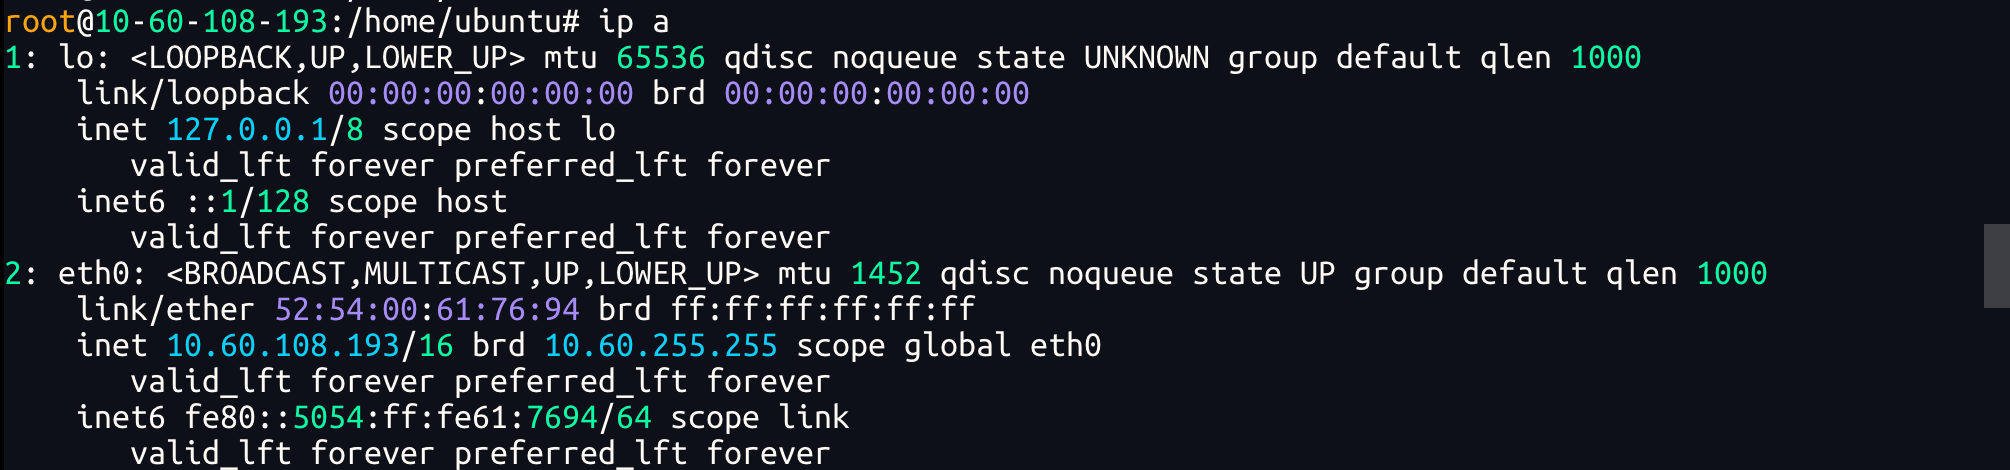
- Edit Configuration File: Find the
"OutItfName"field and change its default value to the actual network interface name obtained in the previous step.
{
    "OutItfName": "eth0"  // Replace with the actual internal network interface name here
}

4. Start Service
After configuration is complete, start the service using the following commands and ensure it automatically runs on system startup:
# Set service to auto-start on boot
systemctl enable aiwan-svpn
# Restart service to apply configuration
systemctl restart aiwan-svpn
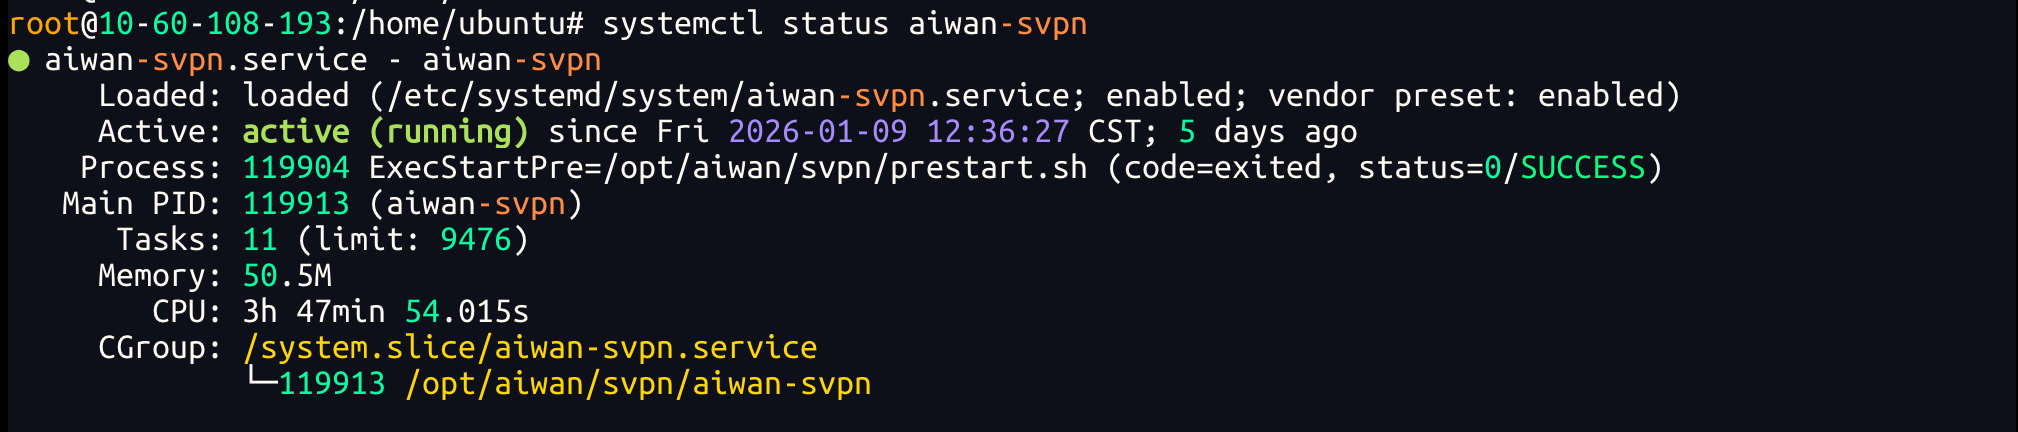
# Check service running status
systemctl status aiwan-svpn
Verification Standard:
In normal status, the output information should contain active (running).
5. Log Troubleshooting
If the service is running abnormally or the client fails to dial-up connect to the access gateway, please check the following log files for troubleshooting:
- Log Path:
/opt/aiwan/svpn/logs/svpn.log*