Install Component Packages
1. Obtain Component Packages
Before starting the installation of the xSpace management component, please obtain the latest released component bin packages and upload them to the corresponding virtual machine nodes:
- astute-k3s-deploy*.bin: Upload to all nodes (for building the container cluster).
- astute-xspace-image*.bin: Upload to master node only (for preparing container images).
- astute-xspace-deploy*.bin: Upload to master node only (for deploying xSpace management components).
Note:
You can upload via
sftpor download usingwgetorcurl -Ocommands in the virtual machine.If deploying on Kunpeng/Phytium (ARM architecture) servers, please ensure to obtain arm aarch64 architecture installation packages.
In this example, the master node IP is
192.222.8.151.
2. General Instructions Before Installation
2.1 Language Interface Settings (Optional)
When executing any component package (k3s-deploy, xspace-image, or xspace-deploy), you can specify the language interface of the installation wizard via command-line parameters:
- Use English interface: Add the
-- -Eparameter.
[root@host151 ~]$ bash ./astute-k3s-deploy-*.bin -- -E
- Restore Chinese interface: Add the
-- -Zparameter.
[root@host151 ~]$ bash ./astute-k3s-deploy-*.bin -- -Z
Important Tip:
Parameter Persistence: The
-Eor-Zparameters only need to be entered the first time a component package is executed. The script will automatically modify the/etc/profileconfiguration file, and subsequent installations of other component packages will automatically use this language setting without requiring re-entry.Scope of Application: This parameter applies to all three component packages mentioned above (k3s setup, image preparation, management component deployment).
2.2 Install Reentrancy Description
The installation scripts of this system have a "reentrant" characteristic:
- Fault Tolerance Mechanism: If, during component installation (k3s setup, image preparation, or management component deployment), the process terminates due to network interruption, misoperation, or other reasons, you do not need to clean up the environment or start over.
- Operation Method: Simply execute the interrupted installation command again. The script will automatically detect and skip completed stages, resuming from the breakpoint until completion.
3. Build Container Cluster
Please execute the astute-k3s-deploy installation package on each node.
Note: You must install all worker nodes first, and then the master node.
3.1 Outline of Specific Operation Steps
- If installing a worker node:
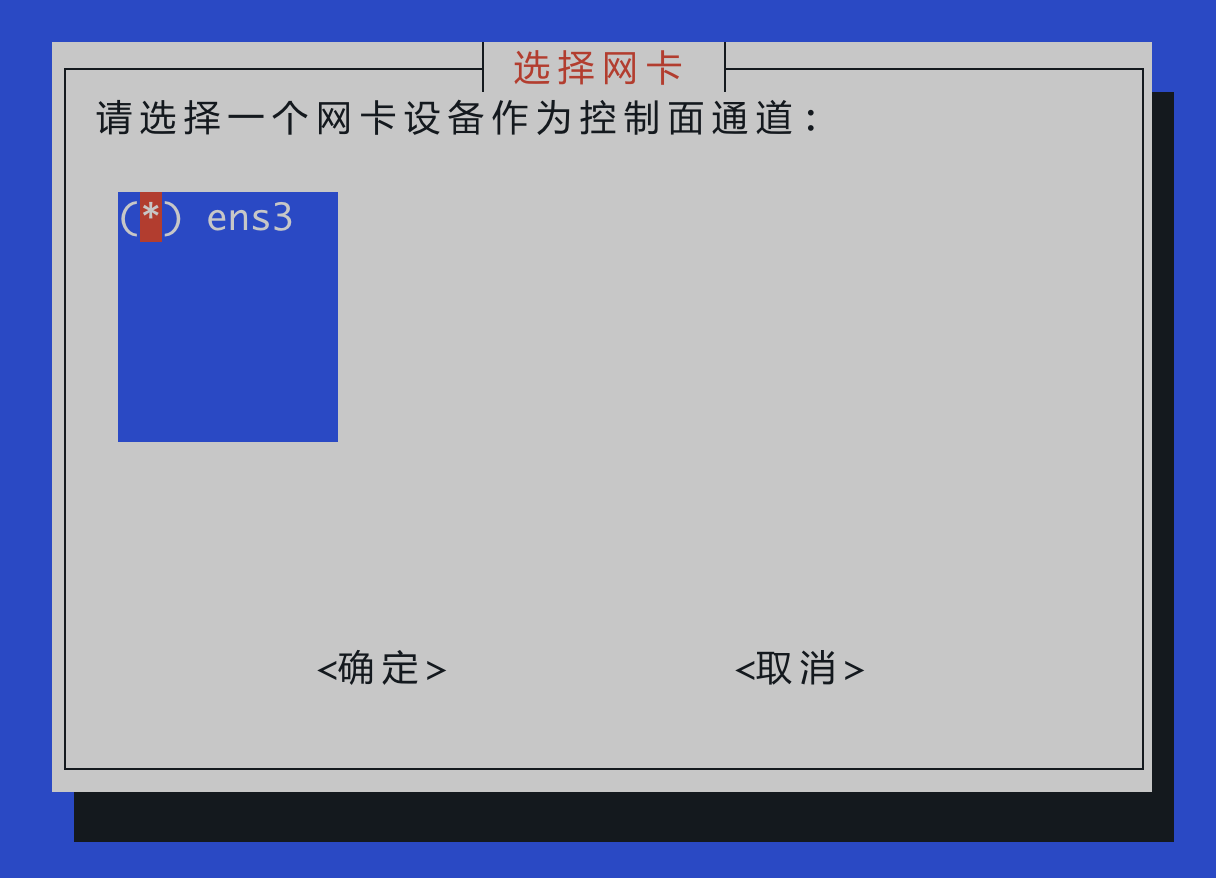
- Select network card
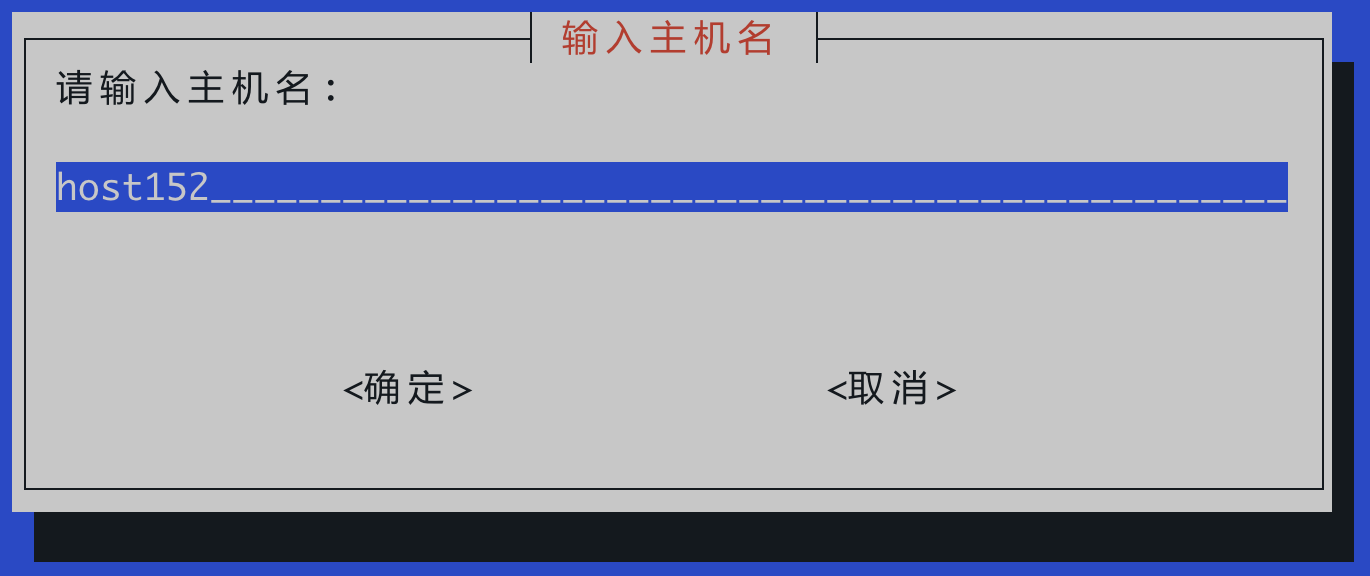
- Set hostname
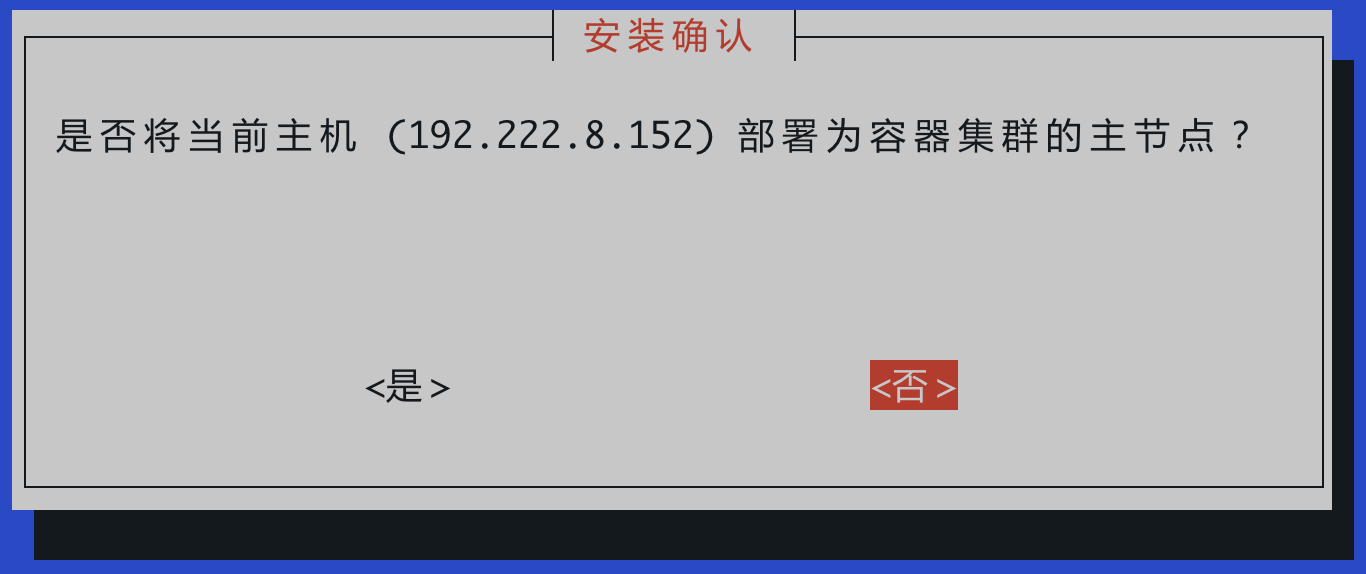
- Select worker node mode
- If installing a master node:
- Select network card
- Set hostname
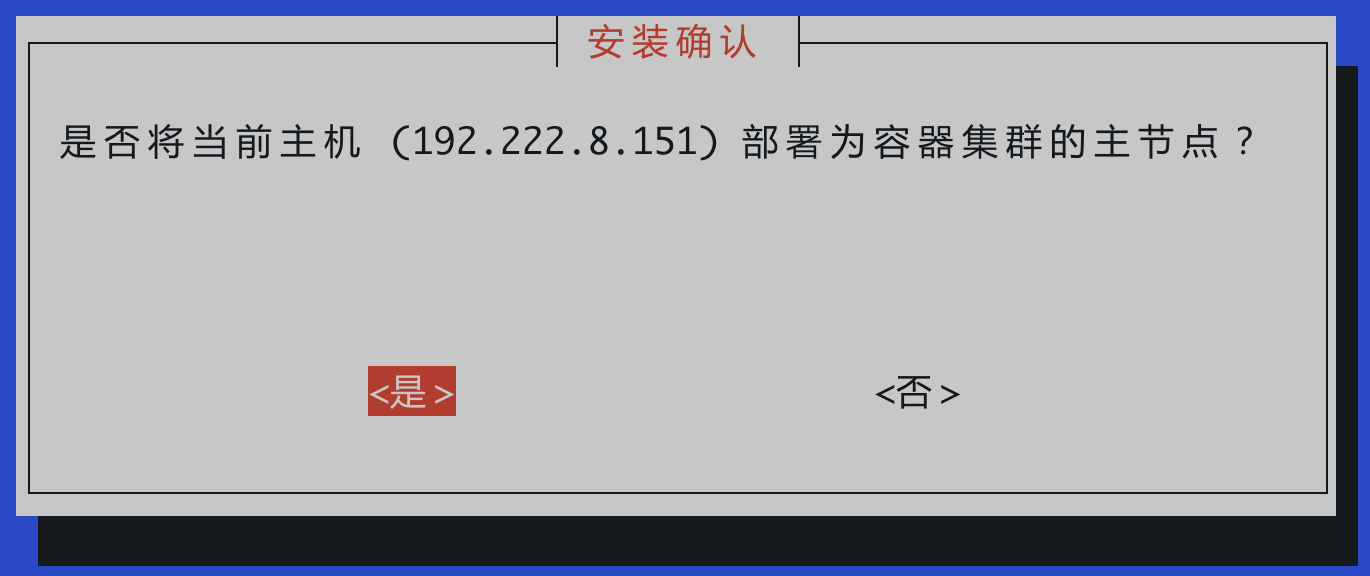
- Select master node mode
- Specify master node (usually only the current node, confirm directly)
- Specify worker nodes (usually two worker nodes, manually enter the hostname and IP address of the worker nodes)
3.2 Install Worker Nodes First (Slave)
Perform the following operations on all worker nodes (e.g., 152, 153) separately:
[root@host152 ~]$ bash ./astute-k3s-deploy-6.0_oe2203_x64.4.bin
Interaction Guide:
- Select Network Card:
- Set Hostname:
Default Rule: The hostname is generated by default as
hostxxx, wherexxxis the value of the last octet of the corresponding node's internal IP address (e.g., if the IP is192.222.8.152, the default hostname ishost152).
- Select Worker Node Mode (select "No" for "Set as Master Node"):
3.3 Then Install Master Node (Master)
Ensure all worker nodes are installed before executing on the master node (151):
[root@host151 ~]$ bash ./astute-k3s-deploy-6.0_oe2203_x64.4.bin
Interaction Guide:
-
Select Network Card and Hostname: Refer to the steps above.
-
Select Master Node Mode (select "Yes"):
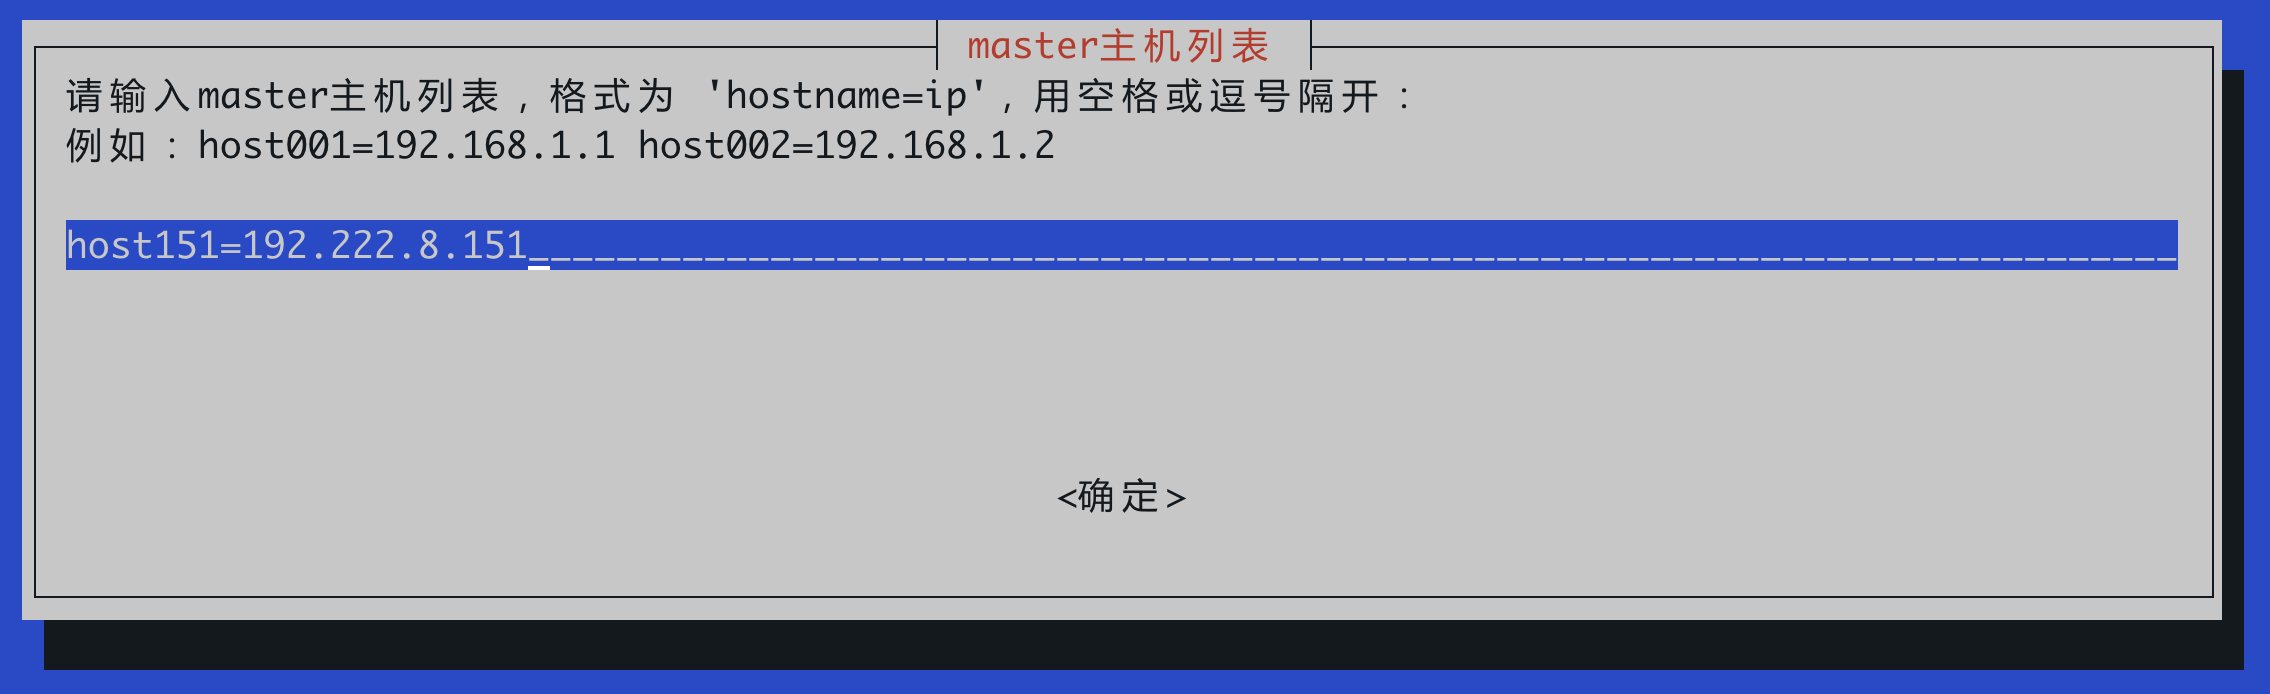
- Fill in Master Node List (usually confirm directly):
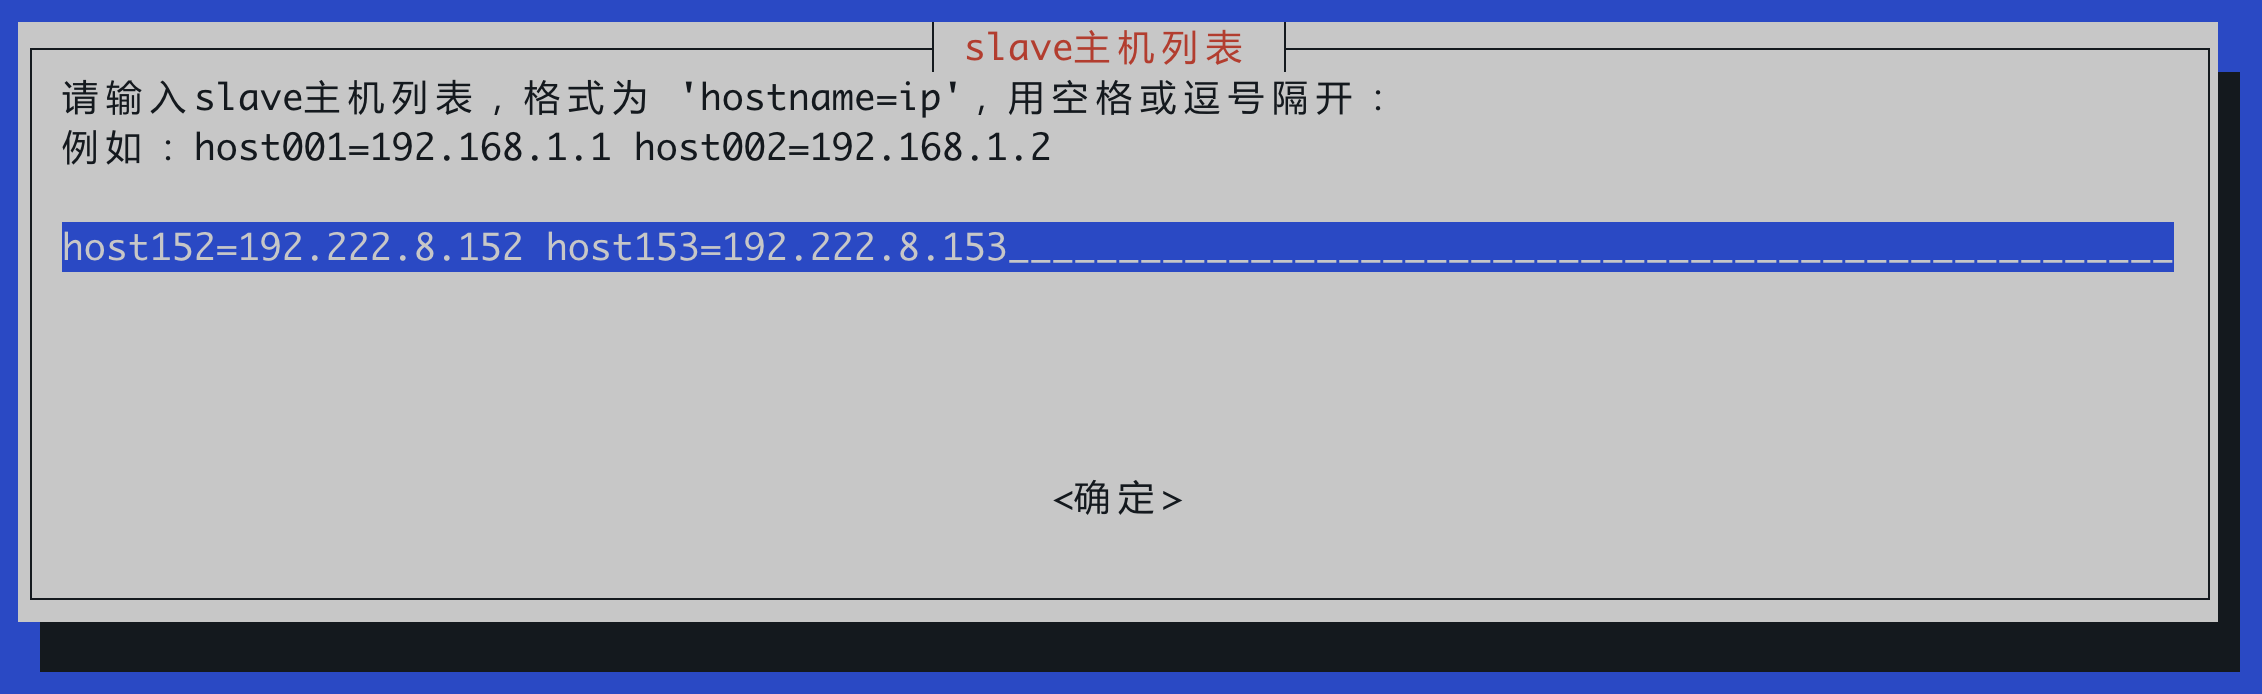
- Fill in Worker Node List (manually enter the hostname and IP address of the worker nodes):
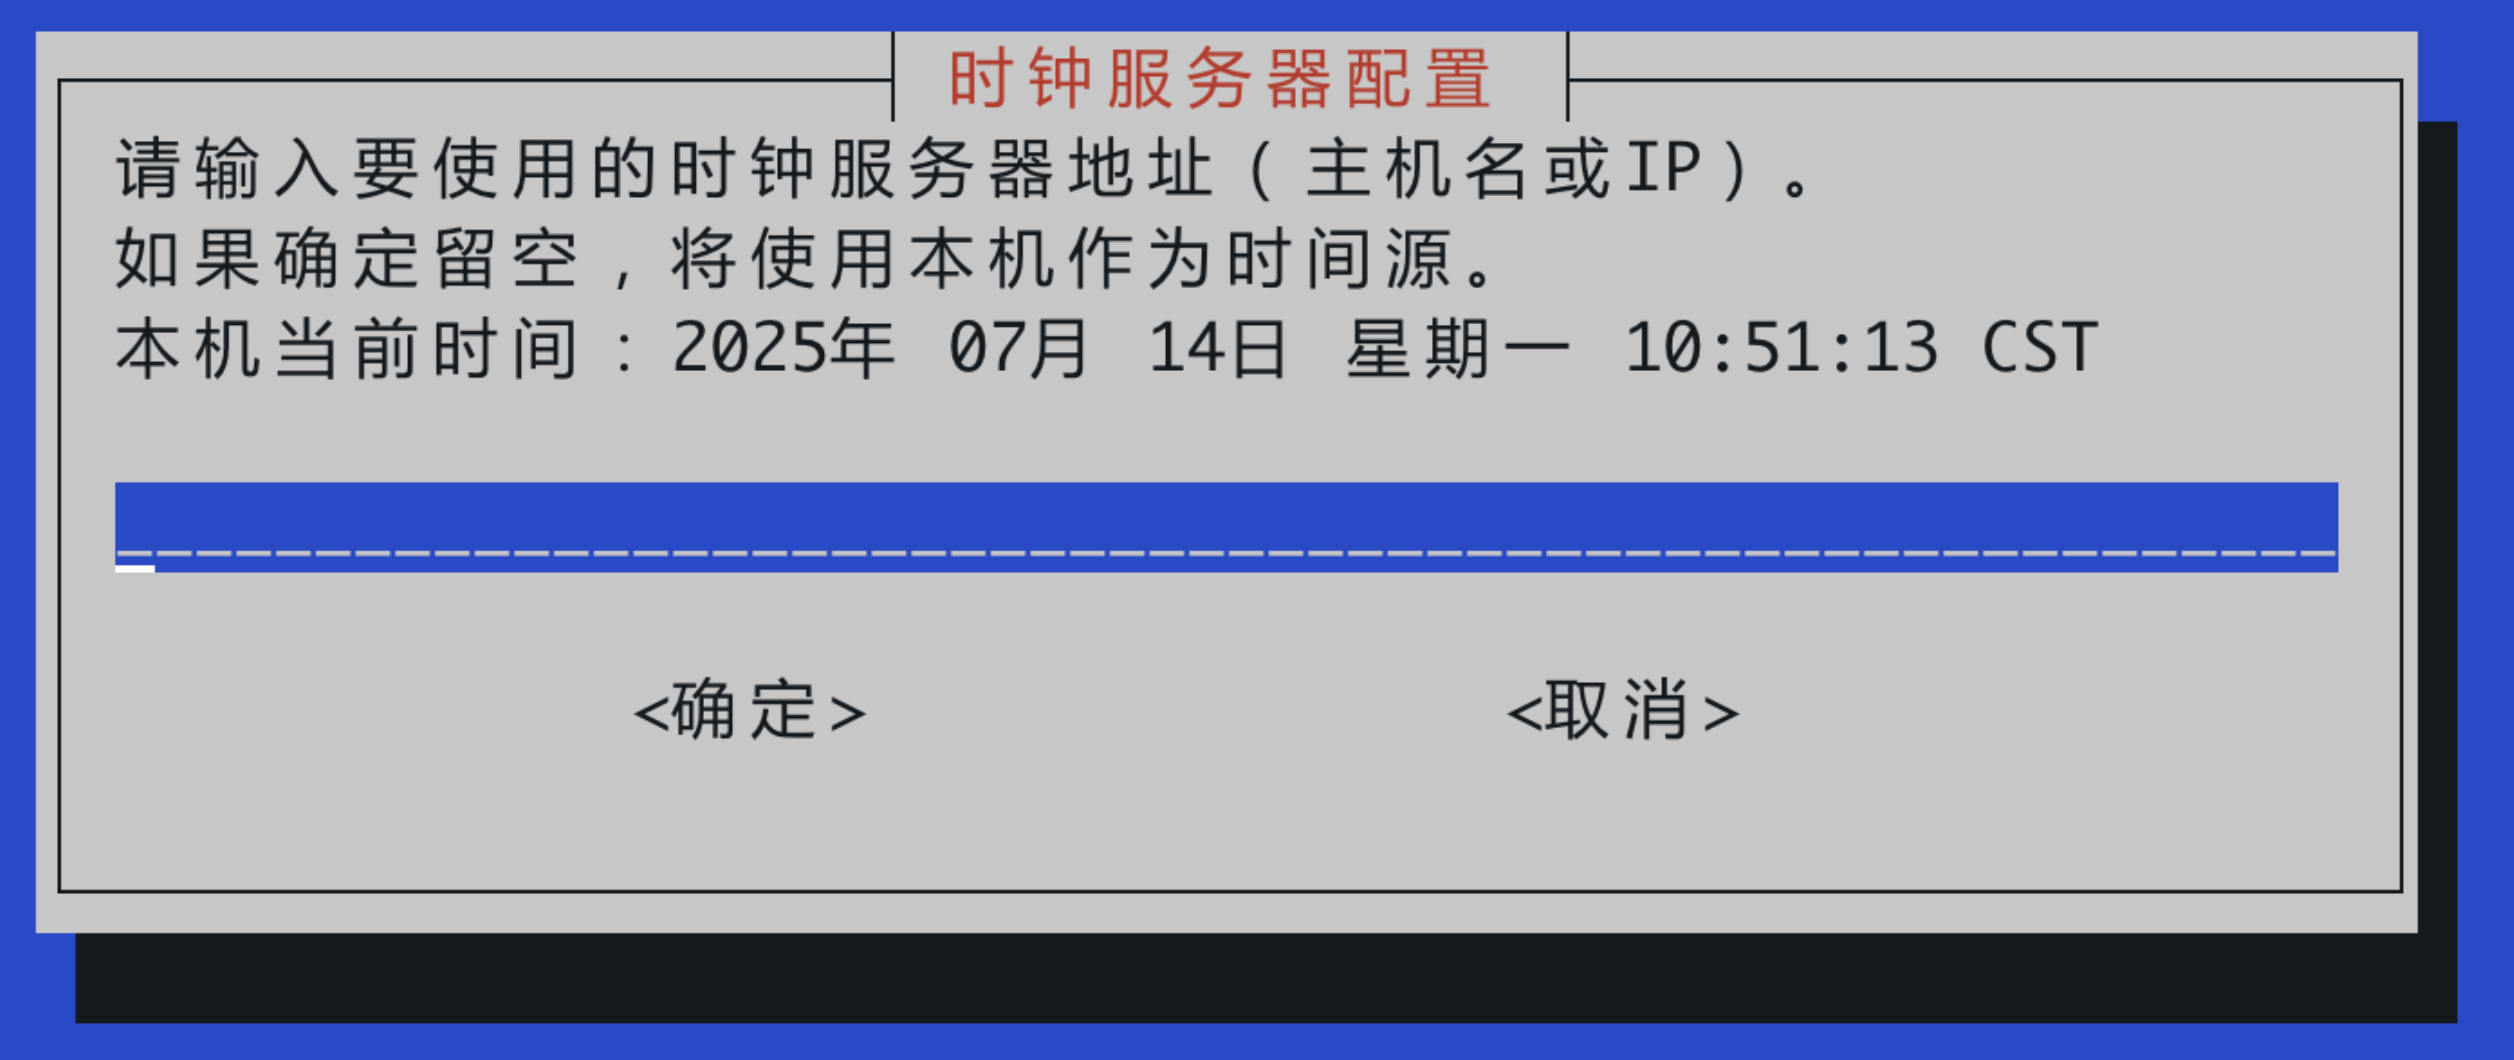
- Configure NTP Server (Optional):
3.4 Important Security and Account Information
- During the execution of
astute-k3s-deploy*.bin, the system will automatically change the root account password to a random complex password. - After the script execution, a new
xspaceuser account will be automatically created in the system. - It is recommended to use the
xspaceuser for daily operation and maintenance thereafter. To execute system-level commands, addsudoor switch to the root account usingsudo su.
3.5 Verify Cluster Status
Check on the master node to ensure all nodes are in Ready status:
[xspace@host151 ~]$ sudo kubectl get nodes
NAME      STATUS    ROLES                  AGE   VERSION
host153   Ready     <none>                 5m    v1.24.9+k3s1
host152   Ready     <none>                 5m    v1.24.9+k3s1
host151   Ready     control-plane,master   5m    v1.24.9+k3s1
4. Prepare Container Images
After the multi-node container cluster is set up and all nodes are confirmed to be in Ready status, execute the image package installation on the master node:
[xspace@host151 ~]$ sudo bash ./astute-xspace-image.6.0.65.bin
After installation, the complete image repository resource output will be shown as follows:
Getting local image repository resource list:
{
    "repositories": [
        "bitnami/minio",
        "bream-common",
        "canal/canal-adapter",
        "canal/canal-admin",
        "canal/canal-server",
        "descheduler/descheduler",
        "docker.io/bitnami/minio-client",
        "docker.io/busybox",
        "docker.io/easzlab/nfs-subdir-external-provisioner",
        "docker.io/mariadb",
        "docker.io/minio/minio",
        "docker.io/nacos/nacos-server",
        "docker.io/seataio/seata-server",
        "elastic/filebeat",
        "elasticsearch",
        "emqx/emqx",
        "jdk",
        "kibana",
        "logstash",
        "memcached",
        "migration-common",
        "mist/rabbitmq",
        "mist-ce/mist-api",
        "mistce/api",
        "mistce/api/v4-7-1",
        "mongo",
        "openresty/openresty",
        "perconalab/percona-xtradb-cluster-operator",
        "redis",
        "rocketmq-broker",
        "rocketmq-console",
        "rocketmq-namesrv",
        "wurstmeister/kafka",
        "wurstmeister/zookeeper",
        "xspace-common",
        "xuchengen/rocketmq",
        "xxl-job-admin"
    ]
}
Available image resources in the local image repository are listed above.
5. Deploy Management Component
After the base images are ready, execute the xSpace management component deployment package on the master node:
[xspace@host151 ~]$ sudo bash ./astute-xspace-deploy-6.16.10.xxxxx.bin
Note:
This step takes a long time to install, please wait patiently.
If a timeout prompt occurs during the process, it is usually due to high pressure during component startup. Please try entering
Yto confirm retry.
xxxxxx Timeout, please wait and select retry [Y], or exit installation [N]:
+ read input
Y